Warning Signs Before Sanding
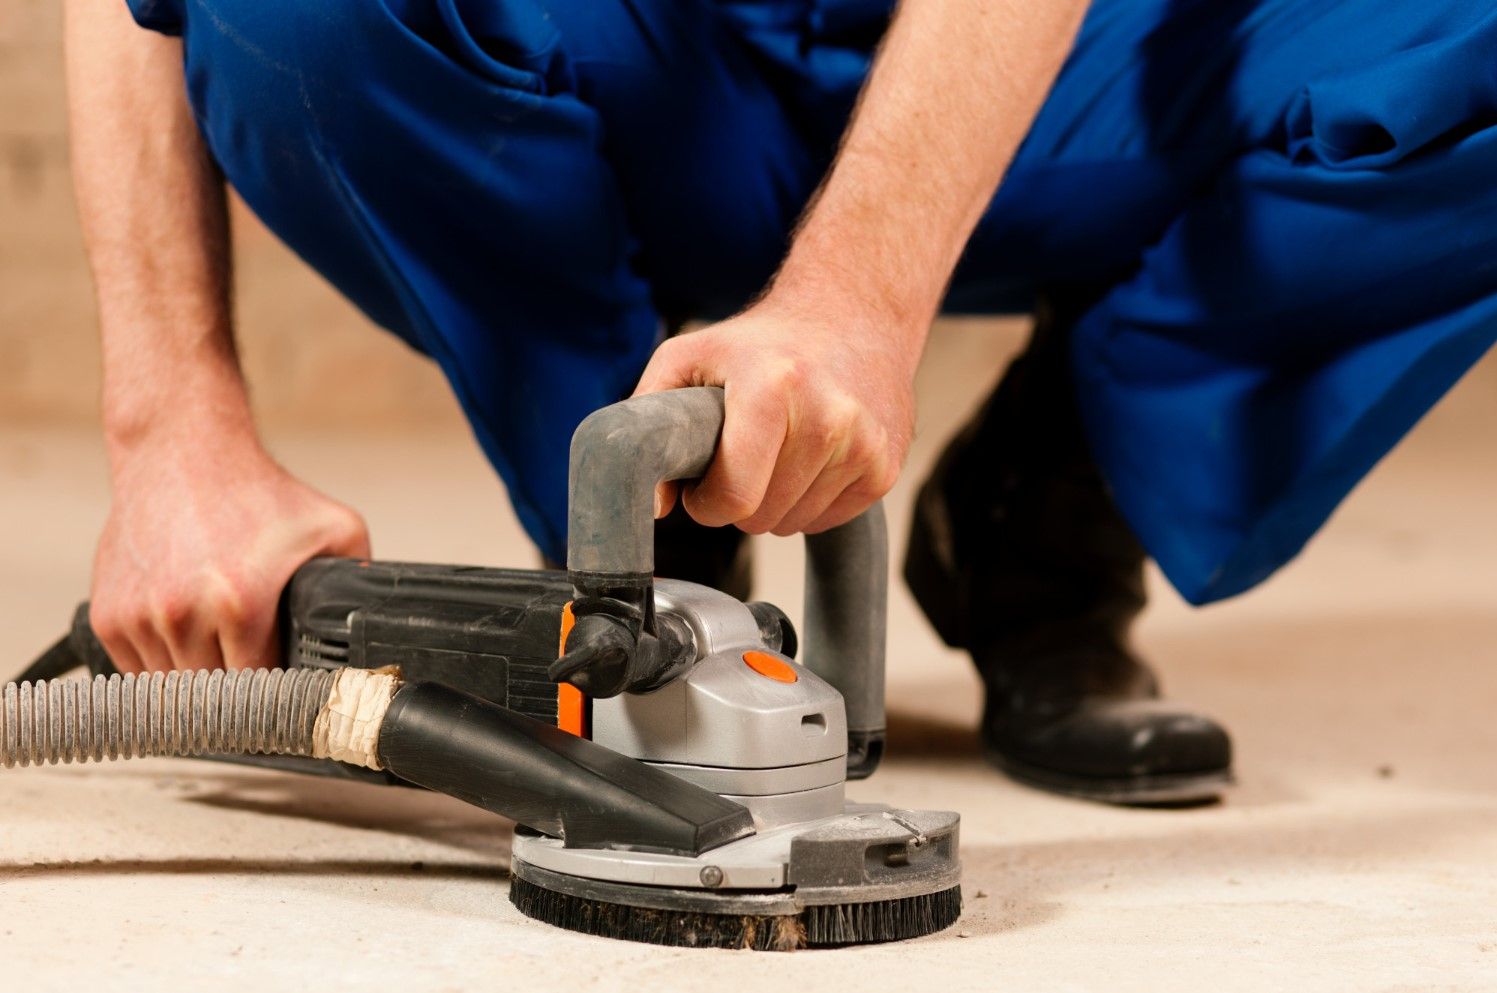
Before committing to sanding, inspect the floor carefully for signs of deeper problems. Some issues cannot be resolved by sanding alone and require investigation or specialist intervention. Soft timber, where boards feel spongy or crumbly, may indicate rot that has compromised the wood's structure. Active moisture, such as damp patches or signs of water ingress, requires immediate investigation to identify and resolve the source. A strong musty smell often points to mould or rot developing beneath the surface. If the wood flakes or breaks easily, crumbling boards may be too far gone to restore.
Excessive movement underfoot suggests the boards are not properly secured and may require stabilisation before any sanding takes place. Extensive black staining is usually caused by pet urine or long-term moisture, and while some stains may sand out, others may require board replacement. Evidence of insects—not just holes, but active signs such as fresh dust or frass—should be assessed by a professional. Boards that appear very thin may be too fragile for sanding, and cutting through them could expose the tongue and groove beneath. Exposed cables or pipes indicate that boards have been cut and not properly restored, which poses safety risks and requires careful attention.
Note that small, scattered holes are often historic and may not indicate an active woodworm problem. Professional assessment is the only way to confirm whether an infestation is active. If you notice any of these warning signs, arrange an inspection before proceeding with restoration.
How to Test a Small Area Safely
If you want to check what lies beneath before committing to full carpet removal, test a small, inconspicuous area first. Proceed with caution:
- Choose a hidden area, such as inside a wardrobe or near a corner
- Lift the carpet and underlay carefully, avoiding damage to the boards
- Do not start aggressive sanding without professional advice
- Check the type of substrate beneath the boards (timber, concrete, or screed)
- Photograph what you find for reference
- Avoid pulling out random nails without understanding the construction
- Consider the location of cables and pipes before lifting boards
- If you are unsure, arrange a professional inspection
A small test patch can reveal the floor type, condition, and whether restoration is viable. If the boards appear sound, professional floor sanding can bring them back to life. If you want to change the colour, wood floor staining options can be explored during the finishing stage.
Can the Floor Be Restored?
The condition of the floor determines whether restoration is possible. Use this decision table as a guide:
| Condition |
Likely Outcome |
| Mostly sound boards, cosmetic damage only |
Good restoration candidate |
| Several damaged boards |
Local repairs before sanding |
| Large service cuts |
Matching board replacement |
| Severe moisture damage |
Resolve cause first, then reassess |
| Chipboard or plywood substrate |
New finish floor may be needed |
| Mixed floor across an extension |
Combine restoration and new installation |
If your floor falls into the "good restoration candidate" category, sanding and refinishing can transform it at a fraction of the cost of replacement. If the floor is damaged or mixed, a combination of repair, restoration, and new installation may be the best approach.
What Happens During Professional Assessment?
A professional assessment provides clarity and helps you make an informed decision. It is the only way to truly understand what lies beneath the surface and whether your floor can be restored or needs replacement. During a site visit, the specialist brings experience and diagnostic tools to evaluate the floor's condition thoroughly. They will check for hidden issues such as rot, moisture, and structural weakness that may not be visible to the untrained eye. The assessment is not just about identifying problems—it is about understanding the potential of your floor and what can realistically be achieved. During a site visit, the specialist will:
- Identify the type of floor and timber species
- Estimate the remaining thickness above the tongue and groove
- Check for movement, rot, or structural issues
- Inspect gaps between boards and assess whether filling is needed
- Identify any previous repairs or service cuts
- Discuss your desired finish, colour, and maintenance preferences
- Assess whether colour differences between old and new boards can be reduced
- Prepare a detailed quotation for the work required
This assessment is essential if you are unsure about the condition of your floor or the viability of restoration. Without it, you risk committing to work that may not be possible or may cost significantly more than anticipated. The specialist can also advise on wood floor staining options to achieve the desired final appearance, helping you balance practical durability with the aesthetic you want for your home. With a clear understanding of the floor's condition and the available options, you can make a confident decision about the best way forward.
Carpet Removal Versus Professional Disposal
Removing carpet yourself can save money, but it is labour-intensive and may reveal surprises. Professional carpet removal and disposal typically starts from £8/m², depending on the size of the area and the amount of underlay and grippers to be removed. This service includes taking away the old carpet and underlay, leaving the floor ready for inspection and work.
If you choose to remove the carpet yourself, be prepared for heavy lifting, nails, staples, and dust. Wear gloves and protective clothing. Dispose of the carpet responsibly at a licensed waste facility.