
Water-Damaged Wooden Floor: What to Do Immediately to Prevent Permanent Damage
Water is the single greatest threat to any wooden floor. Unlike scratches or dents that can be sanded out, water damage can cause irreversible changes—cupping, crowning, cracking, and rot—within hours. Whether the source is a burst pipe, an overflowing dishwasher, a leaking radiator, or floodwater, the actions you take in the first few hours and days will determine whether your floor can be saved or requires full replacement. This article explains exactly what to do immediately after water damage occurs, from the first moments of discovery through the critical drying phase.
Assess the Situation Before Touching Anything
When you discover water on your wooden floor, pause for a moment. Your first actions matter. Identify the source of the water and stop it immediately. Turn off the main water valve if a pipe has burst. Unplug the dishwasher or washing machine if it is overflowing. Wait for the rain to stop if a leaky window is the culprit. No drying effort will succeed while water continues to flow onto the floor.
Once the source is stopped, assess the type of water involved. Clean water from a supply pipe or rainwater is manageable. Grey water from a washing machine or dishwasher contains contaminants and requires additional precautions. Black water from sewage or flooding is hazardous—do not attempt DIY treatment. Call professionals immediately and consider health risks.
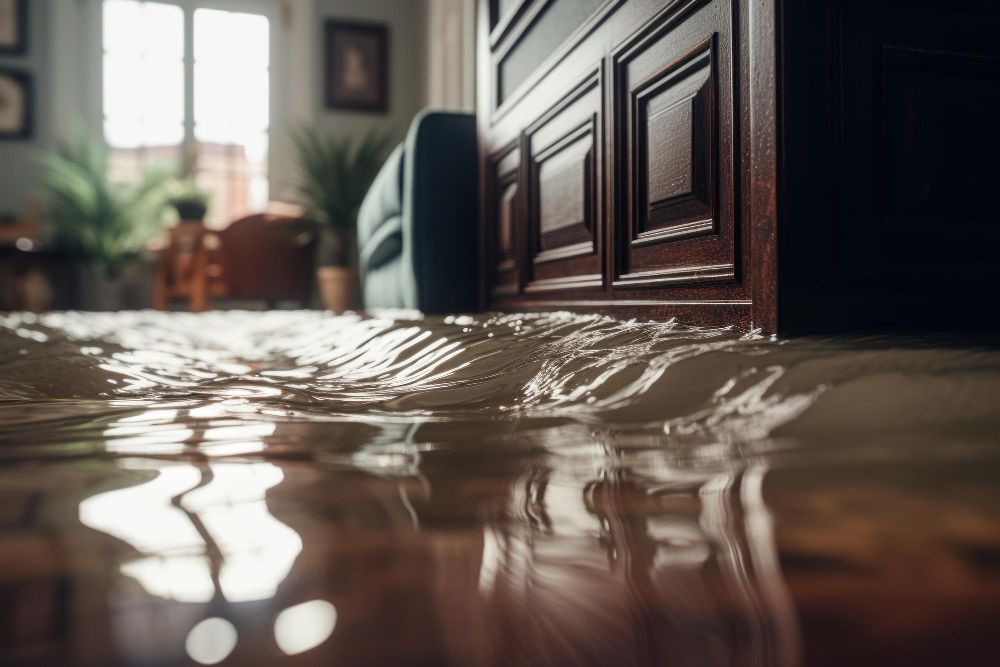
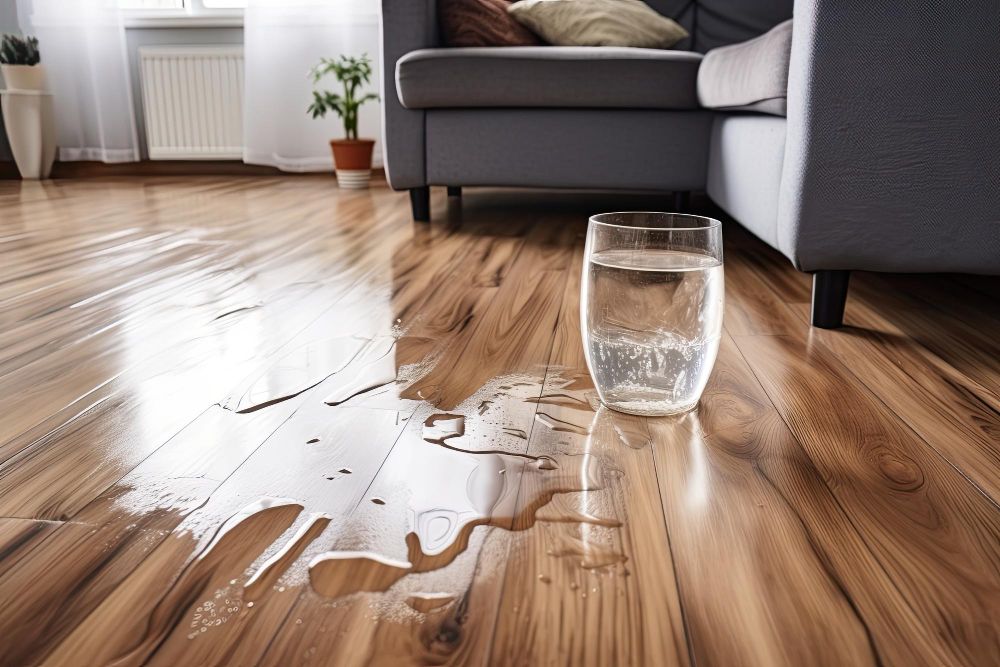
Remove Standing Water Without Delay

Standing water on a wooden floor is an emergency. Every minute it remains, more moisture penetrates the wood, joints, and subfloor.
Use a wet vacuum designed for water extraction. Household vacuums are not suitable and pose electrical hazards. If you do not have a wet vacuum, use towels and mops, but work quickly. Wring towels outside or into buckets, not back onto the floor. For larger volumes, consider renting a professional-grade extractor from a tool hire shop.
Do not use a standard household mop. It spreads water rather than removing it and leaves the floor wetter than before extraction.
Move or Elevate Furniture
Furniture left standing on a wet floor traps moisture underneath, creating isolated damp spots where wood cannot dry evenly. This leads to differential swelling and permanent staining.
Remove all furniture from the affected area. For heavy pieces that cannot be moved, place aluminium foil or plastic blocks under each leg to prevent direct contact with wet wood. Do not use cardboard or fabric, as these absorb moisture and hold it against the floor.
Remove Rugs and Underlays Immediately
Rugs and carpets on top of wooden floors act as sponges, holding water against the wood and dramatically slowing evaporation. Roll back any rugs or runners immediately. If the rug is saturated, remove it from the room entirely. Check underneath for rubber underlays or foam padding—these materials trap moisture and must be discarded if wet.
Begin Drying Within the First Hour
The drying window for wooden floors is measured in hours, not days. Wood begins absorbing moisture instantly. Within 24 to 48 hours, mould can start growing. After 72 hours, permanent damage becomes increasingly likely.
Increase Air Circulation
Place fans directly facing the wet floor. Do not oscillate them—fixed direction creates stronger airflow. Position fans at different angles to create cross-ventilation across the entire affected area. Use as many fans as you can obtain. The goal is to move air continuously across every wet board.
Use Dehumidifiers
Air circulation alone is insufficient. You must remove moisture from the air, or the water will simply evaporate and then condense elsewhere. Dehumidifiers pull moisture from the air, allowing the wood to release its absorbed water more quickly. Run dehumidifiers continuously, emptying the collection tank frequently. For best results, rent industrial-grade dehumidifiers rather than relying on small domestic units.
Open Windows and Doors
If outdoor humidity is lower than indoor humidity, open windows and doors to exchange air. In humid weather or during rain, keep windows closed and rely on dehumidifiers. Use fans to push moist air out and draw drier air in when conditions permit.
Remove Baseboards if Necessary
Water often runs along walls and seeps behind baseboards. This hidden moisture can cause wall damage and continues to feed the floor edges. If water has penetrated behind baseboards, carefully remove them to allow air circulation into the gap. Mark each piece for reinstallation later.
Do Not Apply Heat Directly
This is a common mistake that causes permanent damage. Do not use hair dryers, space heaters, or heat guns on wet wooden floors. Rapid, uneven heating causes the wood surface to dry too quickly while the interior remains wet, leading to severe cracking, splitting, and warping. Heat also drives moisture deeper into the wood rather than drawing it out. Stick to fans and dehumidifiers only.
When to Call Professionals
Some situations require professional intervention. Do not hesitate to call a water damage restoration specialist if:
- The water affected more than a small area (over 20 square feet)
- Water has been present for more than 12 hours
- The subfloor is likely wet (water pooled for extended time)
- You notice blackening, mould, or musty odours
- The water came from sewage, flooding, or grey water sources
- You have underfloor heating or a complex floor construction
Professionals bring industrial extraction equipment, moisture meters, and drying mats that apply gentle vacuum pressure to draw water from deep within the wood. Their intervention often saves floors that would otherwise be lost.
What Not to Do Under Any Circumstances
Avoid these common mistakes that make water damage worse:
- Do not walk on the wet floor unnecessarily. Foot pressure forces water deeper into joints and can push moisture into the subfloor.
- Do not sand a wet floor. Sanding wet wood clogs paper immediately and damages equipment. Wet wood also sands unevenly, creating ripples.
- Do not refinish until the floor is completely dry. Sealing in moisture guarantees mould growth and finish failure.
- Do not assume the floor is dry because the surface feels dry. Moisture remains deep within boards for days or weeks.
Assessing Damage After Drying
After two to three days of active drying, assess the floor. Minor cupping (edges slightly raised) often resolves as the wood fully dries. Moderate cupping may require professional sanding once moisture content stabilises. Severe cupping, cracking, or black staining indicates permanent damage requiring board replacement.
Use a moisture meter to check that wood moisture content returns to normal levels—typically 7-12% depending on species and climate. Do not proceed with any repairs until readings stabilise across all affected boards.
When Replacement Is Inevitable
Some water damage cannot be reversed. Boards that remain black, soft, or crumbled after drying contain rot or fungal growth. Engineered wood that has de-laminated (layers separating) cannot be repaired. If the subfloor remains wet after two weeks of drying, replacement is usually necessary. In these cases, cutting out and replacing damaged sections is the only path forward.
Final Advice: Speed Is Everything
The difference between a floor that survives water damage and one that fails comes down to speed. Immediate water extraction, aggressive drying with fans and dehumidifiers, and knowing when to call professionals are the deciding factors. A response within the first hour gives your floor the best chance. Waiting until tomorrow almost guarantees permanent damage. Act now, dry thoroughly, and your wooden floor may continue serving your home for decades to come.