
Can You Stain Pine Floors Dark? Challenges and Solutions
Dark stained floors are undeniably elegant. Deep walnut, rich mahogany, espresso, ebony—these colours create drama, hide imperfections, and give rooms a sophisticated feel. But if you have a pine floor, achieving that dark, even stain is notoriously difficult. Pine is soft, absorbent, and prone to blotching. What looks beautiful on a sample board in the shop often turns into a patchy, uneven mess on your floor. This article explains why staining pine dark is so challenging and how professionals overcome these problems.
The Appeal of Dark Floors
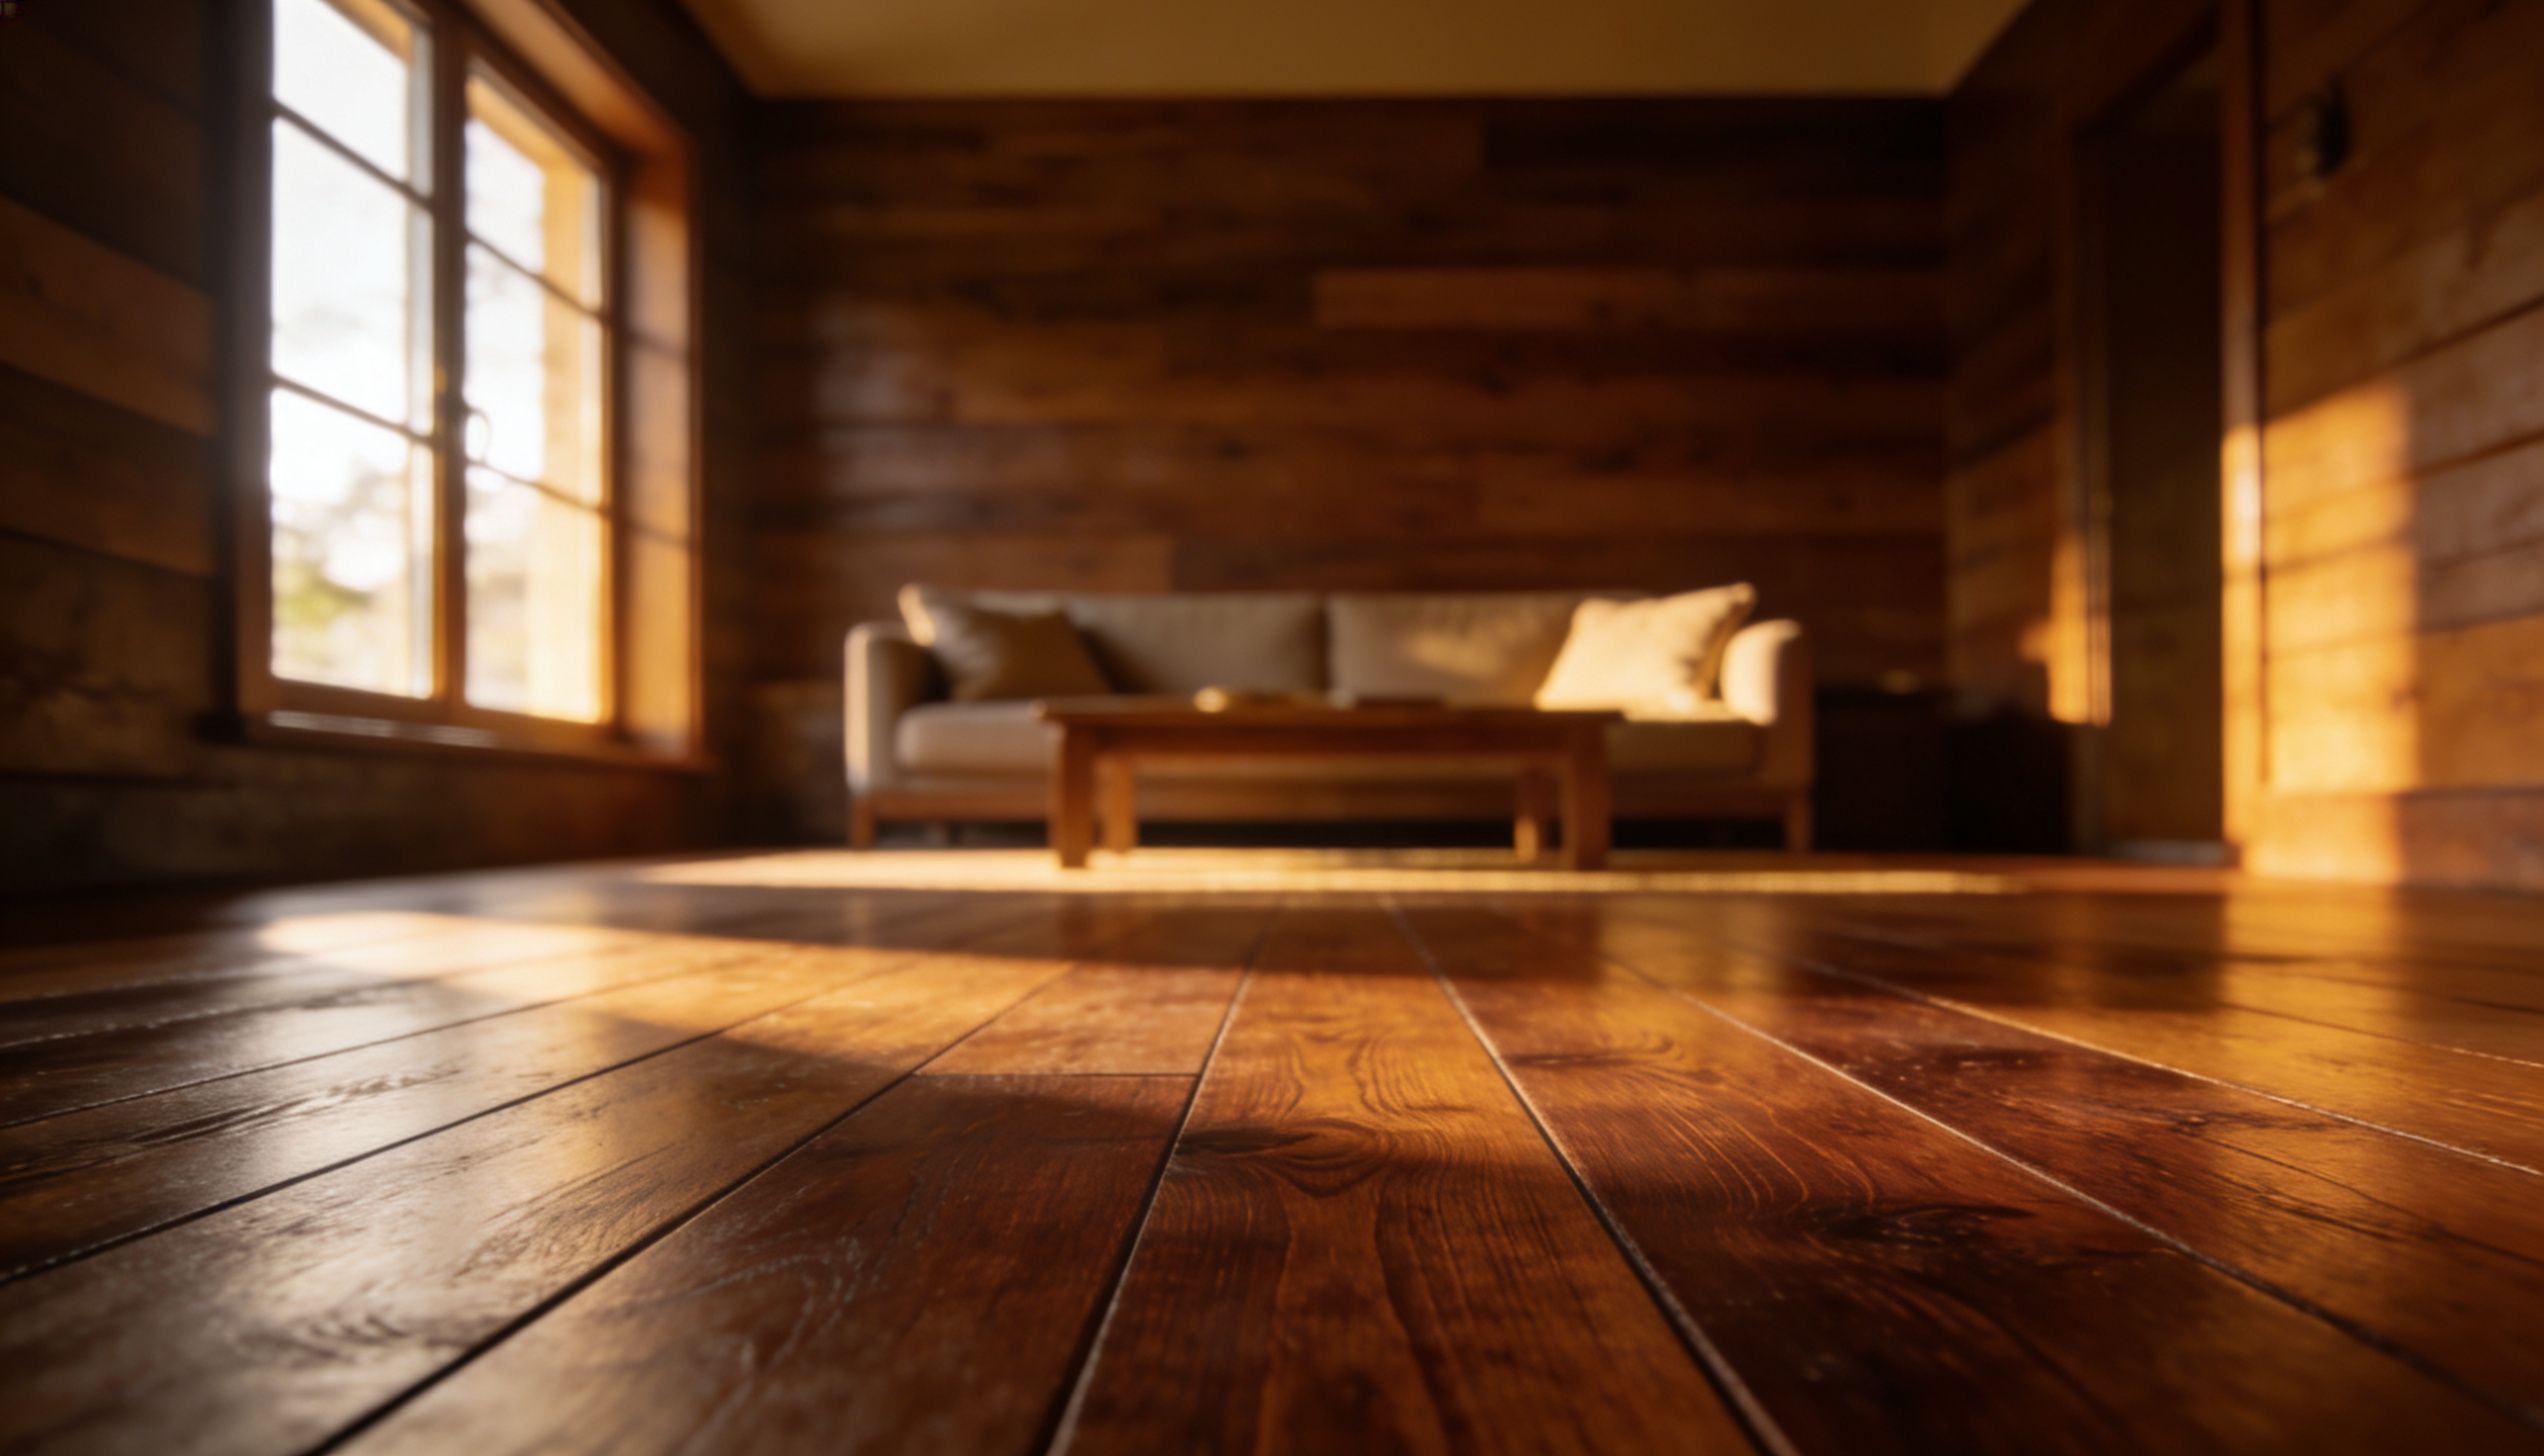
Dark floors have become increasingly popular. They provide a striking contrast to light walls and furniture. They hide dirt and dust better than pale floors. They create a cosy, grounded feeling in large rooms. And they suit both period and contemporary interiors.
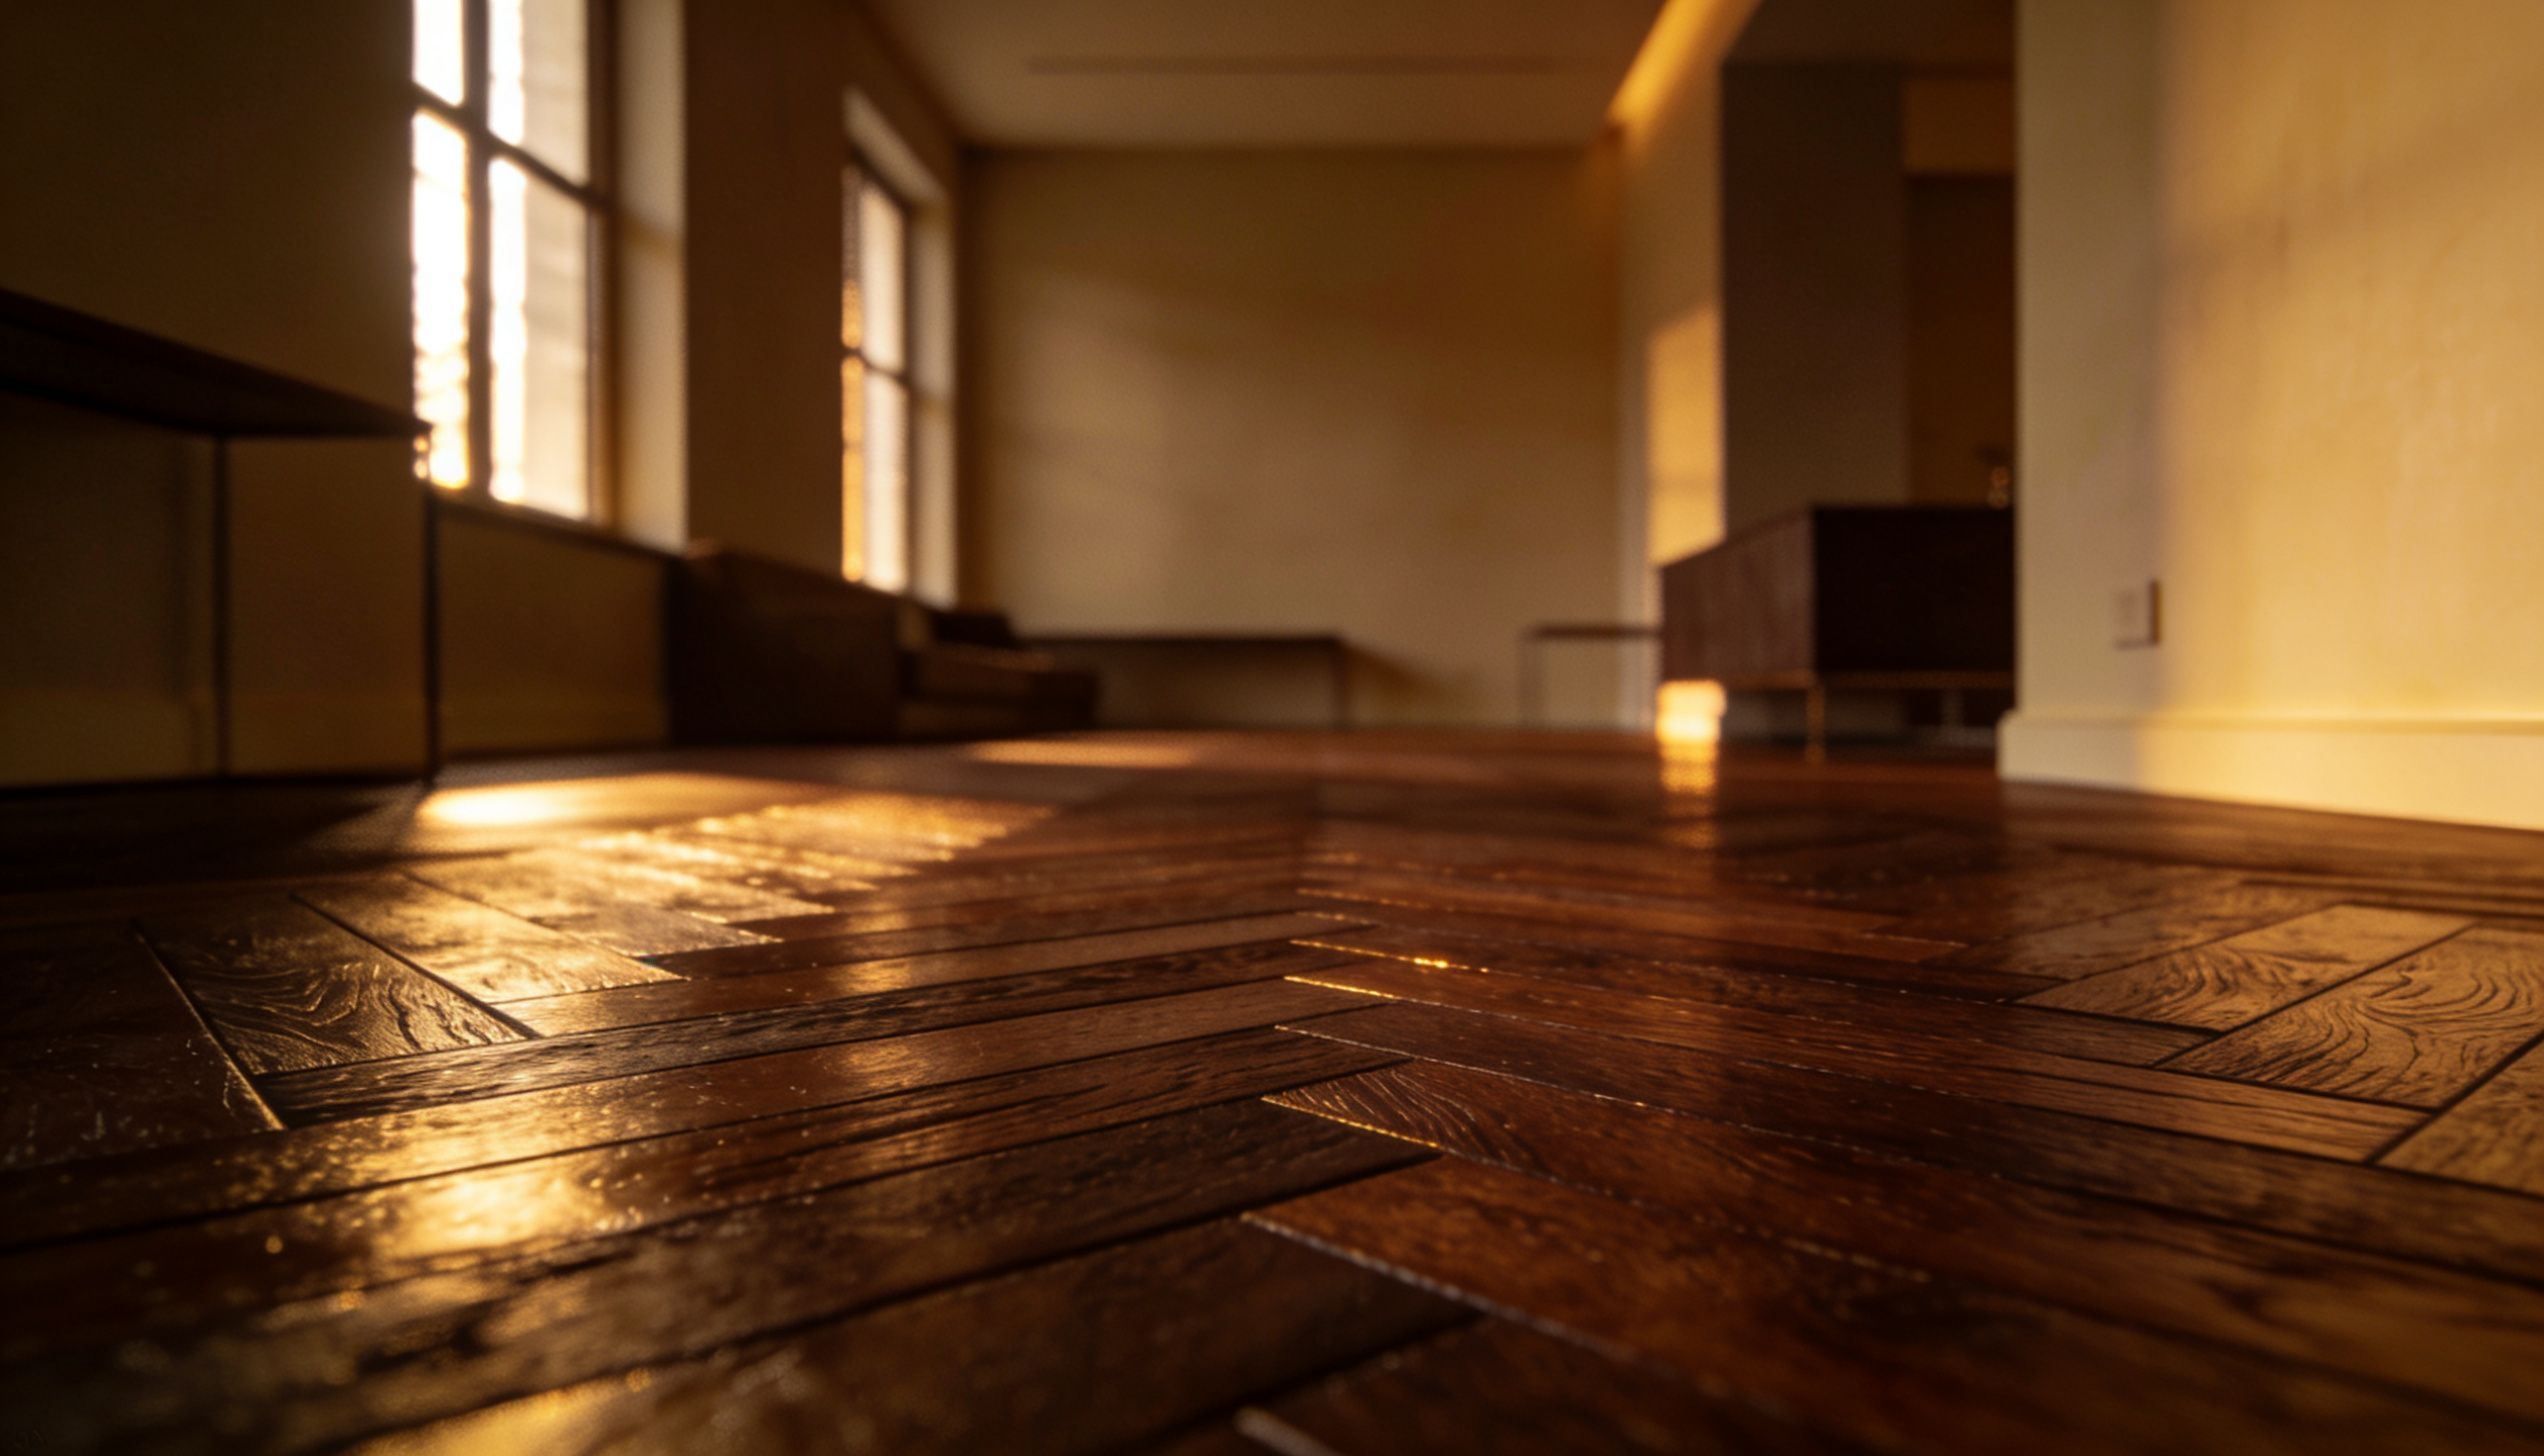
For owners of Victorian homes especially, dark floors have historical resonance. Victorian floors were originally stained dark—walnut, mahogany, and dark oak were fashionable. So wanting to stain your pine floor dark is not just a modern preference. It is historically authentic.
The problem is that pine does not want to cooperate.
Why Pine Is Difficult to Stain Dark
Uneven Absorption
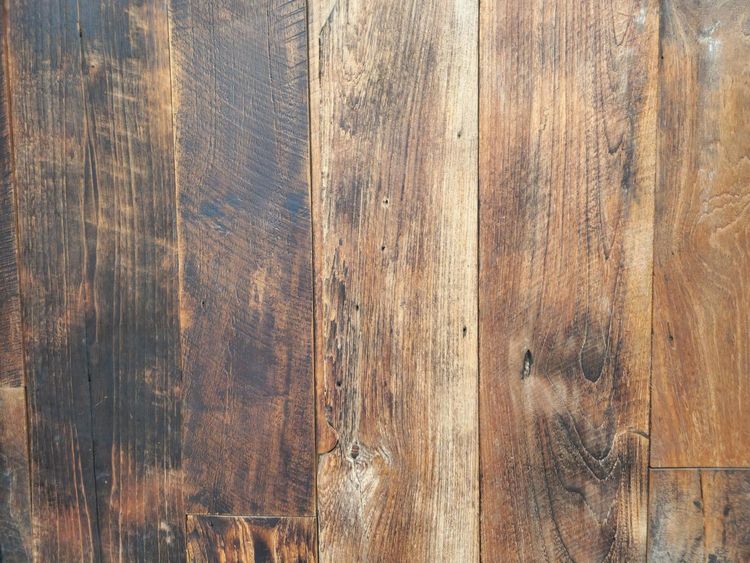
Pine is not a uniform material. The dense summer wood (dark bands) absorbs stain slowly. The soft spring wood (light bands) absorbs stain quickly and deeply. When you apply a dark stain, the spring wood soaks up colour like a sponge, turning nearly black. The summer wood takes less stain, remaining lighter. The result is a dramatic, zebra-like reversal of the natural grain pattern.
This is called blotching, and it is the most common complaint when staining pine.
Resin Interference
Pine contains resin. This sticky substance naturally resists penetration. Stain cannot absorb evenly through resinous areas. The result is light patches where resin blocks the stain and dark patches where it does not. Older pine may have dried resin that behaves unpredictably.
Softness and Compression
Pine compresses under pressure. During sanding, the soft spring wood compresses while the harder summer wood resists. When you apply stain, the compressed fibres absorb differently than uncompressed areas. The result is uneven colour that follows the pattern of sanding marks.
Colour Shifting
Pine naturally darkens with age, turning from pale cream to warm amber. A dark stain applied today may look different in a year as the underlying wood continues to age. The stain colour can shift, sometimes becoming muddy or greenish.
The Challenges in Practice
Even with careful preparation, staining pine dark often produces:
- Blotchy, uneven colour across the floor
- Dramatic reversal of natural grain (light bands becoming dark, dark bands becoming light)
- Light patches where resin blocks stain absorption
- Dark patches where the wood soaks up too much colour
- Muddy, unclear appearance rather than rich, clear colour
- Visible sanding marks that become emphasised by stain
Homeowners who attempt dark staining without understanding these challenges are often disappointed. Professionals who work with pine regularly have developed solutions.
Solutions for Staining Pine Dark
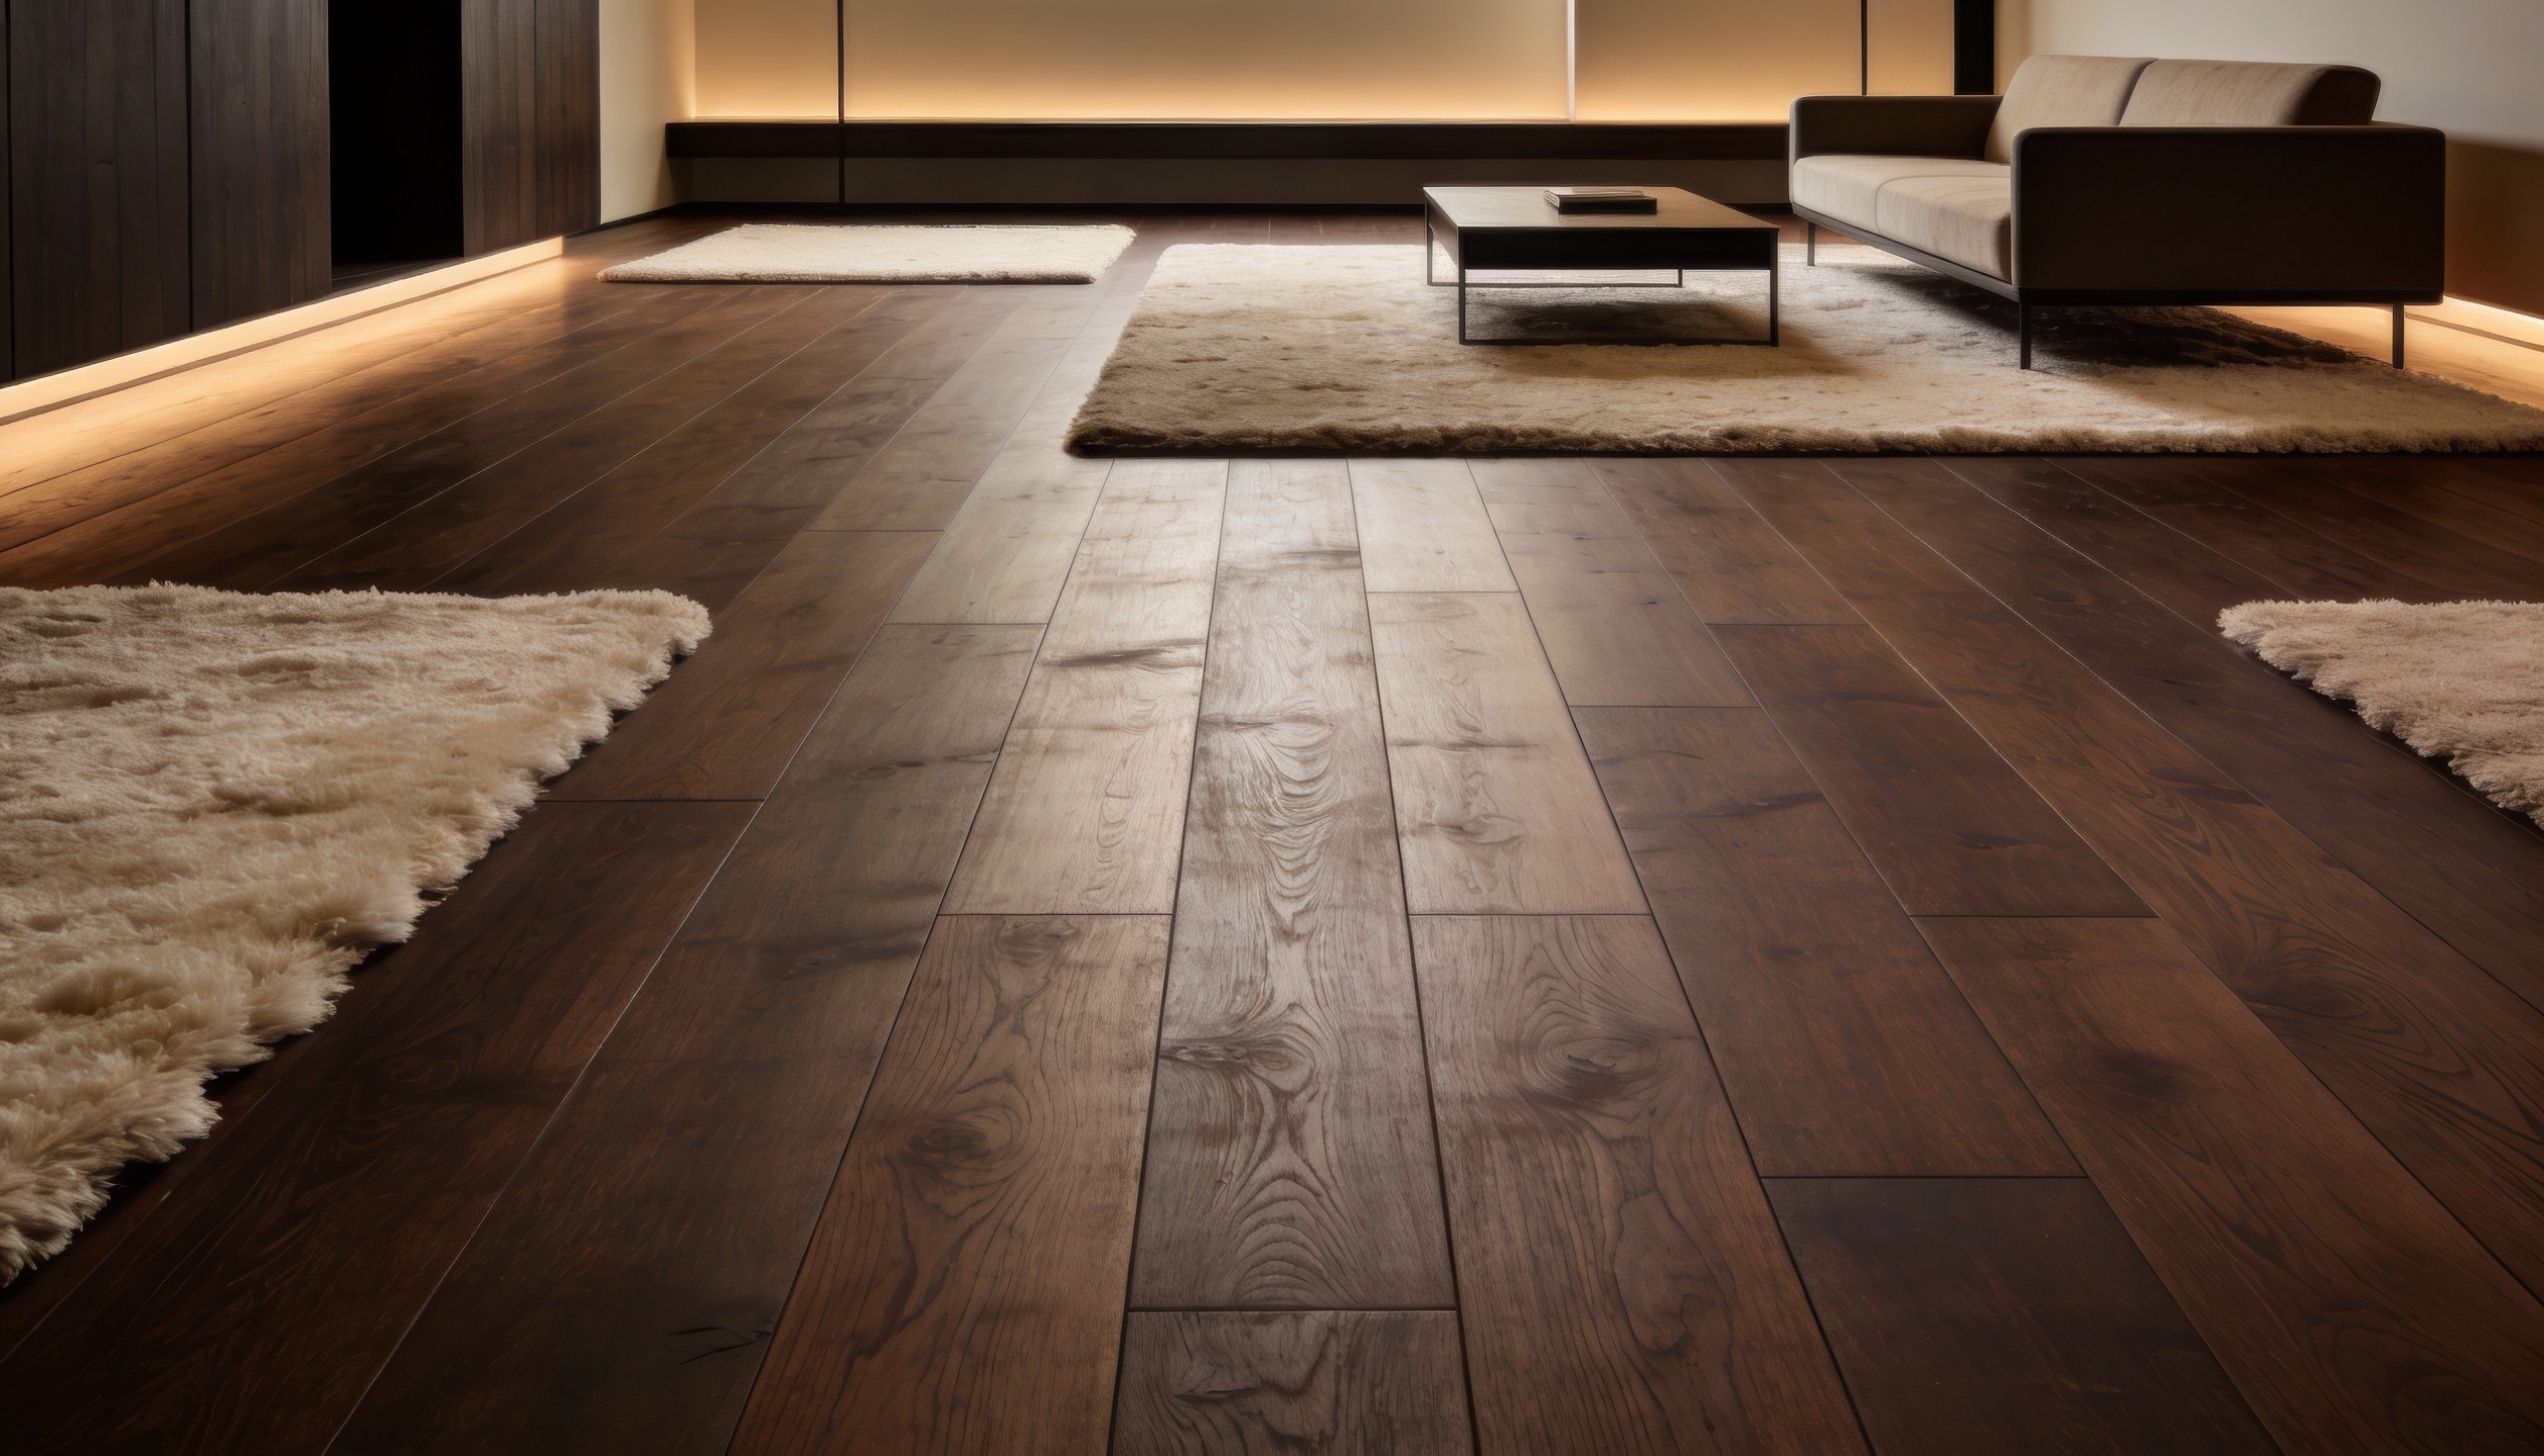
Solution 1: Wood Conditioner
Wood conditioner is a pre-stain treatment that partially seals the most absorbent areas of the wood. It penetrates the soft spring wood more than the dense summer wood, reducing the difference in absorption.
How to use: Apply conditioner evenly across the floor. Allow it to penetrate for the recommended time (usually 5 to 15 minutes). Wipe off excess. Apply stain within two hours.
Conditioner does not eliminate blotching entirely, but it reduces it significantly. The result is a more even, though slightly lighter, colour.
Solution 2: Gel Stain
Gel stains are thicker than liquid stains. They sit on the surface of the wood rather than penetrating deeply. This reduces the blotching effect because the stain does not have time to pool in the soft spring wood.
How to use: Apply gel stain with a rag or foam brush. Work in small sections. Wipe off excess before it dries. Multiple thin coats produce richer colour than one heavy coat.
Gel stains are more forgiving than liquid stains. They are the best choice for DIY dark staining of pine.
Solution 3: Dye Stains
Dye stains are different from pigment stains. They use soluble colour that penetrates deeply and evenly. Dyes do not sit on the surface, so they do not obscure the grain. They also do not blotch as badly as pigment stains.
How to use: Dye stains are typically mixed with water or alcohol. They are applied with a pump sprayer or roller. Water-based dyes raise the grain, requiring a light sanding after drying.
Dye stains produce very even, clear colour. However, they require more skill to apply and are less common in consumer products.
Solution 4: Tinted Finish
Instead of staining the wood itself, you can add colour to the finish. Tinted hard wax oil or tinted lacquer sits on top of the wood, creating a dark appearance without penetrating unevenly.
How to use: Apply a clear sealer first to stabilise the wood. Then apply one or more coats of tinted finish. The colour sits above the wood rather than in it, so blotching is not an issue.
This approach produces the darkest, most even results. However, scratches show as light lines through the tinted layer, revealing the pale wood underneath.
Solution 5: Sanding to Higher Grits
Standard sanding for stain stops at 100 or 120 grit. For dark stain on pine, sanding to 150 or 180 grit produces a smoother surface that absorbs stain more evenly. The finer surface also reduces the appearance of sanding marks.
Be careful not to over-sand. Very high grits (above 180) can seal the wood surface, preventing stain absorption entirely.
Solution 6: Professional Application
Even with the best products, applying dark stain to pine requires skill. Professionals have experience reading the wood, adjusting application techniques, and correcting problems as they arise. They also have access to commercial-grade conditioners and stains that are not available to the public.
For a large floor or a valuable period property, professional application is strongly recommended.
Step-by-Step Professional Process
This is how a professional typically approaches dark staining of pine:
- Sand the floor properly, progressing through grits to 120 or 150.
- Vacuum thoroughly and wipe with tack cloths.
- Apply wood conditioner evenly across the floor.
- Allow conditioner to penetrate, then wipe excess.
- Apply gel stain or dye stain in small sections.
- Wipe off excess before the stain dries.
- Allow stain to dry completely (24 hours or more).
- Apply a clear finish—hard wax oil or lacquer.
- For deeper colour, repeat staining and finishing.
What to Expect from Dark-Stained Pine
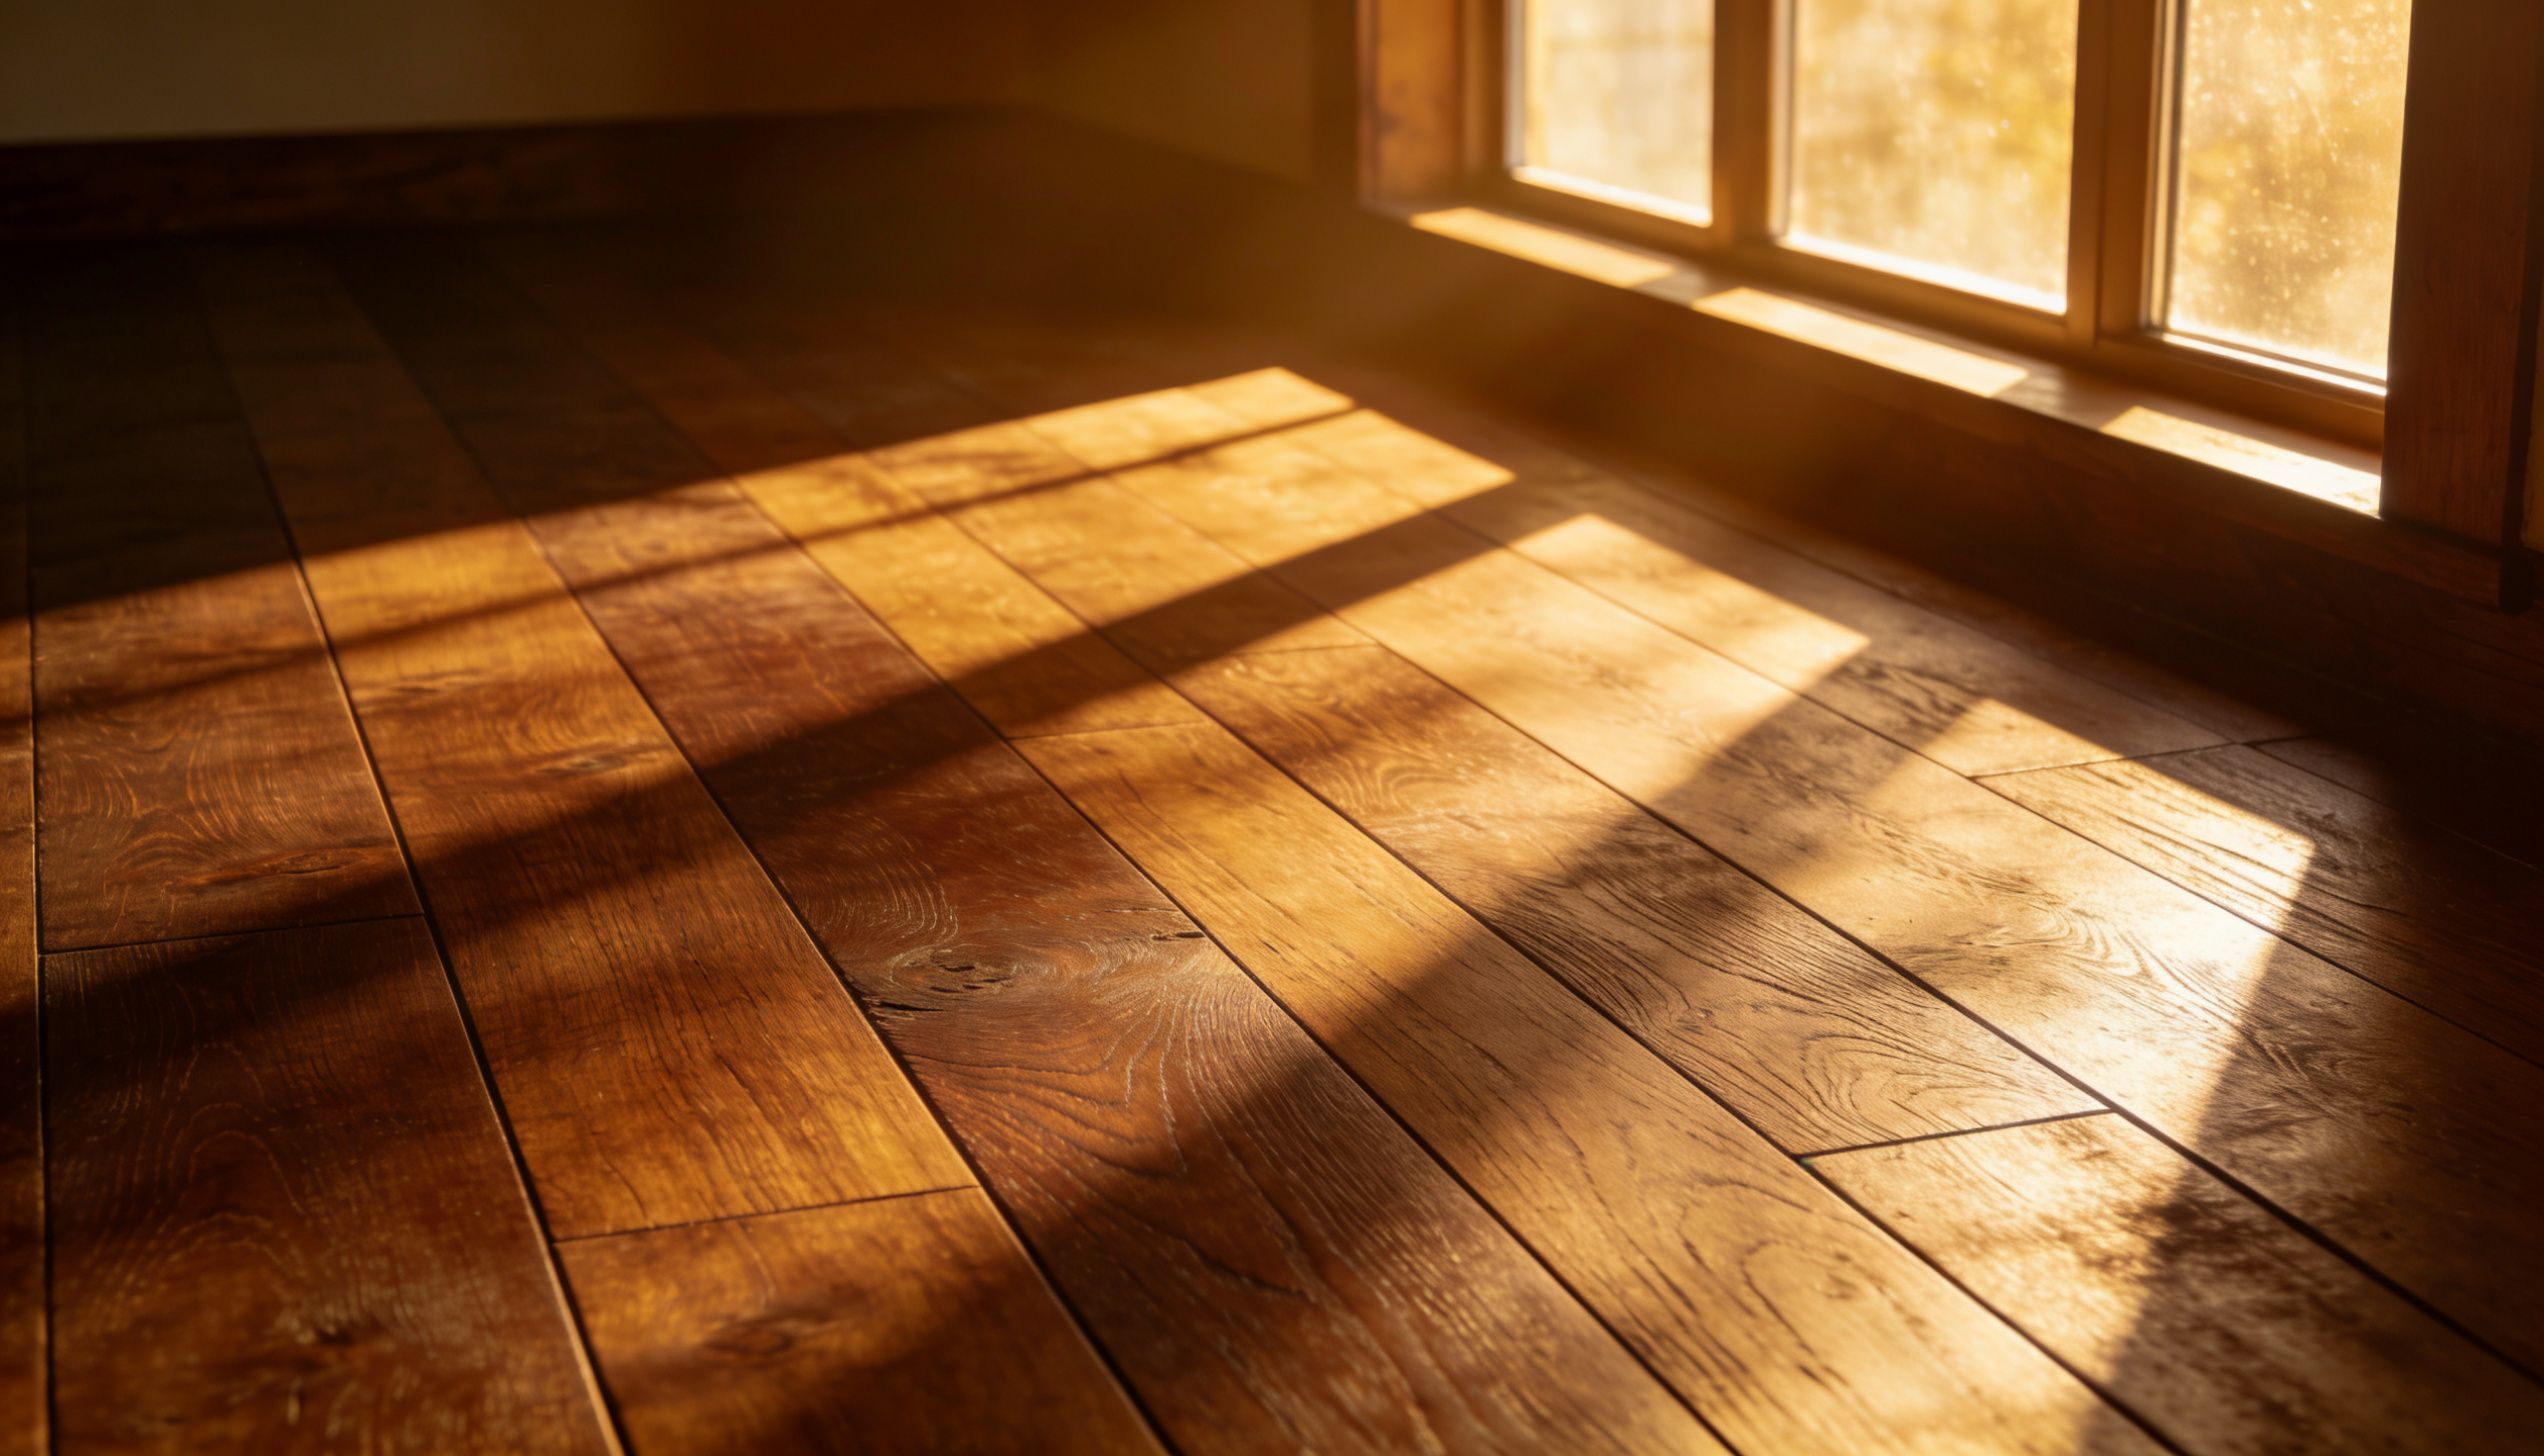 Even with the best techniques, dark-stained pine will never look like dark-stained oak. Pine has its own character. The grain will still be visible. There may still be subtle variations in colour. The result will be rich and beautiful, but it will not be perfectly uniform.
Accepting this is important. Pine is not oak. Trying to make it look like oak leads to disappointment. Embracing the unique character of pine leads to satisfaction.
When Dark Stain Is Not a Good Idea
Sometimes dark staining is the wrong choice. Consider alternatives if:
- The floor is very thin. Dark stain requires more aggressive sanding to achieve a smooth surface, which may not be possible.
- The floor has extensive woodworm or damage. Damage becomes more visible with dark stain.
- The floor has many repairs with different wood species. Different woods absorb stain differently, creating a patchwork effect.
- You want a perfectly uniform colour. Pine cannot provide this. Choose a different wood species or a painted floor instead.
- In these cases, consider a clear finish that lets the pine's natural colour shine, or a light stain that is more forgiving.
Alternative: Light or Natural Finishes
If dark staining seems too risky, consider alternatives that honour the pine:
- Clear hard wax oil enhances the natural warm amber colour of aged pine.
- White oil or limed finish creates a pale, beachy appearance that works well in modern interiors.
- Light oak stain provides subtle colour without dramatic blotching.
- These options are more forgiving and often more authentic, particularly for Edwardian homes where light finishes were originally used.
Conclusion
Yes, you can stain pine floors dark. But it requires the right products, the right techniques, and realistic expectations. Wood conditioner, gel stains, dye stains, and tinted finishes all offer solutions to the blotching problem. Professional application produces the best results.
The key is understanding that dark-stained pine will look like dark-stained pine, not like dark-stained oak. It will have character, variation, and the unmistakable grain pattern of softwood. If you embrace that character, you can achieve a rich, dramatic floor that honours both your home and the wood beneath your feet.