
Parquet Flooring in Edwardian Homes: Repair and Refinishing Guide
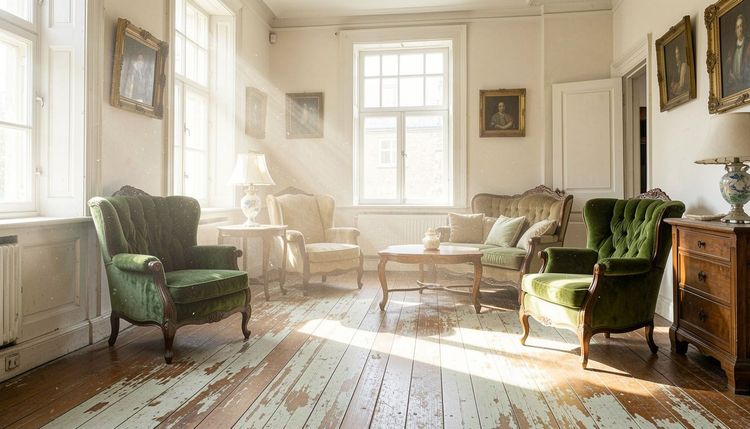
Edwardian parquet flooring is one of the most desirable period features in London homes. Installed between 1900 and 1910, these intricate geometric floors were a hallmark of quality and sophistication. Unlike standard floorboards, parquet is composed of small wooden blocks arranged in decorative patterns—most commonly herringbone or basket weave. Restoring such a floor requires specialist knowledge, the right equipment, and a deep understanding of period materials. This guide covers everything you need to know about repairing and refinishing parquet flooring in Edwardian homes.
Understanding Edwardian Parquet
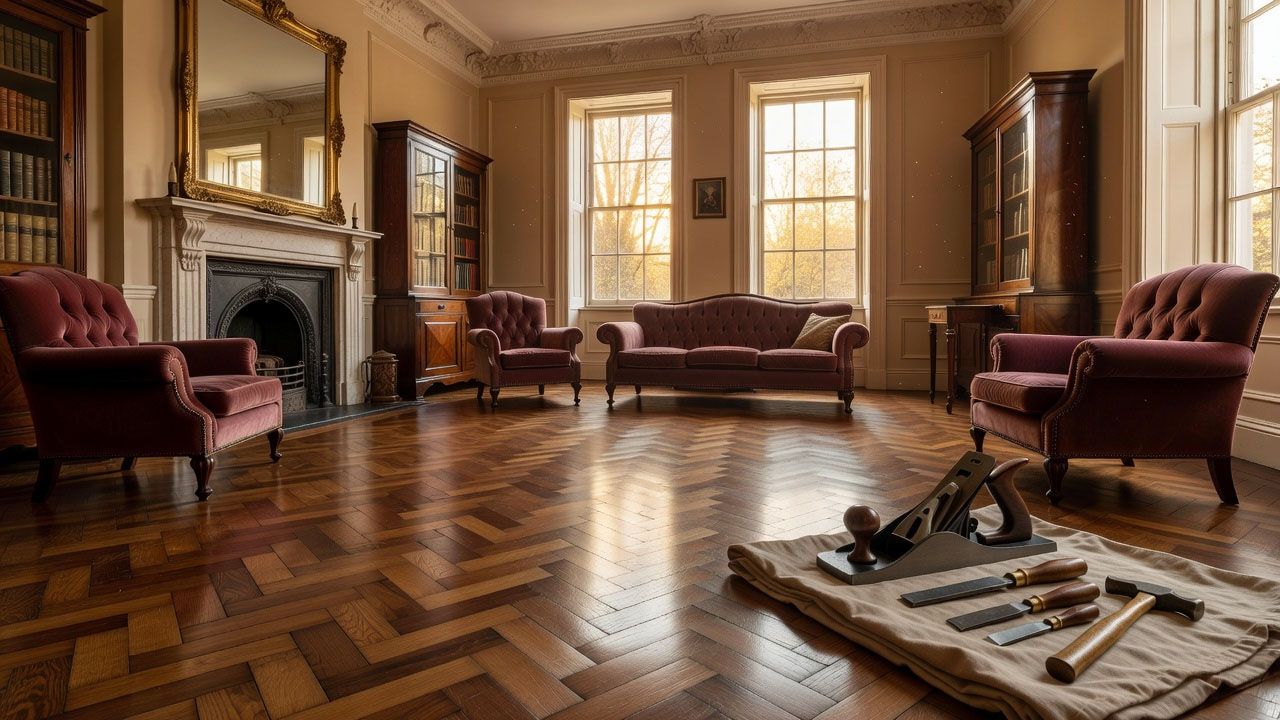
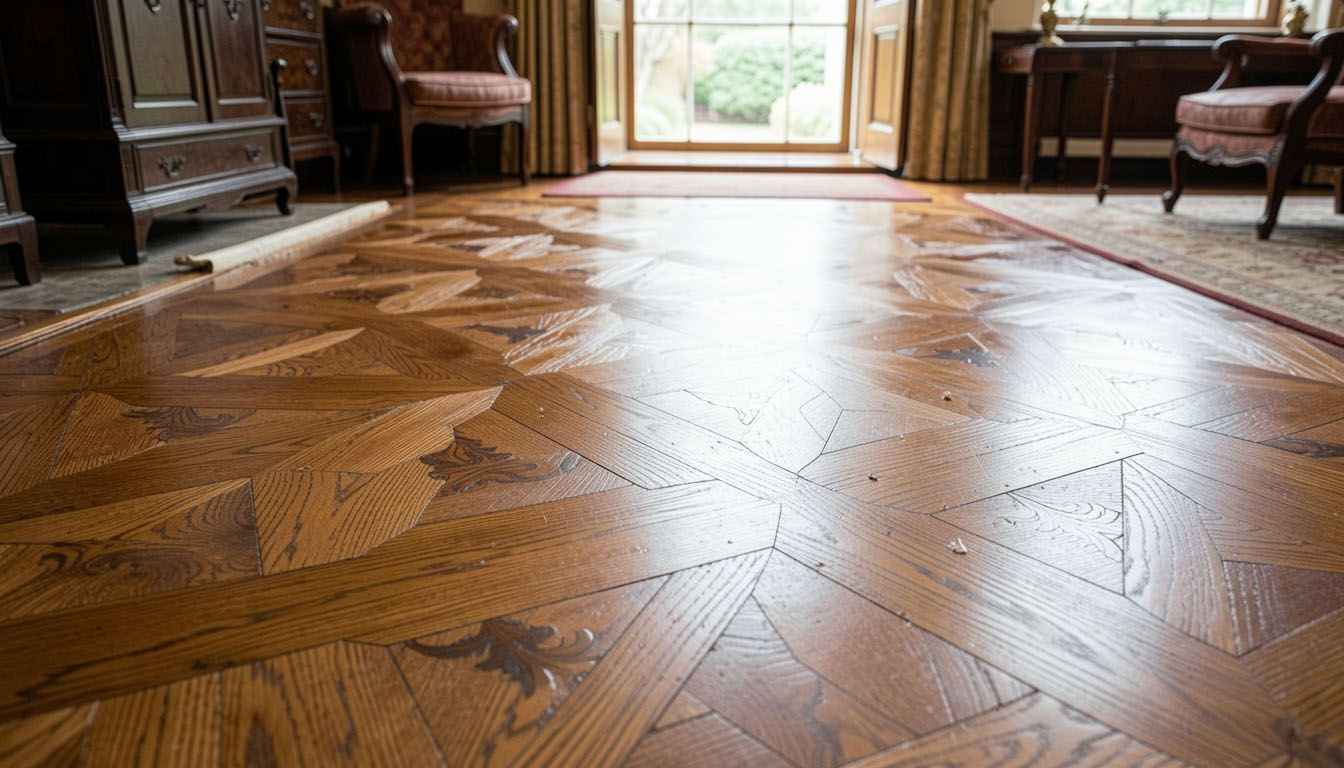
Original Edwardian parquet consists of solid oak blocks, typically around 20mm thick. The oak is old-growth timber, dense and tight-grained, far superior in quality to modern equivalents. Blocks were laid onto bitumen-coated concrete or timber subfloors, with the most common pattern being herringbone, where rectangular blocks are arranged at 90-degree angles to create a zigzag effect.
Other patterns include chevron, basket weave, and block parquet, sometimes with decorative borders in contrasting woods. Each pattern requires a different approach during restoration.
The construction was designed for durability. A well-maintained Edwardian parquet floor can last well over a century, with multiple sandings over its lifetime.
Common Problems in Edwardian Parquet

Loose or Lifting Blocks
The original bitumen adhesive dries out and fails over time. Loose blocks create hollow sounds underfoot, trap dirt beneath, and can become a trip hazard. Sanding over loose blocks damages the blocks and creates an uneven surface.
Missing or Damaged Blocks
Blocks may have been removed for plumbing or wiring access, or damaged beyond repair by rot or impact. Replacing them requires sourcing reclaimed oak of matching species, size, and character.
Moisture Damage
Water causes oak to cup, warp, and discolour. Black staining often indicates prolonged dampness. In severe cases, rot sets in, compromising the block's structural integrity.
Wear Layer Thinning
Each sanding removes approximately 1-2mm of material. If the floor has been sanded multiple times previously, the remaining wear layer above the tongue may be thin, limiting future sanding options.
Gaps Between Blocks
Seasonal movement and age create gaps between blocks. These trap dirt, allow draughts, and affect the overall appearance.
Inspection and Assessment
Before any work begins, a thorough inspection is essential. This involves:
- Tapping the floor to identify hollow or loose blocks
- Checking for moisture using a moisture meter
- Measuring remaining block thickness to determine how much material can safely be removed
- Identifying any areas of rot or woodworm
- Assessing the subfloor condition
This assessment determines whether repair and refinishing are viable or if more extensive work is needed.
Repairing Parquet
Re-adhering Loose Blocks
Loose blocks must be carefully lifted, avoiding damage to the tongue and groove. Old bitumen residue is removed from both the block and the subfloor. A flexible moisture-curing adhesive is then applied, and the block is pressed back into place with weight applied until the adhesive cures.
Replacing Missing Blocks
Matching replacement blocks must be sourced from reclaimed timber suppliers or salvage yards. The new block is cut to size, the tongue and groove are profiled if necessary, and it is glued in place. After curing, the block is sanded flush with the surrounding floor.
Treating Woodworm
Active woodworm requires professional treatment before any sanding begins. The treatment penetrates deep into the timber, killing larvae and preventing further infestation.
Addressing Moisture Issues
If moisture is present, the source must be identified and eliminated—whether it is a leaking pipe, rising damp, or condensation from lack of subfloor ventilation. The floor must then be allowed to dry completely before any sanding or refinishing takes place.
The Sanding Process
Why Parquet Requires Diagonal Sanding
Parquet is laid in patterns where adjacent blocks run at 90 degrees to each other. There is no single direction in which a sander can run parallel to the grain of every block. Sanding against the grain of any block leaves permanent scratches and torn fibres.
The solution is diagonal sanding—typically at 45 degrees to the main laying axis. At this angle, the sander crosses the grain of every block evenly, removing material consistently across the entire pattern.
Equipment Selection
Heavy drum sanders are too aggressive for parquet and can gouge softer oak grain. Professionals use rotary sanders or multi-disc machines that remove material evenly without creating dips. For edge work, detail sanders or hand sanding follows the same diagonal approach.
Grit Progression
Sanding begins with a coarser grit appropriate to the condition of the floor, typically 40 or 50 grit. Progress is made through to 80, 100, and finally 120 grit. Each grit removes the scratches left by the previous one. Skipping grits leaves visible marks that will show through the finish.
The diagonal angle is maintained throughout every grit.
Sanding Edges and Corners
Edges around skirting boards, doorways, and hearths are sanded using edge sanders set at the same diagonal angle. For corners and areas too small for machines, hand sanding with sanding blocks or detail sanders is used, always following the diagonal.
Filling Gaps
After sanding, gaps between blocks are assessed. Small gaps—up to 1-2mm—are typically left as character features. Larger gaps can be filled with flexible resin mixed with fine oak dust produced during sanding, coloured to match the block faces. Rigid fillers are avoided as they crack with seasonal movement.
Finish Selection
Hard Wax Oil
Hard wax oil is often the preferred finish for Edwardian parquet. It penetrates the timber, enhancing the natural grain variation and colour depth while allowing adjacent blocks to catch light slightly differently. It is breathable, allows spot repairs, and provides moderate protection against spills and wear.
Water-Based Lacquer
Water-based lacquer offers greater durability and is ideal for high-traffic hallways. Extra-matt lacquer provides the best visual compromise, preserving a natural appearance while offering excellent scratch and spill resistance. Unlike oil-based alternatives, it does not yellow significantly over time.
Traditional Wax
Wax was the original finish used on Edwardian parquet. It produces the most authentic, characterful result but requires regular maintenance and offers less protection. It suits low-traffic formal rooms where authenticity is the priority.
The Importance of Professional Restoration
Parquet restoration is not a DIY project. The combination of patterned grain, varying block sizes, original adhesives, and limited wear layer thickness demands specialist knowledge. Professionals understand the correct sanding angles, have access to matching reclaimed timber, and can assess structural soundness.
Attempting to sand parquet without this knowledge risks damaging blocks beyond repair—a costly mistake that can destroy a floor's historical character permanently.
Conclusion
Edwardian parquet flooring is a treasure worth preserving. Its intricate patterns, dense old-growth oak, and century of history make it one of the most desirable period features in London homes. Proper restoration—from careful assessment and repair to diagonal sanding and sympathetic finishing—ensures these floors remain beautiful and functional for generations to come.