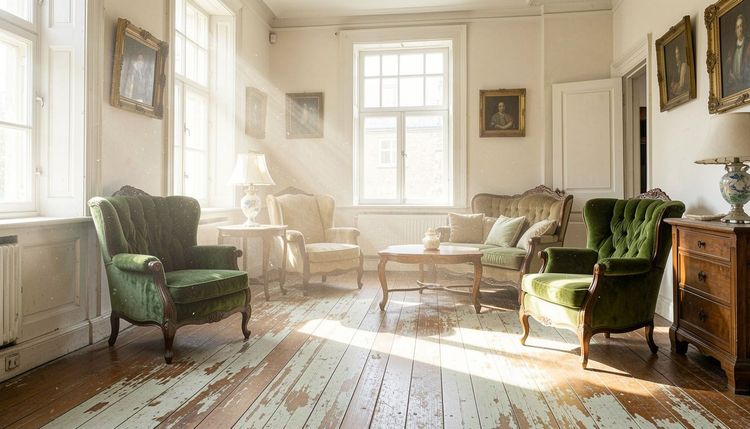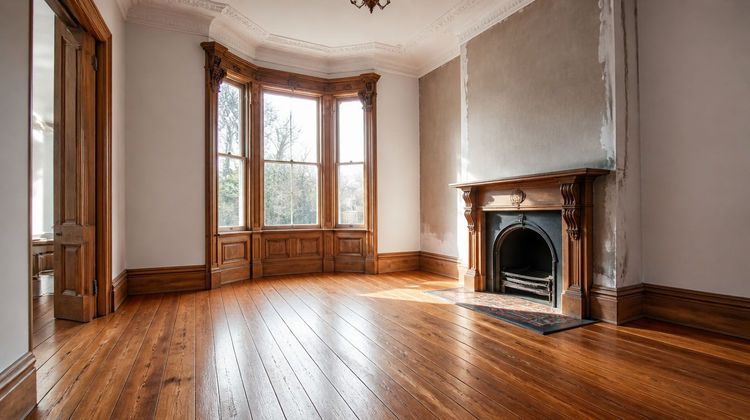

How to Restore Water-Damaged Floorboards After a Leak
Discovering a leak in your home is always stressful, but the sight of warped, stained, or buckled floorboards can be particularly disheartening. Whether the damage was caused by a burst pipe, a leaking dishwasher, or a heavy storm, time is of the essence when dealing with wet flooring. The good news is that not all water damage spells the end for your wooden floors. In many cases, floorboards can be successfully restored to their former glory. However, the approach you take depends entirely on the severity of the damage, the type of wood, and how quickly you act. This article provides a comprehensive guide to assessing water damage to your floorboards and outlines the professional restoration process, helping you determine whether a simple sanding will suffice or if full-scale replacement is inevitable.
Assessing the Severity of the Water Damage
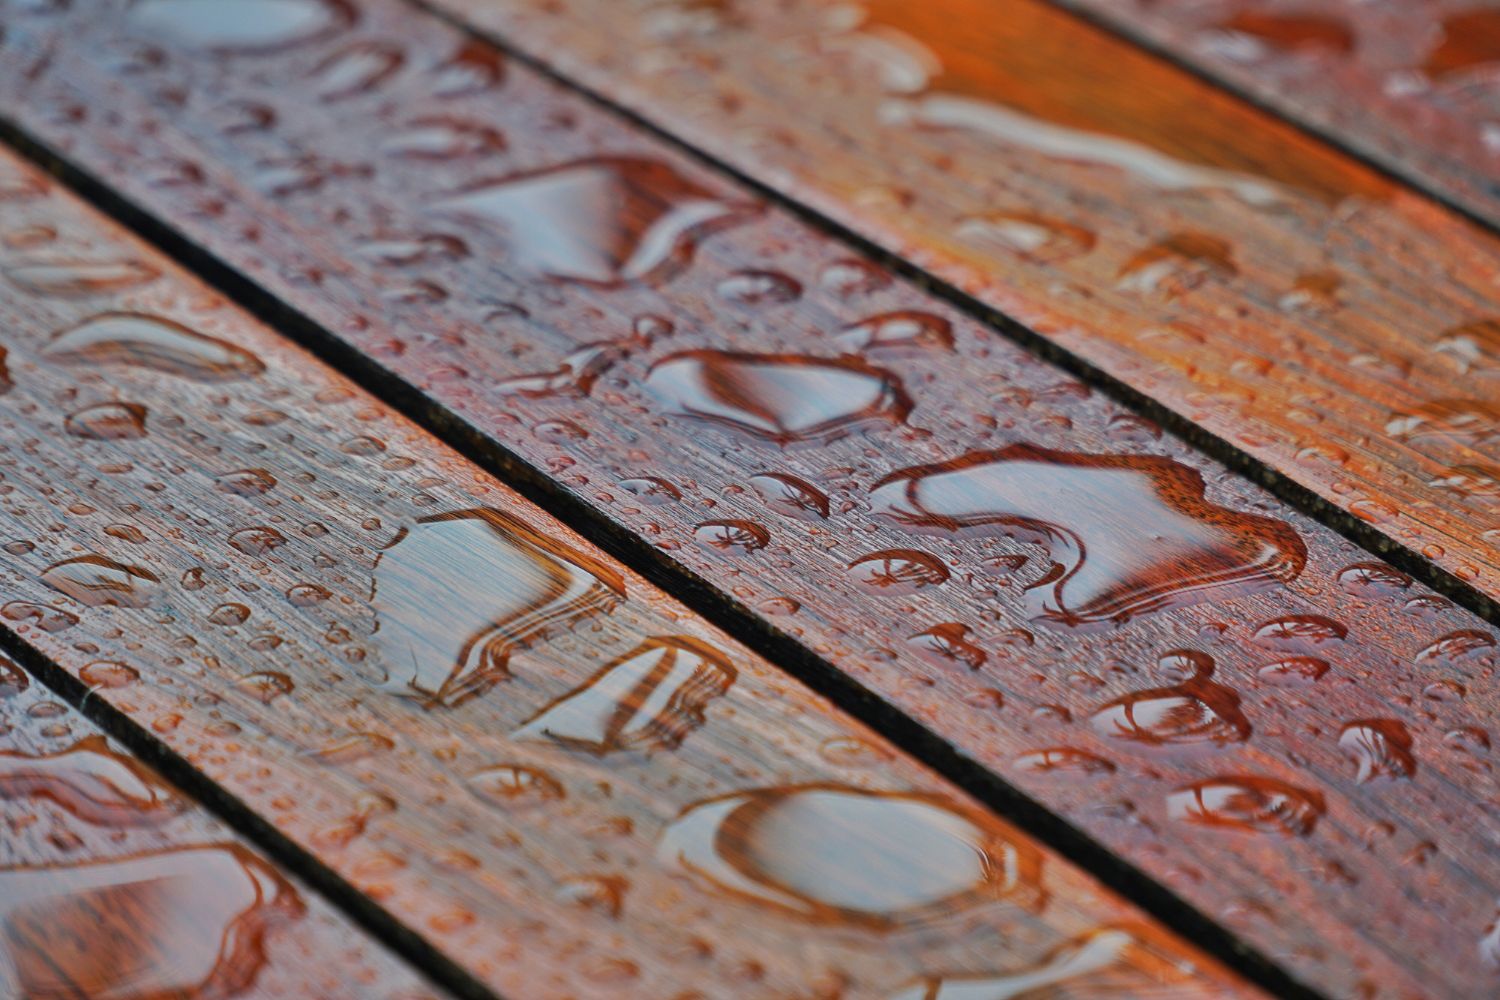
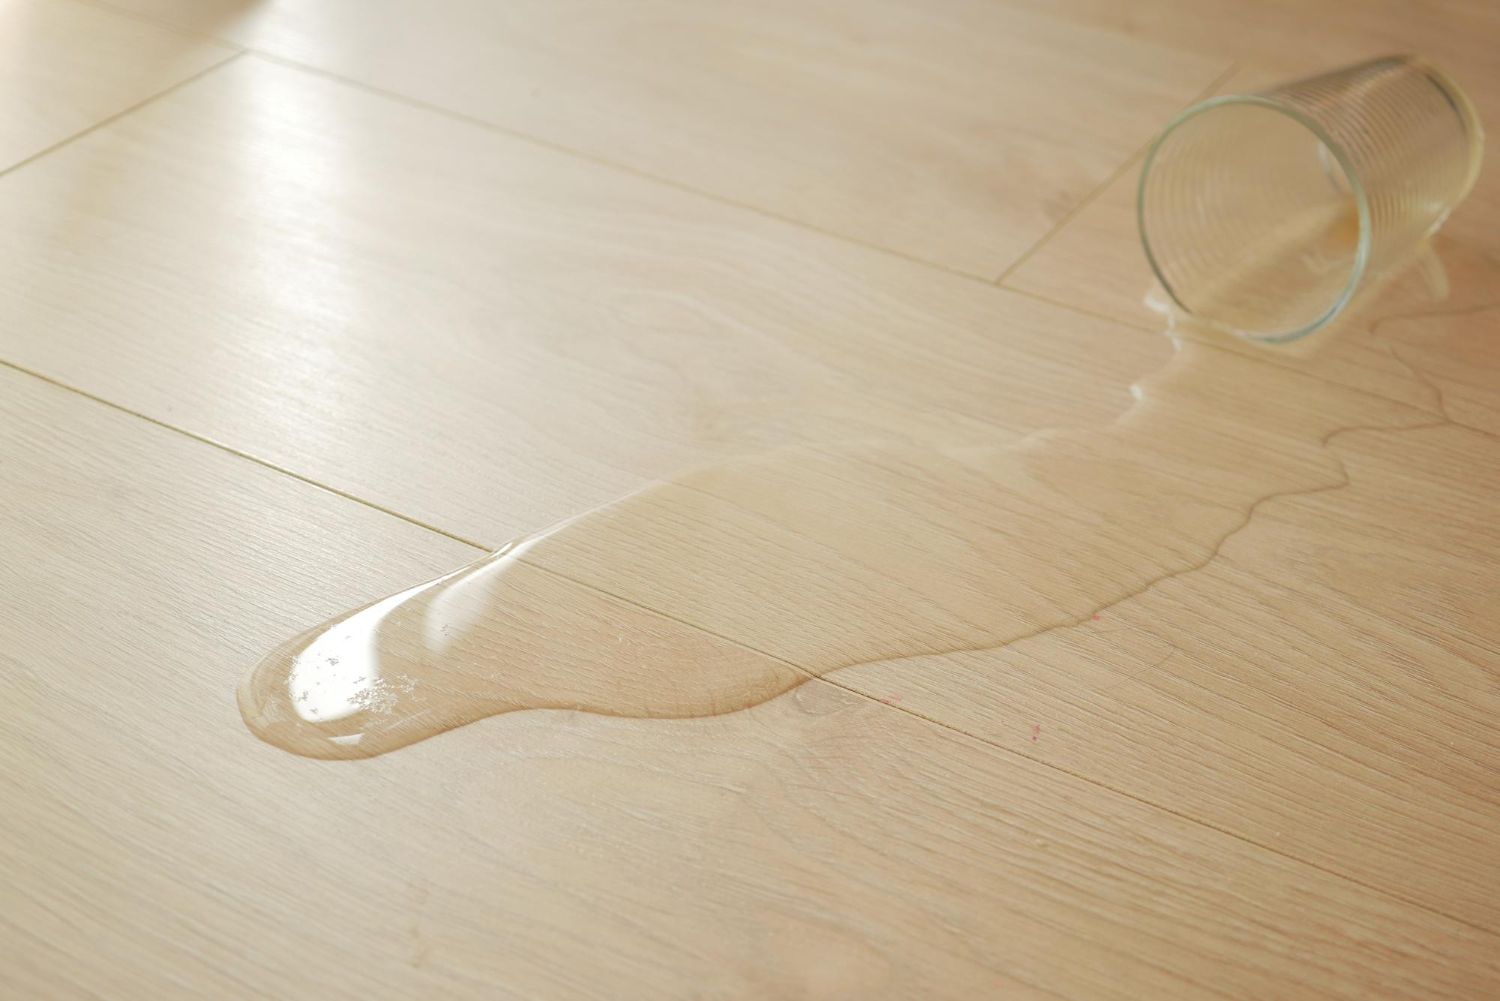
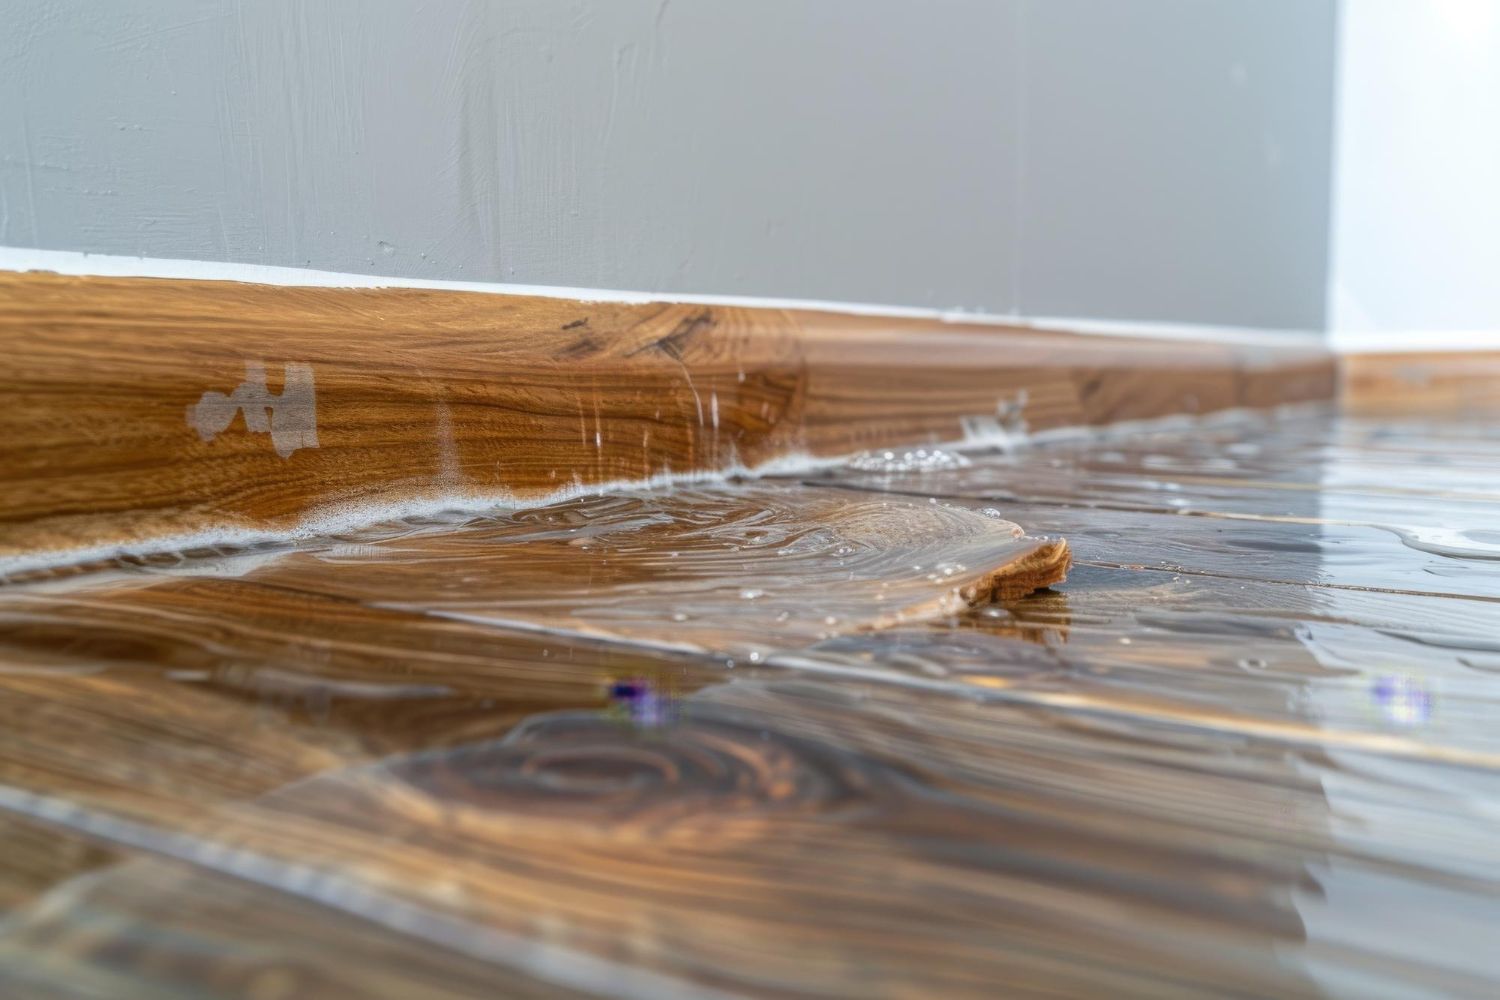
Before you grab a sander or call a contractor, you must first conduct a thorough assessment of the affected area. The most critical factors to consider are the type of water involved and the duration of exposure. Clean water from a supply pipe is much easier to deal with than contaminated grey water from a washing machine or black water from a sewage backup. If the water is contaminated, professional remediation is necessary for health and safety reasons, and simply drying the boards is not enough. You should also check for signs of structural damage to the subfloor and joists, as these are the foundations your floorboards rest upon. If the subfloor is compromised, the boards above will need to be lifted regardless.
Key Factors to Evaluate During Assessment:
- Type of water involved (clean, grey, or black)
- Duration of exposure to moisture
- Extent of visible warping or cupping
- Condition of the subfloor and joists beneath
- Presence of mold, mildew, or musty odors
When Drying and Sanding Are Sufficient
In many cases, particularly with solid hardwood floors exposed to clean water for a short period, the boards can be saved through a process of careful drying and sanding. If the boards are damp but not severely cupped (curved upwards at the edges), and there are no signs of fungal growth or rot, restoration is likely possible. This scenario typically applies when the leak was caught early, usually within the first 24 to 48 hours. Once the wood has thoroughly dried, it may return to its original shape, or it may retain a slight cup that can be sanded flat during the refinishing process. Staining that is only surface-level can also often be sanded away, revealing fresh, clean wood underneath.
Signs That Drying and Sanding Will Work:
- Boards are damp but not severely warped
- Leak was discovered within 24-48 hours
- No visible mold, mildew, or fungal growth
- Water was clean (from a supply pipe, not sewage)
- Surface stains only, not penetrating deep into the wood
When Board Replacement Is Necessary
Unfortunately, there are clear indicators that drying and sanding will not be enough, and board replacement is the only viable option. If the floorboards are severely cupped or crowned, or if they have begun to crack and split, their structural integrity has been compromised. Another major red flag is the presence of mold, mildew, or rot. Mold poses a serious health risk, and rot destroys the wood's cellular structure, making it weak and spongy. You should also check if the boards have lifted or become loose from the subfloor. In cases where the floor has been wet for an extended period, the boards may have expanded so much that they have "tented," rising up from the floor in a peak. Finally, if you have an engineered wood floor with a thin veneer that has de-laminated (peeled apart) due to moisture, the entire plank will need to be replaced.
Indicators That Board Replacement Is Required:
- Severe cupping, crowning, or cracking of boards
- Visible mold, mildew, or rot (soft, spongy wood)
- Boards have lifted, loosened, or "tented" away from subfloor
- Delamination in engineered wood flooring
- Subfloor or joists are structurally damaged
The Professional Restoration Process Step by Step
If your assessment concludes that your floorboards are salvageable, following a structured, professional-grade process is essential to ensure a successful restoration. Rushing this process is the most common mistake homeowners make, as it can lead to mold growth under the floor or a poor finish.
Step 1: Stop the Source and Safety Check
The very first step is to stop the source of the water. Whether it means turning off the main water valve or patching a roof, the leak must be fully addressed before any restoration work begins. Following this, it is crucial to turn off the electricity to the affected rooms if there is standing water, as the risk of electric shock is severe.
Step 2: Water Extraction and Initial Cleaning
Professionals use powerful wet vacuums and pumps to remove all standing water. This step is not about drying; it is about bulk removal. Once the standing water is gone, the area is cleaned. If the water was clean, a simple cleaning solution may be used. If there were contaminants, a specialized antimicrobial cleaner is applied to begin sanitizing the area.
Step 3: Accelerated Drying
This is the most critical phase. Professional restorers do not simply wait for the floor to air dry; they create the optimal conditions for rapid and thorough drying. High-velocity air movers are placed strategically across the wet floor to create continuous airflow. Simultaneously, industrial-grade dehumidifiers are brought in to pull moisture from the air, which in turn pulls moisture from the wood. Depending on the extent of the damage, they may also employ mat systems that apply gentle vacuum pressure to the floor surface to draw moisture out from the top. This process can take anywhere from three days to over a week. Moisture meters are used daily to measure the moisture content of the wood, ensuring it drops to an acceptable level (usually within a few percentage points of the undamaged wood) before any refinishing begins. Opening windows might seem helpful, but in humid climates, it can actually introduce more moisture into the room.
Step 4: Sanding and Preparation
Once the moisture meter confirms the wood is dry, the refinishing process can begin. The floor is sanded using a drum sander or orbital sander to remove the old finish, surface stains, and any slight cupping or roughness caused by the water. This process starts with coarse-grit sandpaper and progresses to finer grits to achieve a perfectly smooth surface. All dust is thoroughly vacuumed up, and the room is cleaned meticulously to ensure no dust particles ruin the new finish.
Step 5: Staining and Sealing
With the bare, smooth wood exposed, you can choose to apply a stain to change the color of the floor or proceed directly to sealing. A high-quality wood stain is applied evenly and left to penetrate before the excess is wiped away. The final and most important step is applying a protective sealant. Professionals typically apply several coats of polyurethane (either oil-based or water-based) or a hard-wax oil. Each coat must dry completely before the next is applied, and the floor is often lightly sanded between coats to ensure a perfect bond. This sealant is the floor's new armor against future moisture and daily wear and tear.
Essential Equipment Used by Professionals:
- Industrial wet vacuums and water extractors
- High-velocity air movers
- Commercial-grade dehumidifiers
- Moisture meters for tracking drying progress
- Drum or orbital sanders with various grit papers
- Floor sealants and application tools
Restoring water-damaged floorboards is a race against time and a test of patience. While a quick cleanup can sometimes save a floor, professional results require a methodical approach to drying and refinishing. By carefully assessing the damage and understanding this step-by-step process, you can make informed decisions about your flooring and significantly increase the chances of a successful restoration.