How to properly repair scratches and chips in a wooden floor
Wooden flooring always gives your home a cozy and elegant look, but it is prone to scratches and chips that can compromise its aesthetic appearance. No matter how carefully you take care of your floor, minor damage is inevitable over time. Proper repair of scratches and chips not only restores the floor's original appearance, but also extends its lifespan. In this article, we'll look at effective wood floor repair methods, from minor cosmetic fixes to more complex restoration work. Learn what materials and tools you'll need, as well as step-by-step instructions to help you restore your floor to its original beauty and durability.
What to do when your floor squeaks
Squeaking is a common problem for hardwood flooring that has degraded in performance over time. Squeaking can occur for several reasons:
- Drying out of the hardwood floor due to low humidity levels in the room.
- Physical damage to the hardwood flooring, such as broken tongue and groove joints or cracks in individual boards.
- Peeling of the parquet boards from the subfloor.
- Displacement of the parquet base relative to the floor joists.
If the floor not only squeaks, but also visibly deflects under the feet, it may indicate damage to the lags or violation of fastenings of the parquet base. In such a situation, a comprehensive repair will be required, affecting both rough and finish flooring, not just the parquet flooring.
If the squeak is not associated with serious damage and parquet strips have not yet had time to peel from the base, there are several ways to eliminate the problem:
- Moisturize the room: Increasing the humidity level can help restore the original dimensions of the floorboards.
- Fixing the boards: Use special nails or screws to secure the squeaky boards to the subfloor.
- Talcum powder: Put talcum powder in the gaps between the boards to reduce friction.
- Glue Injection: Injecting glue into the gaps between the boards will help lock them in place.
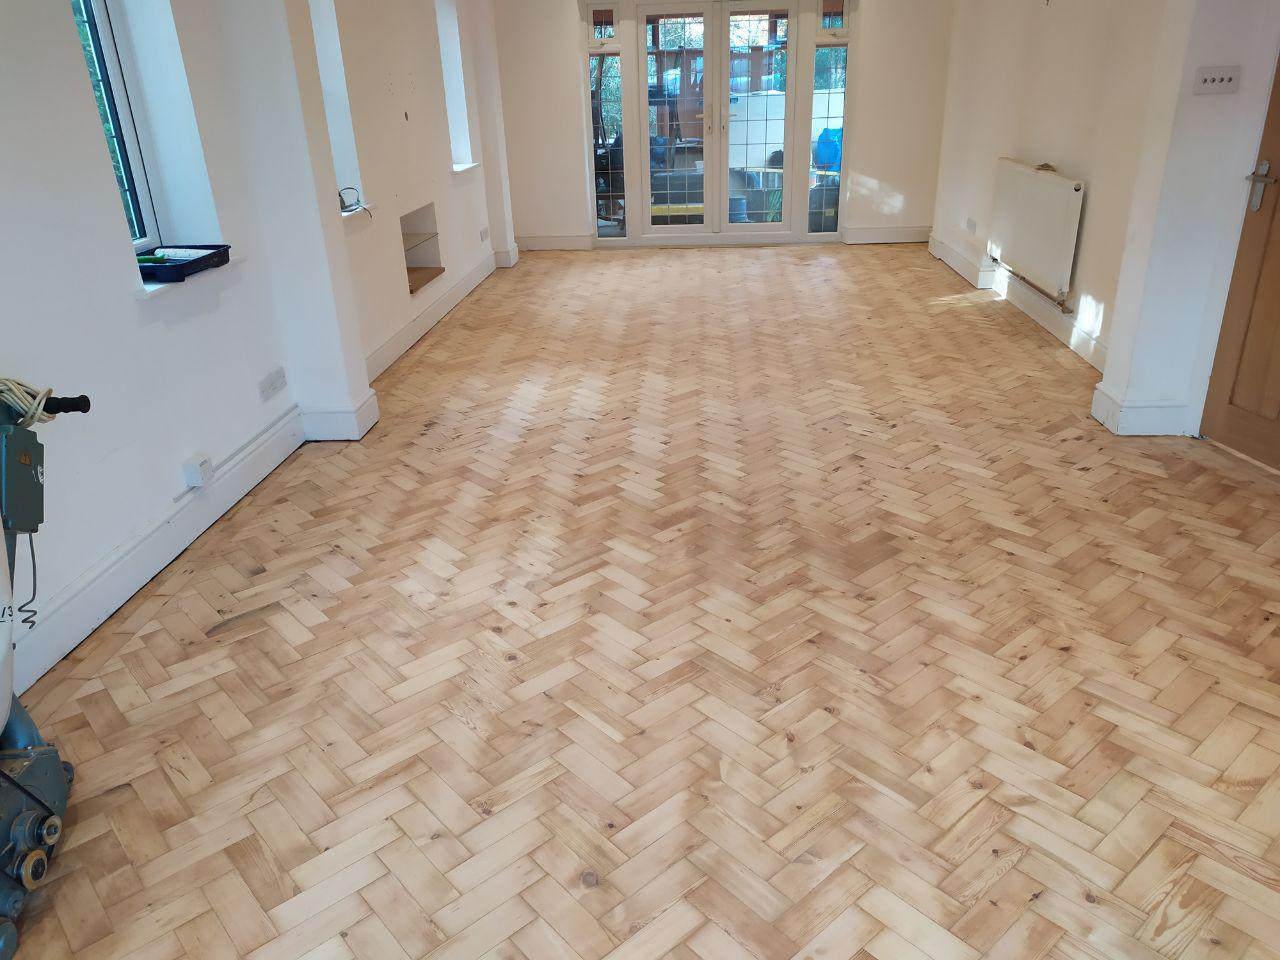
These methods will help eliminate squeaks and return the floor to its original look and comfort.
Use talcum powder
If your hardwood floor squeaks, it could mean that small gaps have formed between its slats. In the absence of serious damage, ordinary talcum powder poured into these gaps will help to get rid of the unpleasant sound for a long time. Simply pour talcum powder between the floorboards and spread it with a soft brush or rag. The talc will reduce friction between the wooden elements, eliminating squeaks.
Use glue
If the parquet not only squeaks, but also moves a little, showing signs of delamination, you can correct the situation by pumping polyurethane composition to glue the wood between the slats and the base.
To do this, you will need a drill with a drill bit (2 mm), a medical syringe, glue and painter's tape. Follow these steps:
- Prepare the surface: Apply painter's tape to the damaged areas of the hardwood flooring to prevent the glue from spreading and rising to the surface through gaps.
- Drill holes: Drill several slanted holes in the parquet, about 15 cm apart. It is important to drill only the parquet without damaging the subfloor.
- Introducing the adhesive: Use a syringe to inject the adhesive into the space between the boards and the subfloor.
- Cleaning and fixing: After an hour, remove the tape and remove any traces of adhesive that have protruded to the surface with a cleaner designed to wash off the adhesive used. Do not walk on the parquet until the adhesive has completely cured.
- Pressing: After the adhesive has set, press the treated area against the subfloor with a weight. Once the glue has fully cured, fill the holes with a wax felt-tip pen in the appropriate color.
These methods will help to secure your hardwood flooring, eliminating squeaks and extending the life of your floor.
Tightening with self-tapping screws
Sometimes the sources of squeaking can be not only the gaps in the parquet, but also the gaps between the parquet base and the lags, as well as the lags themselves. If a full-fledged repair of the floor is planned only in the future, you can take temporary measures to eliminate the unpleasant sound. In cases where everything squeaks, the problem becomes especially difficult. In such situations, you can try to pull the parquet to the floor slab.
This will require a punch, a long drill with a diameter of 8 mm, a dowel plug and a universal self-tapping screw. Follow these steps:
- Prepare the tool: Take a punch with a long 8mm diameter drill bit.
- Drilling holes: Drill holes through the parquet, next to the lag or even through it.
- Installing the fasteners: Insert a dowel plug into the drilled hole and screw in a universal self-tapping screw.
These temporary measures will help pull the hardwood flooring against the floor slab, reducing squeaks and providing a more stable and secure flooring until a full repair is done.
Using wax
It can be quite difficult and dangerous to work with liquid paraffin wax because of its high temperature. Instead, it is better to use liquid parquet wax. This material will not only fill the free space between the base and the parquet planks, but will also partially absorb into the structure of the wood, improving its strength and durability. Liquid wax is easy to apply, penetrates into the smallest gaps and effectively eliminates squeaks, giving the floor additional stability and attractive appearance.
Mold growth
Combating mold on hardwood flooring is a complex and time-consuming process that consists of several key steps:
- Complete disassembly of the floor: It is necessary to completely disassemble the finish and rough flooring in areas where mold has been found.
- Eliminate the cause of the moisture: Identify and eliminate the cause of the moisture buildup under the hardwood flooring. This could be, for example, a fistula in the heating riser causing moisture to soak into the floor slab or floor screed, or wet walls where moisture is dripping under the floor.
- Drying and Treatment: Dry the screed (rough floor) and treat all elements with protective compounds to prevent mold reoccurrence.
- Floor installation: After all preparatory work, install the rough floor and install the parquet.
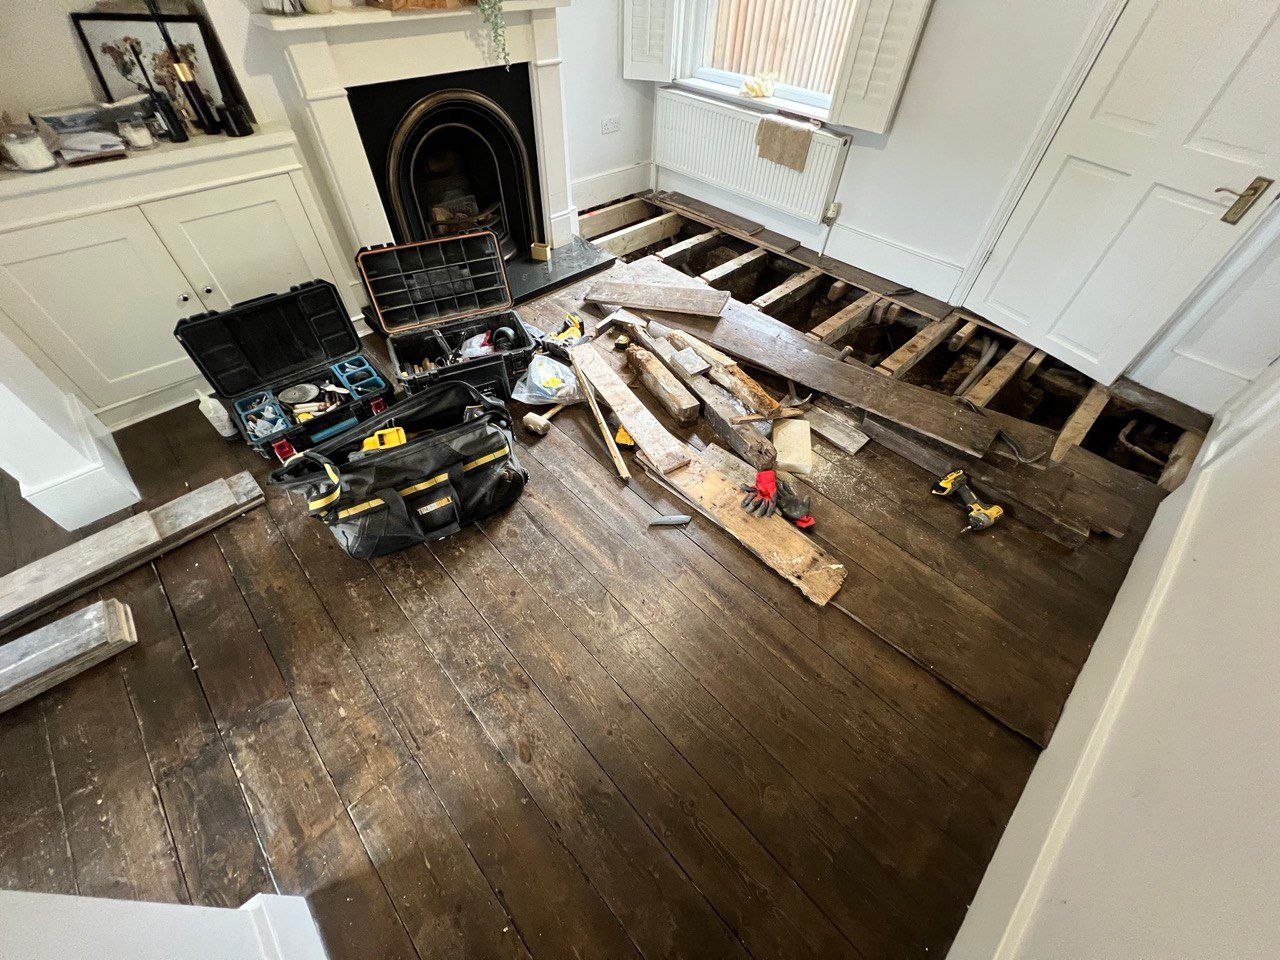
The causes of moisture accumulation under the parquet can be very diverse. For example, it can be a leak from the heating riser, which impregnates the floor slab or floor screed with moisture, or moisture flowing down damp walls under the floor. Either way, effective mold remediation requires a thorough approach to identifying and eliminating all sources of moisture, as well as treating all floor elements with protective products.
Renovation of parquet flooring - a comprehensive approach
Renovation of parquet flooring includes several consecutive stages:
- Scrubbing: Removal of the top layer of wood to level the surface and remove the old finish.
- Sanding: Treating the floor with a sander to smooth out irregularities and prepare the surface for the next step.
- Puttying and crack sealing: Filling all cracks and crevices with a special putty to restore the integrity of the flooring.
- Sanding of the putty surface: Repeated sanding to smooth the putty areas and prepare the surface for finishing.
- Finishing: Application of a protective layer of varnish, oil or wax to give the floor a finished look and protect it from wear and tear.
Parquet scraping
Scrubbing is the first and most important stage of parquet flooring renovation. It involves removing the top layer of wood to level the surface and remove old flooring, scratches and minor damage. Scrubbing is done with a special scraping machine that removes a few millimeters of wood, revealing a fresh, undamaged layer. This process provides an even and smooth base for further restoration stages.
Sanding
After scraping, sanding is necessary to smooth out any remaining irregularities and prepare the surface for further work. Sanding is done with a sander and different types of sanding disks with different grits. Start with coarse-grained disks, gradually moving to fine-grained disks. This step allows you to achieve a perfectly smooth surface, eliminating all traces of cycloving and preparing the floor for the application of primer and other materials.
Primer application and sanding
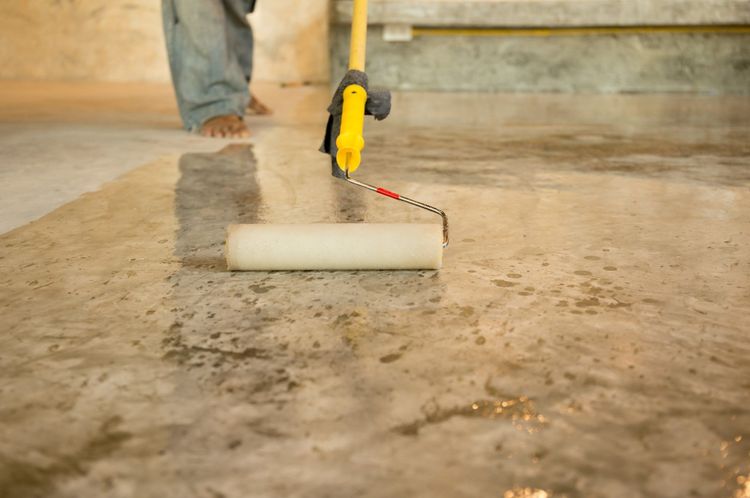
After the initial sanding, the surface of the parquet floor is treated with a primer. The primer penetrates the wood, strengthens its structure and improves adhesion to finish coatings. After the primer dries, it is necessary to sand again with fine-grained paper to remove raised wood fibers and provide a smooth and even surface for finishing. This step is critical for the best results and longevity of the parquet flooring.
Lacquer treatment
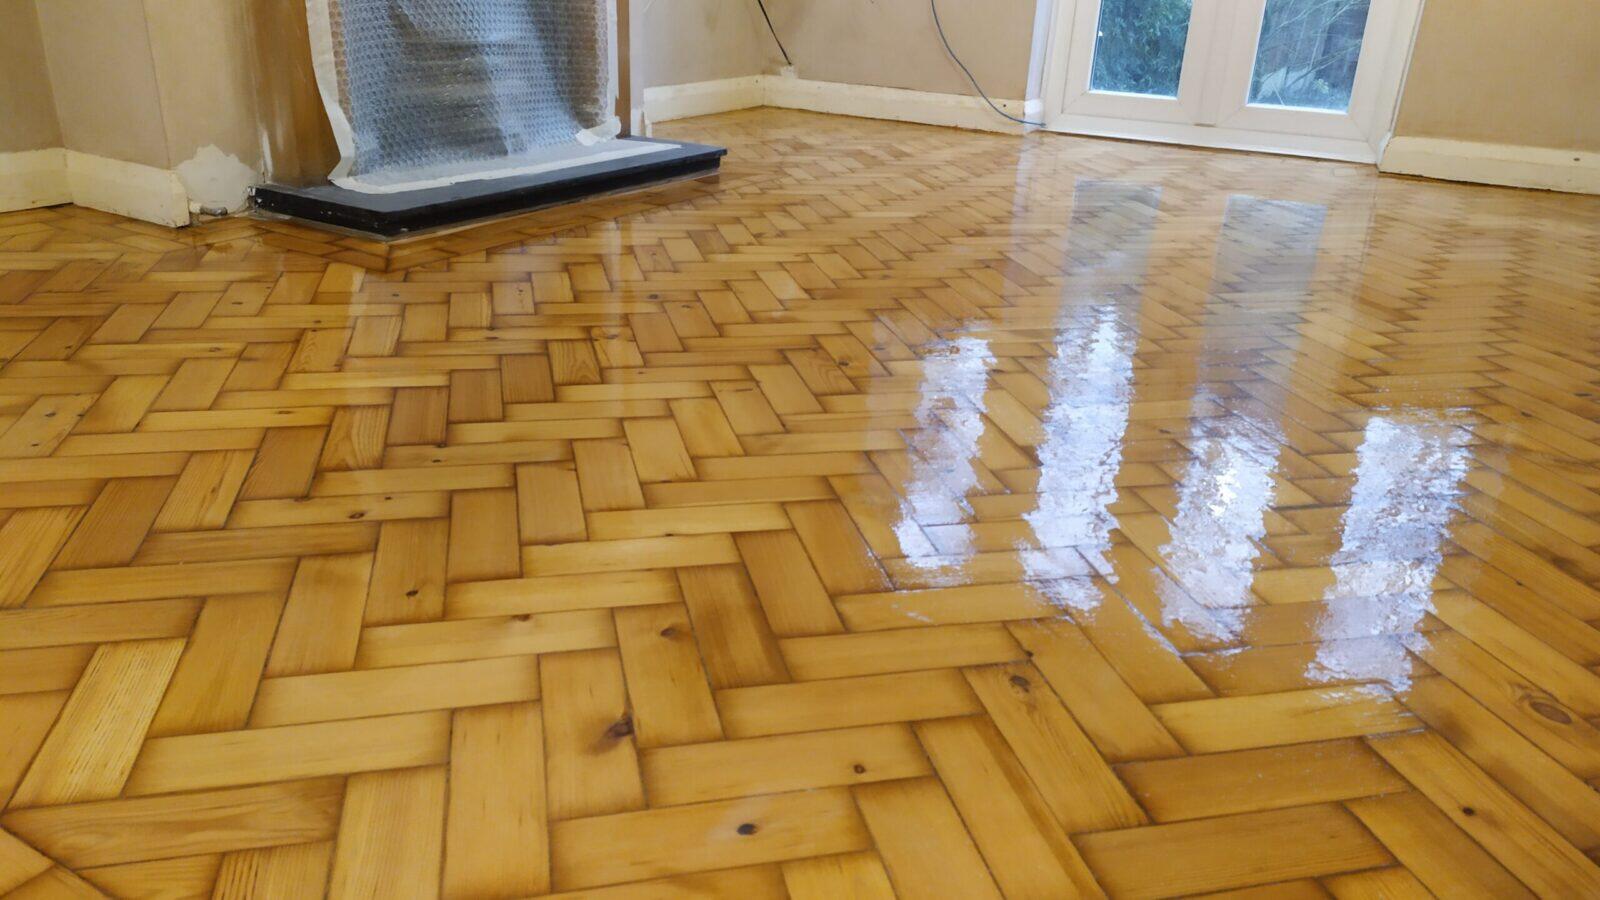
The final finishing of parquet is the application of a protective layer of varnish. The varnish protects the wood from wear, moisture and mechanical damage, and gives the floor a beautiful shine and color saturation. The lacquer is applied in several layers with intermediate sanding of each layer after it dries. This allows you to achieve a smooth and durable surface. The choice of varnish can vary depending on preferences: from matte to glossy coatings. Proper application of varnish ensures the longevity and aesthetic appeal of the parquet floor.
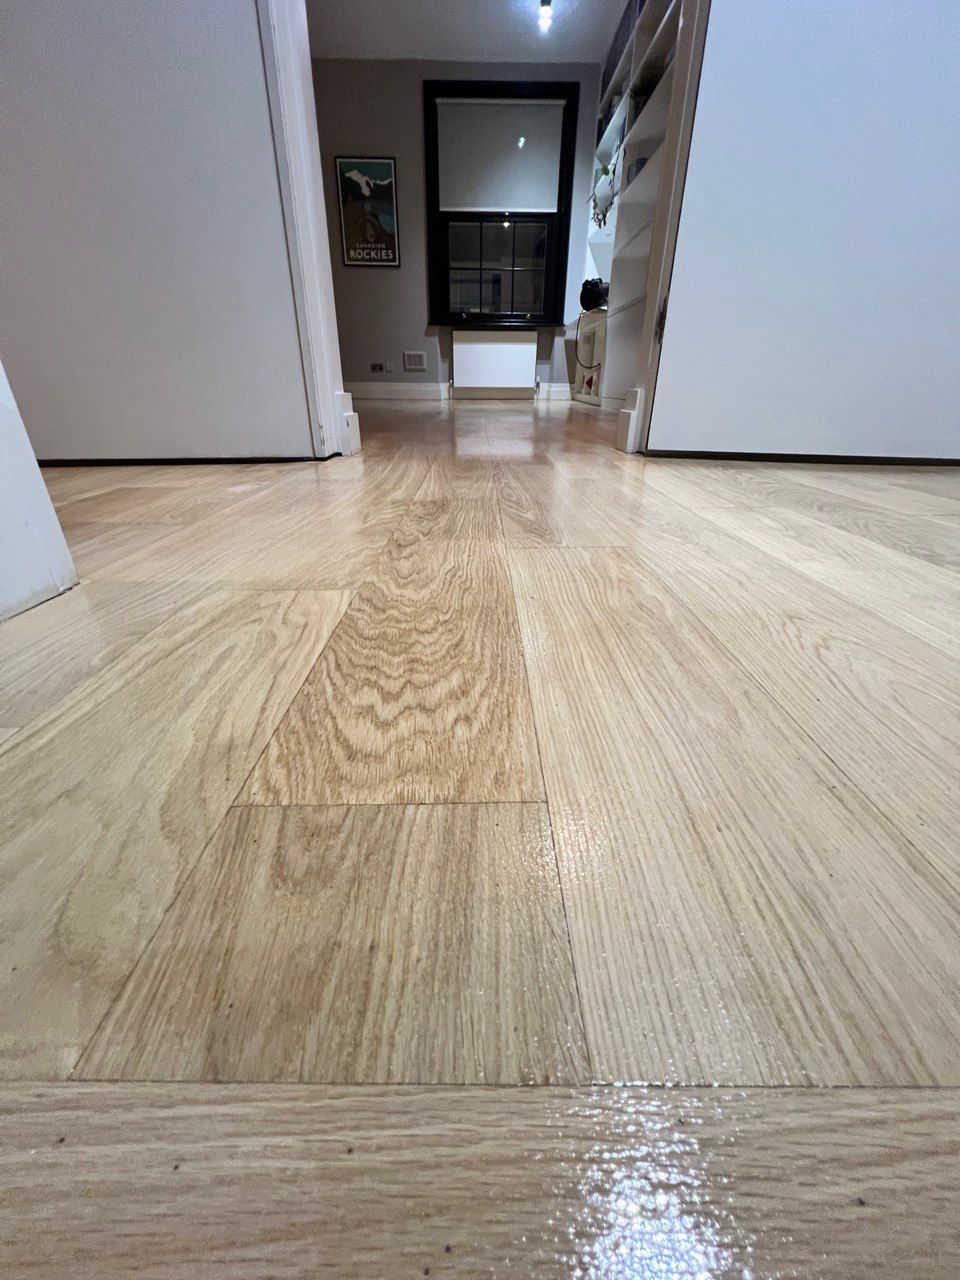
Let's talk about the advantages and disadvantages of varnishes
Parquet varnish has a number of advantages. It forms a uniform coating in the form of a durable glossy or matte film, and the gloss level can be selected individually. The lacquer is easy to apply to the parquet surface and does not require complicated maintenance. One of the main advantages of lacquer is its long service life, which provides reliable protection of the floor from wear and damage.
However, lacquer also has its disadvantages. Firstly, it is impossible to carry out local (partial) restoration of the coating, which can be a problem if a small area is damaged. Secondly, lacquer contains toxic substances, which requires caution when applying it and during the drying period.
Wax oils, on the other hand, have their own advantages. They feature a natural composition and are eco-friendly, making them safe for health and the environment. Oils also offer a wide range of colors, allowing you to choose a shade to match any interior. One of the key benefits of wax oils is that they can be repaired locally, making it much easier to keep your floor in good condition. The oil emphasizes the natural grain of the wood and has excellent water repellent properties.
However, wax oils also have their disadvantages. It wears out faster and requires regular refinishing. It needs careful maintenance and the use of special cleaning products. Oil-based finishes need to be polished regularly to maintain their appearance and protective properties. Applying oil to hardwood flooring may require some skill and dexterity to achieve an even and quality finish.
How to properly maintain wood floors
In order to keep wood floors in perfect condition, it is important to maintain the optimal level of relative humidity in the room, which should be 45-65%. If the humidity is low, the parquet dries out, which leads to cracks. Too high humidity can cause the parquet to swell.
Care of parquet includes proper cleaning and periodic treatment of the floor with protective compounds. Regular polishing (1-2 times a year) helps prevent abrasion of the top layer and slows down the aging of wood. Special compositions such as water-soluble and oil-based polishes are used to polish parquet. Water-soluble polishes are especially effective for varnished floors, protecting and renewing the finish.
Proper care of wood floors extends their life and keeps them looking good for years to come.

