
How to Fix Dents and Scratches in Pine Floorboards
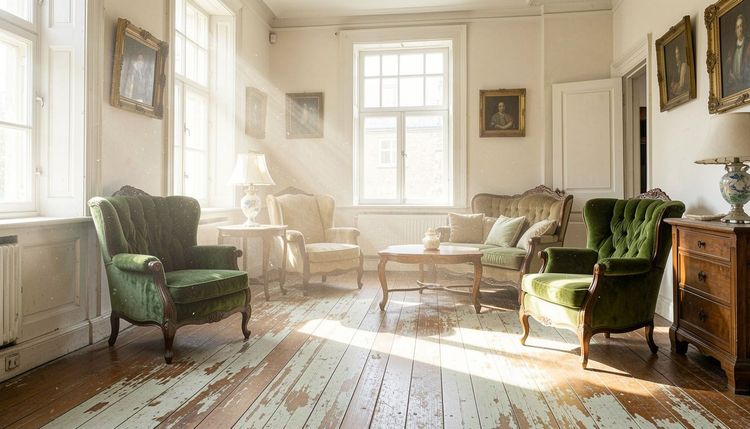
Pine is soft. This is both its charm and its vulnerability. The same softness that gives old pine floors their warm, worn character also makes them susceptible to dents, scratches, and surface damage. A dropped pan, a dragged chair, or a heavy piece of furniture can leave its mark. But not all damage is permanent. Many dents and scratches can be repaired without sanding the entire floor. This article explains how to fix common surface damage on pine floorboards, from light scratches to deep dents.
Assessing the Damage
Before reaching for tools or products, assess what you are dealing with.
Light scratches. These affect only the finish, not the wood itself. They appear as fine white or pale lines on the surface. They do not catch your fingernail when you run it across them.
Medium scratches. These penetrate the finish and score the wood surface. They catch your fingernail slightly and may show the pale wood beneath the darker aged surface.
Deep scratches and gouges. These remove wood, creating a visible groove or channel. They can be felt clearly with a fingernail and may be deep enough to catch dirt.
Dents. These are compressed areas where the wood fibres have been pushed down but not removed. The surface is depressed but the wood is intact.
The repair method depends on the type and severity of the damage.
Fixing Light Scratches
 Light scratches that only affect the finish are the easiest to repair.
Buff and Recoat
For floors with oil or wax finishes, a quick buff with a soft cloth often reduces or eliminates light scratches. The heat from friction softens the finish slightly, allowing it to flow back into the scratch.
If buffing does not work, apply a fresh coat of maintenance oil or wax. This fills fine scratches and restores the surface sheen.
For lacquered floors, a fine abrasive pad can scuff the surface, followed by a fresh coat of lacquer. This works best for small areas. For larger areas, a full recoat may be needed.
Scratch Cover Pens and Wax Sticks
Specialised scratch cover products are available for light scratches. These pens or wax sticks contain tinted pigments that fill the scratch and match the floor colour.
How to use: Clean the area thoroughly. Apply the product according to manufacturer instructions. Buff gently. For best results, test the colour in an inconspicuous area first.
These products do not permanently repair the scratch. They camouflage it. Over time, they may wear off and need reapplication.
Fixing Medium Scratches
Medium scratches penetrate the finish and mark the wood itself. They require more than buffing.
Fine Sanding and Spot Finishing
For medium scratches, sand the affected area lightly with fine-grit sandpaper (120 to 150 grit). Sand only the scratched area, feathering the edges into the surrounding finish to avoid creating a noticeable patch.
Clean the area thoroughly. Apply a matching finish—wax, oil, or lacquer—following manufacturer instructions. Allow it to dry and buff to blend.
Pigmented Oil and Wax
For oiled floors, pigmented maintenance oils can fill and colour medium scratches. These products contain fine pigment particles that settle into the scratch, colouring it while the oil nourishes the surrounding wood.
Apply the oil to the scratched area, allow it to penetrate, and buff off excess. Repeat if necessary.
Fixing Deep Scratches and Gouges
 Deep scratches remove wood. They require more intervention.
Wood Filler
Wood filler is the most common solution for deep scratches and gouges. Choose a filler that matches your floor colour, or mix pigments to achieve the right shade.
How to use: Clean the gouge thoroughly, removing loose wood particles. Apply filler with a putty knife, overfilling slightly. Allow it to dry completely. Sand flush with the surrounding surface using fine-grit paper. Apply finish to match.
For pine floors, flexible fillers are preferable to rigid ones. Rigid fillers may crack as the softwood moves seasonally.
Timber Strips
For very deep gouges or long scratches, consider inserting a thin strip of matching pine. This is more labour-intensive but produces a permanent, seamless repair.
How to use: Cut the damaged area into a clean rectangle or channel. Cut a matching strip of pine to fit. Glue it in place. Allow to dry. Sand flush and finish.
This technique requires good carpentry skills. For most homeowners, professional help is advisable.
Fixing Dents
Dents are compressed wood fibres. The wood is not removed, just pushed down. This means dents can often be raised back up.
The Steam Method
Steam causes compressed wood fibres to swell and return to their original position. This is the most effective method for removing dents from bare wood or finished floors where the dent is not too severe.
How to use: Place a damp cloth over the dent. Apply a hot iron to the cloth for a few seconds. The steam penetrates the wood, causing the compressed fibres to swell. Repeat as needed until the dent rises. Allow the wood to dry, then lightly sand and refinish.
Do not overheat. Too much steam can damage the surrounding finish or cause the wood to crack. Test on an inconspicuous area first.
Moisture and Heat Packs
For smaller dents, a damp cotton ball held against the dent with tape can draw moisture into the compressed fibres. After a few hours, the dent may rise. This is slower than the steam method but gentler on the wood.
When to Call a Professional
Some damage is beyond DIY repair. Consider professional help if:
- The dent or scratch is very large or covers a significant area
- The floor is thin and you are unsure about sanding
- The damage is deep enough to compromise the board's structure
- Previous repairs have failed
- You are unsure about colour matching or finishing techniques
Professionals have the equipment, materials, and experience to make repairs invisible. They also know when a board needs replacement rather than repair.
Prevention is Better than Cure
 While repairs are possible, preventing damage is always better.
- Place felt pads under all furniture legs
- Use protective mats under rolling chairs
- Lift furniture when moving it—do not drag
- Keep pet nails trimmed
- Use doormats to trap grit
- Wipe spills immediately
A little prevention saves hours of repair work.
Conclusion
Pine floors are soft and will always show some wear. That is part of their character. But not every mark is permanent. Light scratches buff out. Dents steam up. Gouges fill. With the right techniques and a little patience, most surface damage can be repaired without sanding the entire floor.
For major damage, professional help is worth the investment. Your pine floor has lasted decades. With sensible care and timely repairs, it will last decades more.