Our blog

Floorboard Restoration for Period Properties in Chapel Allerton

Period floor restoration in Chapel Allerton goes beyond sanding. Learn how to repair damaged boards, fill gaps, and preserve original character.

Chapel Allerton is one of Leeds' most sought-after suburbs, known for its elegant period properties, tree-lined streets, and vibrant village atmosphere. Many of its Victorian and Edwardian homes retain their original wooden floorboards—wide, characterful pine planks that have witnessed over a century of life. But age takes its toll. Boards loosen. Gaps widen. Squeaks develop. Sections become damaged or cut for plumbing and wiring. If you own a period property in Chapel Allerton, you may be looking at your tired floorboards and wondering: can these be repaired, or do they need replacing? This article focuses on floorboard restoration—not just sanding, but the careful repair, stabilisation, and gap filling that brings old floors back to life while preserving their unique character.

What Does Floorboard Restoration Include?

Floorboard restoration is more than just sanding. It is a comprehensive process that addresses the structural and cosmetic issues that develop over decades of use. A full restoration typically includes:

  • Fixing – repairing split boards, securing loose sections, and addressing squeaks
  • Local replacement – cutting out damaged sections and replacing them with matching reclaimed timber
  • Stabilisation – re-securing boards to the joists to eliminate movement and bouncing
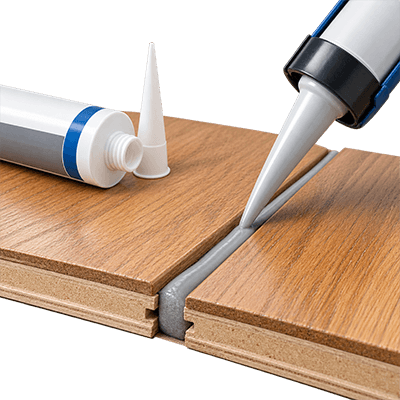
  • Gap filling – addressing wide gaps with flexible resin or timber slivers
  • Sanding – removing old finishes, stains, and surface imperfections
  • Staining – applying colour to match existing boards or achieve a desired tone
  • Sealing – protecting the floor with lacquer, oil, or hard wax oil

Not every floor requires all these steps. The scope of work depends on the condition of the boards and the desired outcome. A professional assessment helps determine which elements are necessary for your specific floor.

Signs Your Floor Needs More Than Sanding

Many homeowners assume that sanding alone will solve all their floor problems. In reality, sanding addresses surface issues—scratches, dull finishes, and light stains. It does not fix structural problems. If your floor shows any of the following signs, restoration work beyond sanding is likely needed:

Boards move underfoot

Movement or bouncing when walked on indicates loose fixings or failing joists that require stabilisation before sanding can proceed.

Split tongues or edges

Damaged edges allow boards to shift and create gaps, compromising the stability and appearance of the floor surface.

Visible joists through gaps

Gaps wide enough to see the subfloor or joists below indicate significant shrinkage or movement that needs addressing.

Recurring squeaks

Persistent noise that returns after temporary fixes suggests an underlying issue with fixings or joists that requires proper attention.

Previous service cuts

Boards cut for plumbing or wiring that were never properly restored leave weak spots and inconsistent patches in the floor.

Soft areas

Spongy or crumbly wood indicating rot or woodworm requires immediate investigation before any sanding or refinishing work begins.

Significant height differences

Uneven boards that create trip hazards need leveling or replacement to ensure safety and a consistent surface.

Missing fireplace sections

Gaps or missing boards around hearths are common in old houses and require careful filling or replacement.

Inconsistent patch repairs

Mismatched timber from previous repairs that stands out needs to be replaced with reclaimed pine for a cohesive look.

Each of these issues requires targeted intervention before sanding can take place. Skipping these steps means the problems will remain, hidden beneath a fresh finish.

Symptom Possible Issue Appropriate First Step
One board squeaks Loose fixing or movement Inspect and secure
Several boards flex Support or joist issue Lift selectively and inspect
Narrow stable gaps Seasonal movement Consider suitable filler
Wide irregular gaps Historic shrinkage Consider pine slivers
Soft timber Moisture, rot or insects Diagnose before sanding
Different replacement boards Past repairs Match timber and colour

How Original Boards Are Repaired

photo_91@20-01-2022_22-54-16.jpg

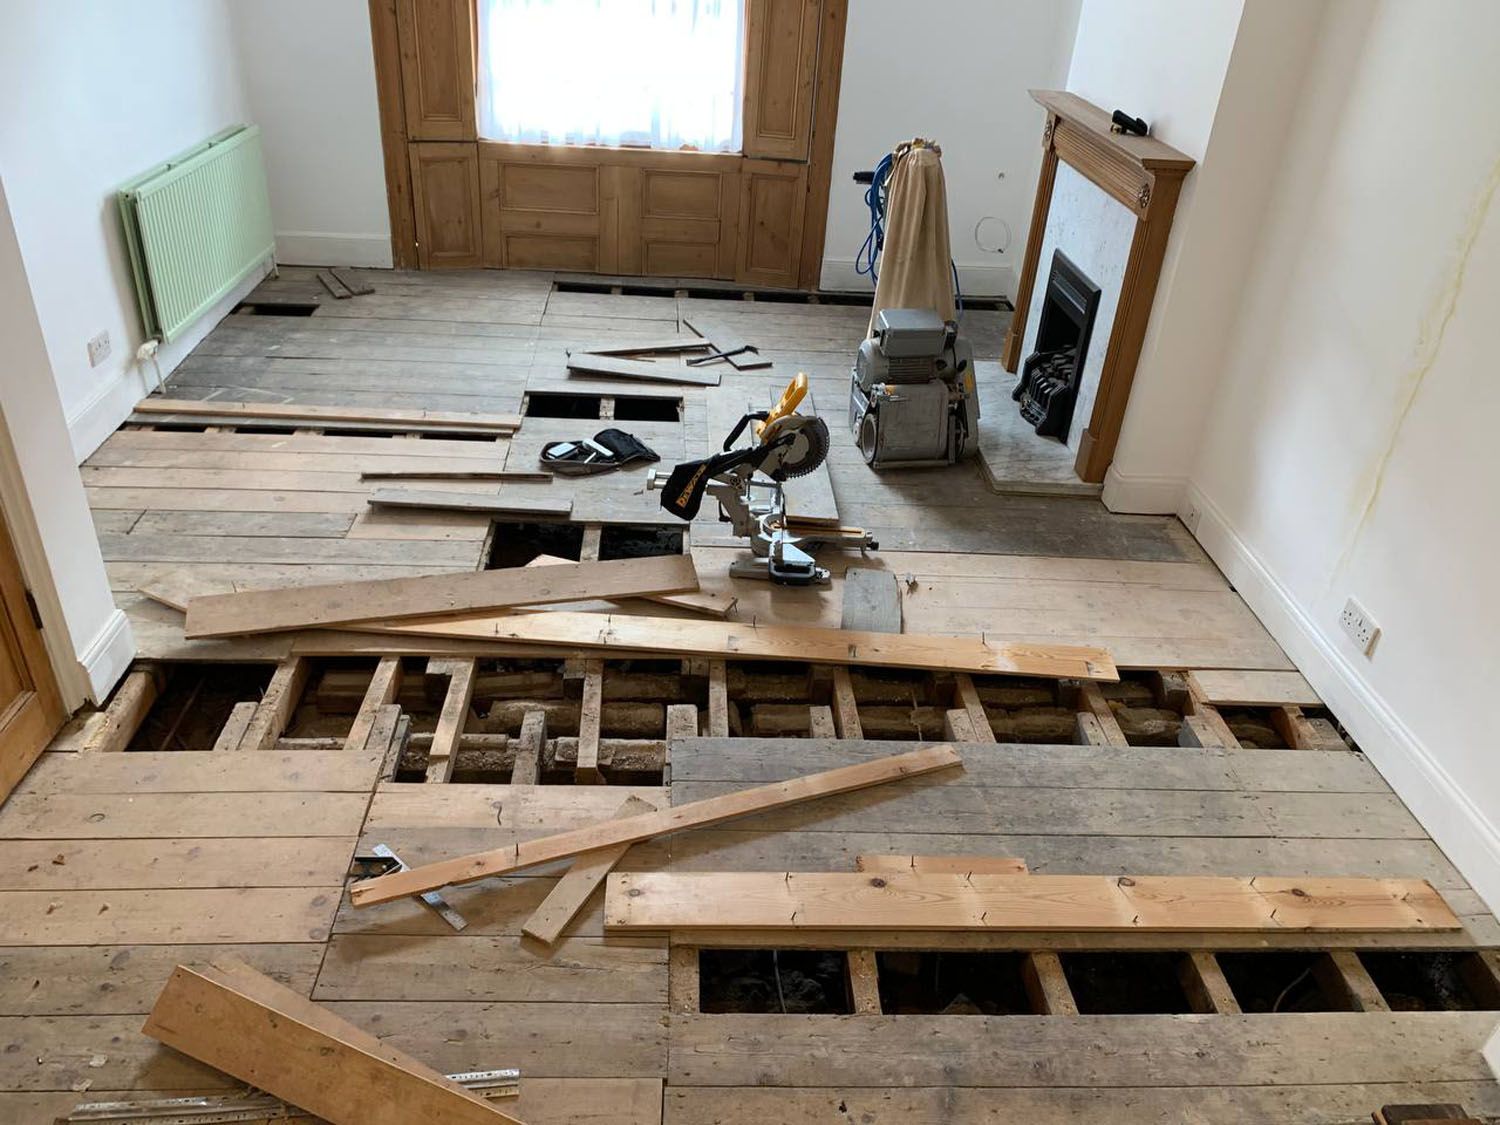
Repairing original floorboards requires care and expertise. The goal is to preserve as much of the original timber as possible while addressing damage and instability. Unlike modern flooring, where damaged sections are simply replaced, period floorboards carry historical value that makes every effort to save them worthwhile. The process typically involves:

  1. Identify safe lifting points – boards that can be lifted without damaging surrounding timber
  2. Check for cables and pipes – ensuring no services run beneath the board to be lifted
  3. Preserve boards that can be reused – cleaning and restoring lifted boards where possible
  4. Source matching reclaimed timber – aged pine of similar species and character for replacements
  5. Avoid unnecessary replacement – repairing rather than replacing wherever feasible
  6. Secure without visible damage – using fixings that do not compromise the surface
  7. Level local repairs before sanding – ensuring replaced sections sit flush with surrounding boards

Before any board is lifted, the area is carefully inspected to determine the safest approach. Original boards are often fixed with old nails that can be difficult to remove without splitting the wood. Professionals use specialised tools to minimise damage, preserving boards that might otherwise be discarded. When lifting is necessary, boards are numbered and marked to ensure they can be reinstalled in their original positions if they are to be reused.

This approach minimises the amount of new timber introduced, preserving the coherence and character of the original floor. Reclaimed timber is sourced only when absolutely necessary, and every effort is made to match the age, species, and grain pattern of the existing boards. The result is a floor that retains its historical integrity while being structurally sound and fit for another century of use.

Gap Filling Options

Gaps between floorboards are one of the most visible signs of age in period properties. They are caused by seasonal movement, historic shrinkage, and the natural drying of timber over decades. There are several ways to address them, each with its own advantages and limitations:
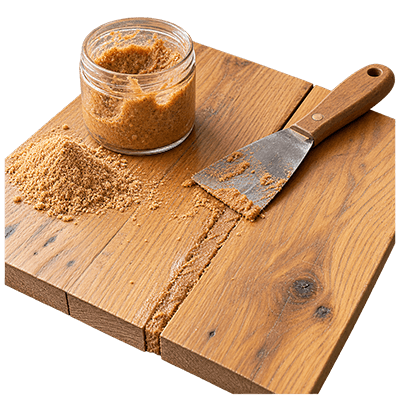
Sawdust and resin

Sawdust and resin

A traditional method using fine wood dust mixed with resin to create a colour-matched filler. Suitable for small to medium gaps. However, it can crack over time as boards move seasonally.

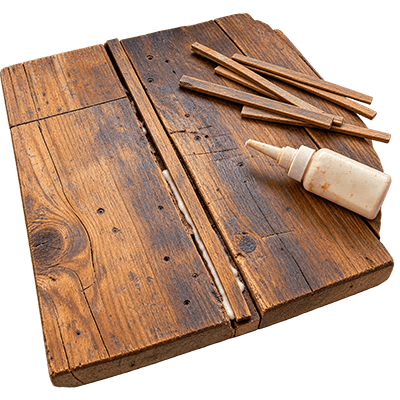
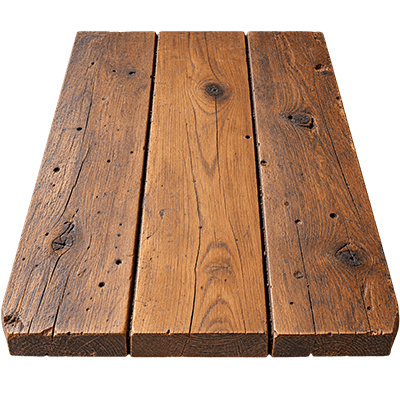
Reclaimed pine slivers

Reclaimed pine slivers

Thin strips of aged pine glued into gaps. This is the most authentic and durable solution for large gaps. The slivers move with the surrounding wood, reducing the risk of cracking. It is labour-intensive but produces the best long-term result.

Flexible gap filler

Flexible gap filler

Modern elastic fillers that move with the wood. Suitable for medium gaps. They remain flexible and do not crack, though they may require reapplication after several years.

Leaving movement gaps untreated

Leaving movement gaps untreated

Many period floors have gaps that are part of their character. Small gaps (under 3mm) are often best left alone, as they allow the wood to expand and contract naturally.

Not all gaps need filling. For draughty floors, underfloor insulation is often a better solution than filling every gap, as it reduces cold air flow without restricting the wood's natural movement.

Draught Reduction and Subfloor Ventilation

Draughts through gaps in floorboards are a common complaint in period properties. However, it is important to address them without compromising the ventilation of suspended timber floors.

Victorian and Edwardian floors were built with underfloor ventilation to prevent moisture buildup and rot. Air bricks in external walls allow air to circulate beneath the floor. Blocking these vents or sealing every gap can lead to damp issues that damage the floor from below.

The best approach to reducing draughts is a combination of:

  • Gap filling – addressing the largest gaps that allow cold air to rise
  • Underfloor insulation – insulating between joists to reduce airflow without blocking ventilation
  • Preserving air bricks – ensuring vents remain clear to allow necessary airflow

A professional can advise on the right balance between comfort and ventilation, ensuring your floor stays dry and stable.

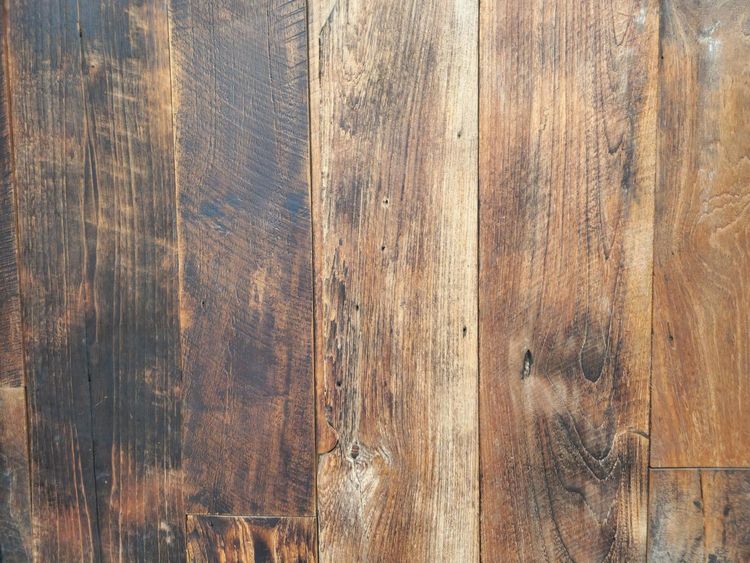
Matching Reclaimed Floorboards
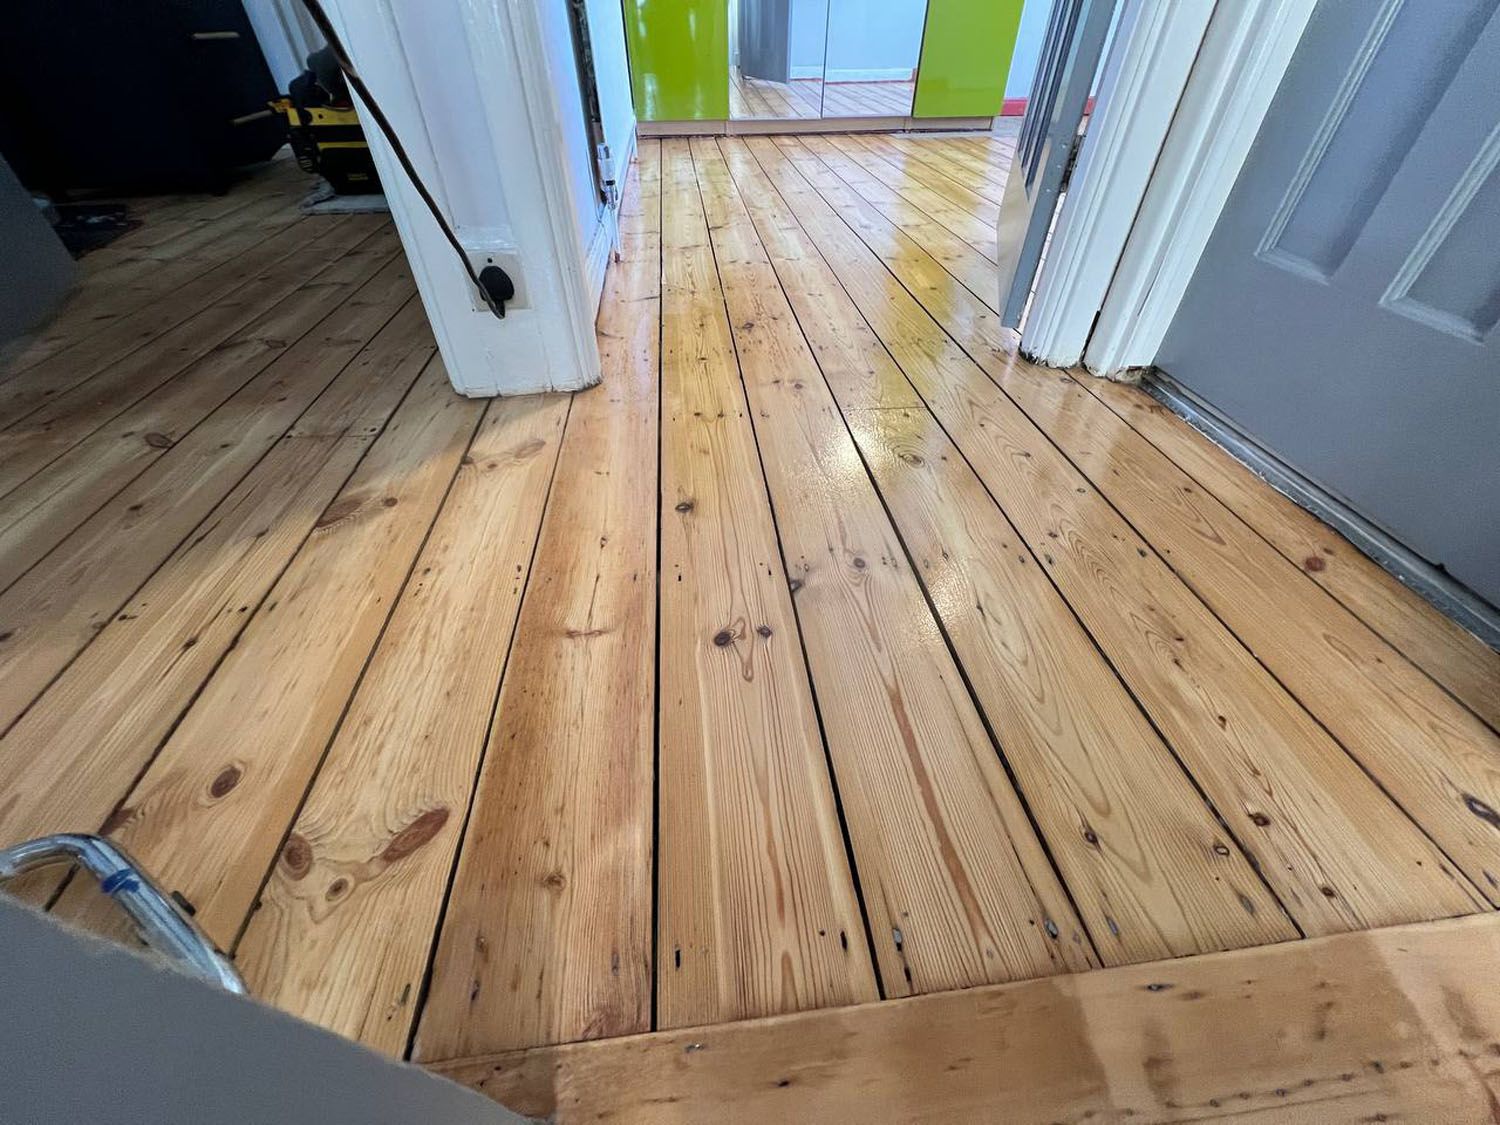
photo_803@04-08-2026_15-02-58.jpg

When replacement boards are necessary, sourcing reclaimed timber that matches the original floor is essential for a coherent result. The following criteria are used to find the best match:

  1. Approximate age – boards of a similar era have comparable drying and shrinkage patterns
  2. Species – pine or deal matching the original timber type
  3. Width – matching the board width of the existing floor
  4. Thickness – ensuring the new board sits flush with surrounding boards
  5. Grain – matching grain pattern for visual consistency
  6. Density – similar weight and hardness to avoid differential wear
  7. Previous wear – boards with similar patina and character to the original
  8. Colour after sanding – how the wood responds to sanding and finishing

Sourcing reclaimed boards takes time and expertise. Professionals maintain relationships with salvage yards and timber specialists to find the best matches for period properties.

Finish and Colour Matching

Once repairs and sanding are complete, the new and old boards must be finished to blend together. This is where the test patch becomes essential.

Old and reclaimed boards absorb stain and finish differently. The age, density, and previous treatments of the timber all affect how it takes colour. A test patch on a small, inconspicuous area reveals how the finish will look across the entire floor.

The test patch helps determine:

  • Whether stain is needed to match new boards to old
  • The correct dilution or application method for even colour
  • How the final finish will appear in different lighting conditions

Skipping the test patch risks a floor where new boards stand out clearly against the old, undermining the coherence of the restoration.


Frequently Asked Questions

Can a single damaged floorboard be replaced?

Yes. Individual boards can be cut out and replaced with matching reclaimed timber. This is a common repair that preserves the surrounding original floor.

Will a reclaimed board match the original floor?

What is the best way to fill large gaps?

Can squeaky boards be repaired without replacing them?

Should old floorboards be perfectly level?

Is it safe to lift boards above pipes and electrical cables?

Every period floor is unique. The condition of the boards, the extent of damage, and the desired outcome vary from property to property. This is particularly true for Victorian floors, which often require specialist handling due to their age, softwood composition, and historic significance. Before deciding whether to repair, sand, or replace the original boards in your Chapel Allerton home, arrange a professional assessment. A site survey provides clarity, identifies any hidden issues, and ensures you make the right decision for your floor and your home.

Blog

Others articles