
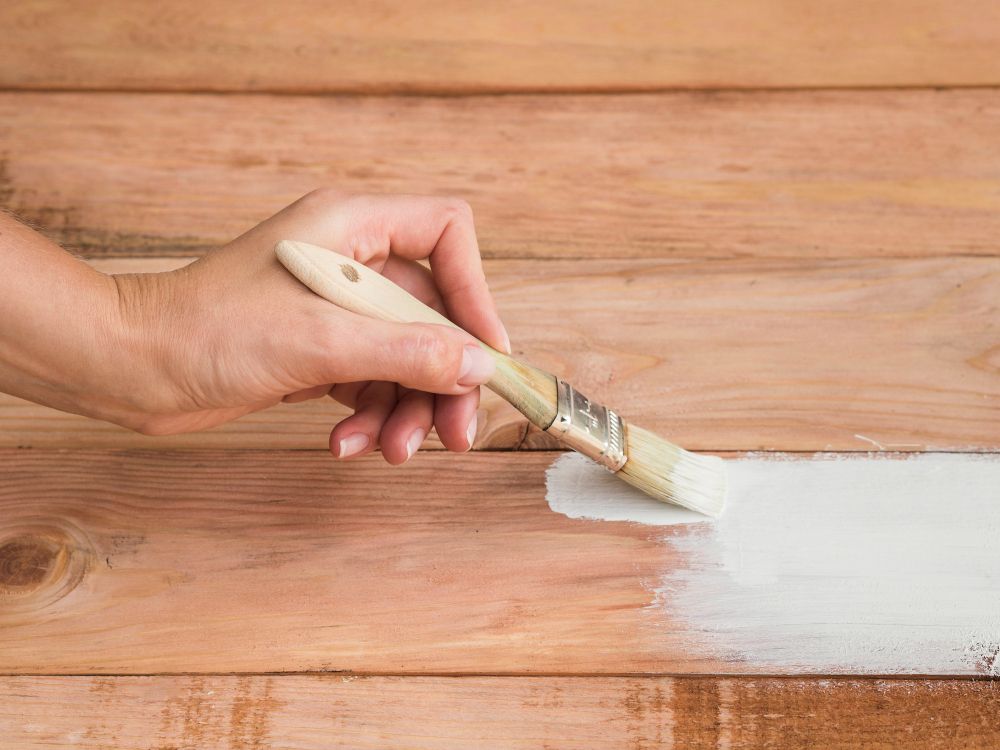
Can You Varnish a Floor Weeks After Sanding? What You Need to Know
You have finally done it. The old finish is gone, the floor is smooth and clean, and the bare wood gleams under the light. Then life gets in the way. A work trip, a family emergency, or simply running out of time means the varnishing gets postponed. A week passes. Then two. Then three. Now you are standing in front of your sanded floor wondering: can I still varnish it, or have I missed my window? The short answer is yes, you can varnish a floor weeks after sanding. But there are important conditions, precautions, and preparation steps you must take to ensure the varnish adheres properly and the final result looks professional. This article explains everything you need to know about delayed varnishing.
The Short Answer: Yes, With Caveats
You can apply varnish to a sanded floor weeks or even months after sanding, provided the wood has been protected from contamination and has not been subjected to moisture or extreme temperature changes. However, the ideal window for varnishing is within 24 to 48 hours of final sanding. Beyond that, the wood surface begins to change in ways that can compromise adhesion.
What Happens to Bare Wood Over Time
Understanding why delayed varnishing requires extra steps helps you prepare properly.
Oxidation
Bare wood reacts with oxygen in the air. This oxidation process darkens the wood slightly over time. Light-coloured species like maple or ash are most affected, developing a yellow or amber cast. Darker species like walnut or oak change less noticeably. Oxidation does not prevent varnishing, but it means the final colour will differ slightly from what you saw immediately after sanding.
Surface Contamination
This is the real enemy of delayed varnishing. Over days and weeks, bare wood collects contaminants that prevent varnish from bonding:
- Dust settles from the air, even in clean rooms
- Skin oils from incidental contact
- Cooking grease if the floor is near a kitchen
- Silicone from cleaning products or air fresheners
- Pollen and airborne particles
Moisture Fluctuation
Bare wood absorbs and releases moisture as humidity changes. A floor sanded during dry winter weather may take on moisture during a rainy week. This swelling and contracting can raise the grain slightly, creating a rough texture that was not present immediately after sanding.
Raised Grain
Even without moisture fluctuations, the simple act of leaving bare wood exposed causes the grain to raise slightly over time. The sanding process cuts wood fibres, leaving some partially attached. As they dry further, these fibres stand up, creating a texture that feels rough to the touch.
How to Prepare a Week-Old Sanded Floor for Varnishing
If one to three weeks have passed since sanding, follow these preparation steps.
Step 1: Inspect Thoroughly
Walk across the floor in bare feet or with clean white socks. Feel for any rough spots, raised grain, or contamination. Look for stains, footprints, or areas that appear darker. Pay special attention to corners and edges where dust accumulates.
Step 2: Vacuum Meticulously
Use a vacuum with a soft brush attachment and a HEPA filter. Vacuum the entire floor twice, in opposite directions. Do not use a household vacuum that exhausts dust back into the air. Pay attention to gaps between boards where fine dust hides.
Step 3: Tack Cloth
After vacuuming, wipe the entire floor with a tack cloth—a specialised cloth coated with a sticky substance that picks up fine dust particles. Use fresh cloths frequently. When a cloth no longer picks up dust, replace it.
Step 4: Light Sanding (Critical Step)
This is the most important step for delayed varnishing. Use a floor buffer with a fine-grit screen (120 to 150 grit) or hand sand with a pole sander using 120-grit paper. The goal is not to remove wood but to abrade the surface, open the wood pores, and eliminate any raised grain. This gives the varnish a mechanical key for adhesion.
After sanding, vacuum again and wipe with tack cloths.
Step 5: Test for Adhesion
Apply a small amount of varnish in an inconspicuous area, such as inside a closet or under where furniture will sit. Allow it to dry according to manufacturer instructions, then test adhesion by scraping gently with a fingernail. If the varnish flakes or peels, additional preparation is needed.
How to Prepare a Floor That Has Been Exposed for Months
If varnishing has been delayed for more than a month, the preparation becomes more extensive.
Deep Cleaning
Beyond vacuuming and tack cloths, the floor may need cleaning with a wood-safe cleaner to remove invisible contamination. Use a product specifically designed for bare wood, applied with a damp (not wet) microfiber mop. Allow the floor to dry completely, which may take 24 hours.
Full Abrasion
A light screen is insufficient after months of exposure. The entire floor must be sanded again with fine-grit paper (100 to 120 grit) using a buffer or pole sander. This removes the oxidised surface layer and contamination that has bonded to the wood. Without this step, varnish adhesion will likely fail.
Moisture Testing
After months of exposure, the wood may have absorbed moisture that affects varnish curing. Use a moisture meter to check that readings fall within the varnish manufacturer’s recommended range, typically 6-10% for most products. If the wood is too moist, continue drying with fans and dehumidifiers before proceeding.
When You Should Not Delay
Some situations make delayed varnishing particularly risky.
Engineered Wood with Thin Veneer
Engineered wood floors have a limited wear layer. Each sanding removes material. If you have already sanded aggressively, delaying varnish exposes the thin veneer to potential damage that could require premature replacement.
Floors in High-Humidity Environments
Kitchens, bathrooms, and basements expose bare wood to moisture that causes swelling and potential mould growth. In these spaces, varnish should be applied within 24 hours of sanding.
Homes with Pets or Children
Bare wood is vulnerable to stains from accidents, spills, and tracked-in dirt. Delaying varnish in a busy household risks permanent discolouration that varnish will seal in rather than cover.
The Risks of Skipping Preparation
Applying varnish to an unprepared floor that was sanded weeks earlier leads to predictable problems:
- Poor adhesion causing peeling or flaking within months
- Bubbling or blistering from trapped contaminants
- Uneven sheen where oils or grease repel the varnish
- Visible dust particles sealed beneath the finish
- Rough texture from raised grain that was not sanded
These problems cannot be fixed by applying another coat. The floor must be re-sanded entirely, wasting time and material.
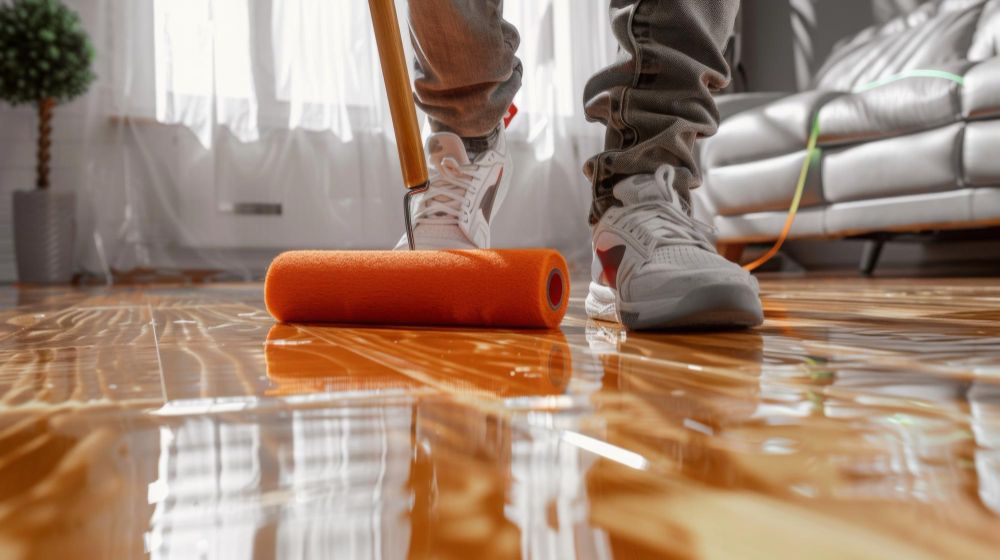
Is It Better to Wait or Varnish Immediately?
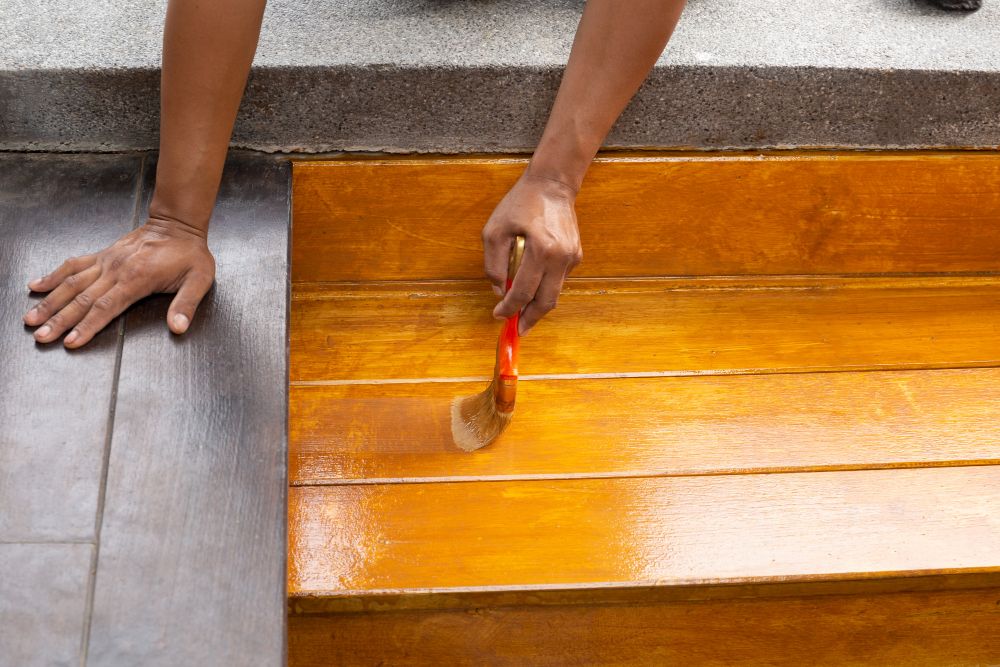
Given the complications of delayed varnishing, the best practice is to varnish as soon as possible after sanding. Schedule your sanding and varnishing close together. If your schedule cannot accommodate this, consider hiring professionals who can complete both phases within the ideal window.
If delay is unavoidable, protect the sanded floor in the meantime. Cover it with clean, breathable paper—not plastic, which traps moisture. Restrict access to the room. Remove shoes before walking on the floor. Vacuum regularly to prevent dust accumulation.
Conclusion
You can varnish a floor weeks after sanding, but not without additional work. A floor left bare for one to three weeks requires thorough vacuuming, tack cloth wiping, and light abrasion with fine-grit paper before varnish application. A floor left for months needs more extensive cleaning and full re-sanding to ensure adhesion. The safest approach is always to varnish within 48 hours of final sanding. When that is impossible, proper preparation makes delayed varnishing possible—but skipping that preparation guarantees failure.