10 steps to consider when installing wood flooring
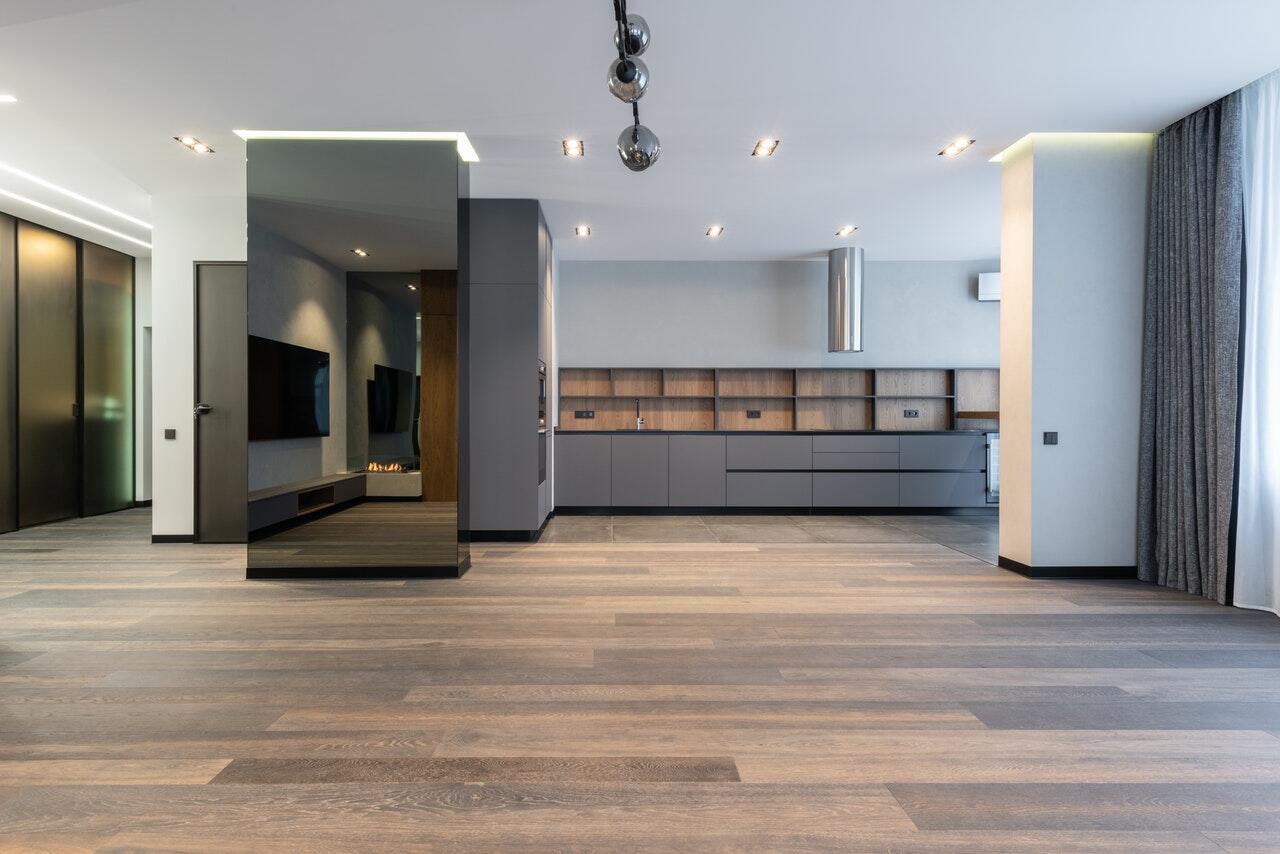
Installing wood floors is an important process that requires careful planning and attention to detail. Wooden floors add elegance and warmth to an interior, but there are many nuances to consider in order for them to last for years to come. In this article, we'll look at 10 key steps that will help you successfully complete the installation of wood flooring. From choosing the right materials and tools to the final finish, following these tips will help you avoid common mistakes and achieve an excellent result. Learn how to properly prepare the surface, choose the right type of wood and installation method, and how to ensure the longevity and beauty of your new floor.
A brief summary of the steps to consider when installing wood flooring
When installing a wood floor, it is important to prepare thoroughly and follow a few key steps:
- Material Selection: Decide on the type of wood and substrate that is appropriate for your space and environment.
- Preparing tools: Study reviews of the materials you have chosen and prepare the necessary tools.
- Installation of the joists: The joists are made of antiseptic coniferous planks and are fastened to the floor slab with screws with a diameter of 4.5 mm or 4.5 mm or metal dowel nails with a spacing of no more than 1.5 m.
- Leveling: Use pads of non-rotting materials such as plastic fixed with mastic to level out level differences.
- Floating: Engineered and heat-treated solid wood planks with locking joints can be laid floating on a cork backing.
- Special fasteners: Use fasteners with a vibration-damping rubber insert when installing a floor on a log.
- Sound insulation: To isolate airborne noise, fill the space between the planks with mineral wool or expanded clay.
- Waterproofing: Treat the entire floor area with cement-polymer waterproofing before installing the floor joists.
- Compensation gaps: Leave 3-5 mm wide gaps between the plywood sheets and 8-10 mm gaps around the perimeter of the room.
- Cleaning: After completing the laying, carry out a thorough cleaning.
Next, we will look at the highlights and types of flooring in more detail.
Preparation for laying the flooring
Before you start laying the boards, you need to lay a layer of thermal insulation between the lags. As insulation, you can use mineral wool or polystyrene. At this stage, you can also lay wires in a plastic corrugation, if necessary. The standard width of the insulation sheets is usually 600 mm, which makes it easy to lay them between the lags. Once all the necessary communications and insulation have been laid, you can start laying the rough or finish floor.
Laying the rough flooring
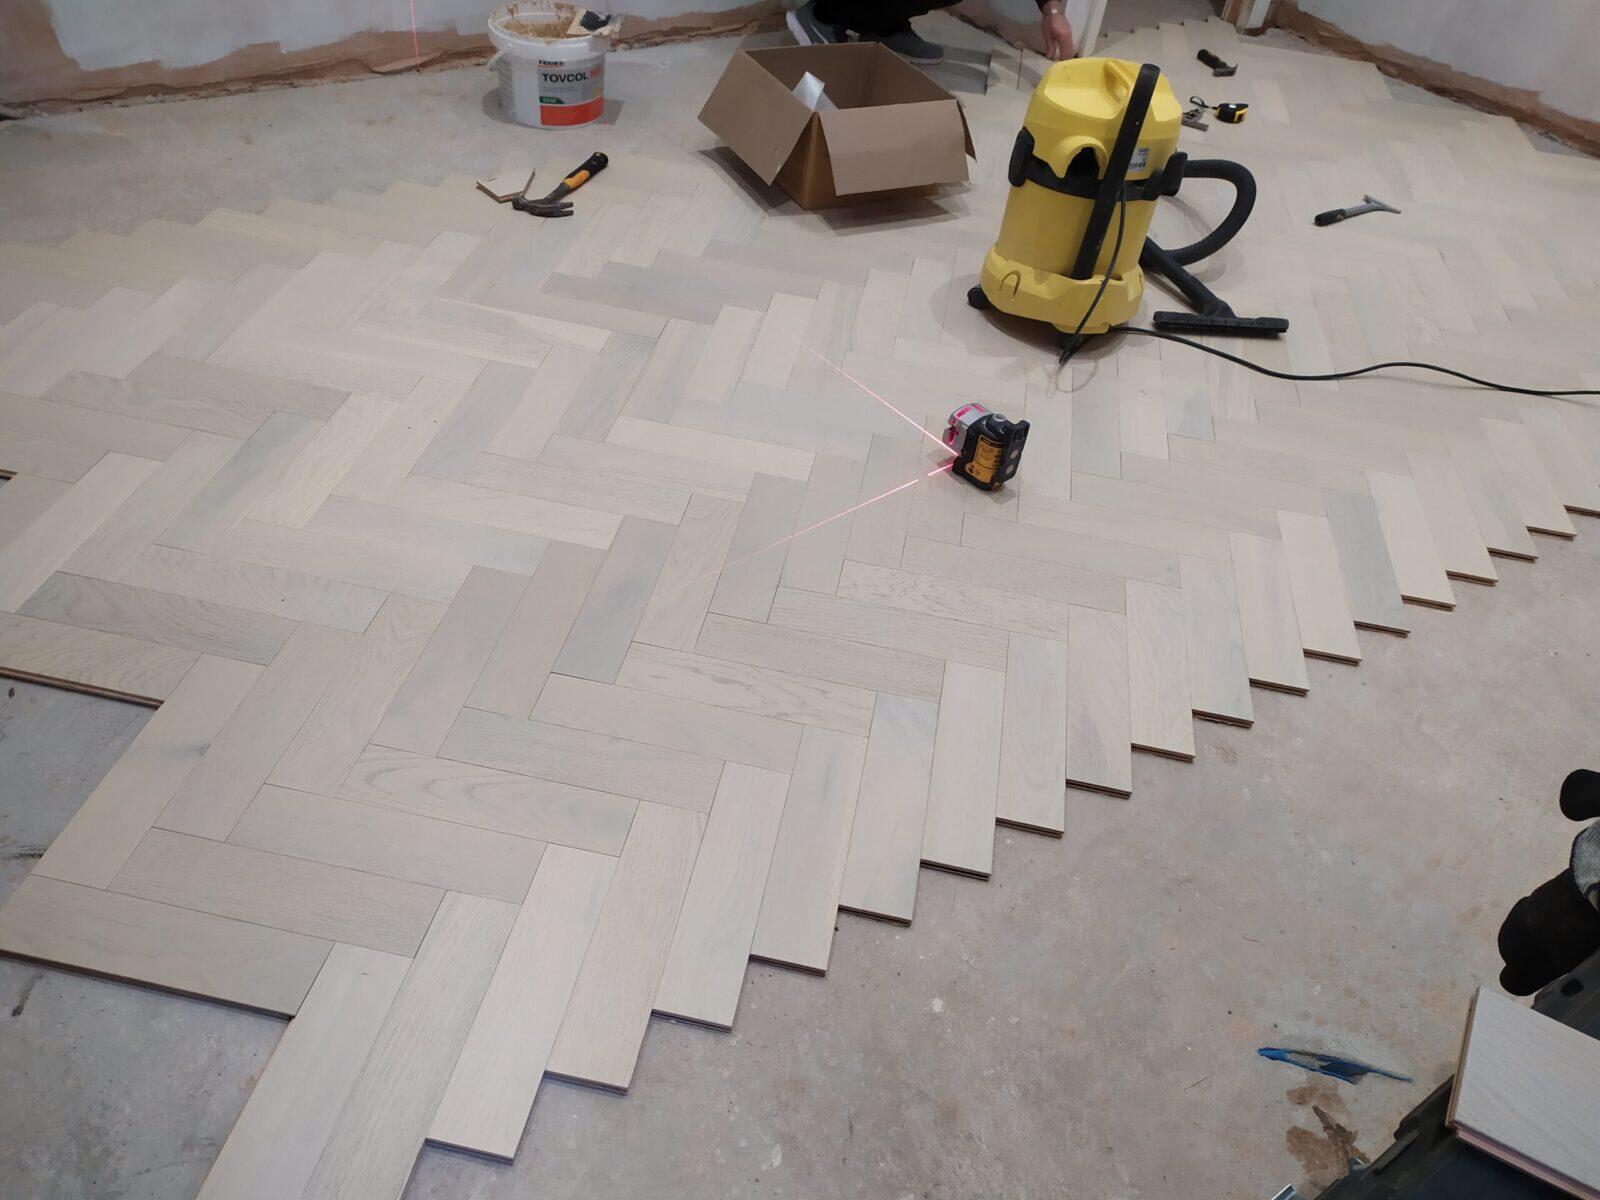
Laying the rough floor is an important stage in the preparation of the subfloor. After laying the thermal insulation and laying the necessary communications, you can start the process. The rough flooring provides a stable and level base for the finishing layer and improves the overall strength of the floor structure.
- Selection of materials: Plywood, OSB boards or moisture-resistant chipboard are often used for the subflooring. The choice of material depends on the specific conditions and requirements of the room.
- Subfloor Preparation: Before laying the subflooring sheets, make sure the joists are level and level. Use a leveler to make adjustments if necessary.
- Cutting the sheets: Cut the subflooring sheets to size, leaving 3-5 mm wide expansion gaps between the sheets and 8-10 mm around the perimeter of the room. This will avoid warping due to changes in temperature and humidity.
- Laying the sheets: Lay the sheets of rough flooring perpendicular to the lags, fixing them with self-tapping screws or nails at a spacing of 150-200 mm. Make sure that the fasteners are recessed into the material so as not to create unevenness.
- Additional treatment: If you plan to lay the final flooring, treat the rough surface with a primer to improve adhesion of the materials and provide additional protection against moisture.
Once the subflooring has been completed, check that it is level and free of defects. This will provide a smooth and stable base for the subfloor, making it easier to install and extending the life of the flooring.
Laying battens on the ground
Laying the floor joists on the ground requires careful preparation and observance of certain rules to ensure a reliable and durable base for a wooden floor.
- Preparation of the ground: The first step is to prepare the ground surface. Remove the top layer of soil to eliminate vegetation and organic material. Level the surface and compact the soil using a vibratory plate or hand tamper.
- Waterproofing: To prevent moisture from below, lay a layer of waterproofing material such as plastic sheeting or roofing felt. This will help protect the wood from rotting and increase the life of the floor.
- Pour a layer of crushed stone or gravel 10-15 cm thick and compact it thoroughly. A layer of sand 5-10 cm thick can be laid on top and also compacted. Such a cushion will ensure good drainage capacity and stability of the legs.
- Installation of supports: On the prepared cushion, install concrete or brick supports for beams with a spacing of 1-1.5 meters. The supports should be horizontally aligned and have the same height. To increase the strength of the structure, you can pour concrete small foundation bases under each support.
- Fixing of beams: Place the beams made of antiseptic coniferous beams on the supports, fixing them with metal angles and anchor bolts. The joists should be placed parallel to each other with a spacing of 40-60 cm. If necessary, use pads made of non-decaying materials to equalize the height of the beams.
- Leveling check: After all the joists have been installed, use a level to check that they are level. If necessary, adjust the position of the joists by adding or removing shims.
- Additional treatment: To increase the longevity of the structure, treat the joists and supports with protective compounds against moisture and decay.
Once the installation of the joists on the ground has been completed, you can proceed to the installation of the subflooring and the next steps of laying the wooden floor. Compliance with all these steps will ensure a strong and durable base for your floor.
Laying on a reinforced concrete subfloor
Installing wood flooring on a reinforced concrete subfloor requires special attention to surface preparation and material selection. Start by thoroughly cleaning the reinforced concrete subfloor, removing all dust, dirt and residual building materials. After that, check the level of the surface, if necessary leveling it with a self-leveling mixture.
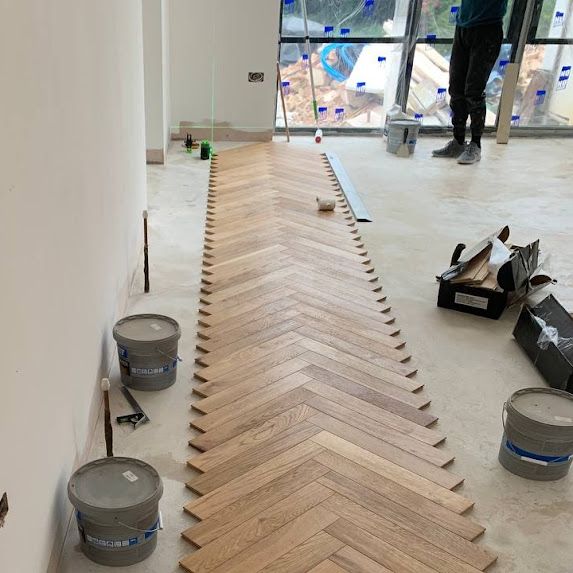
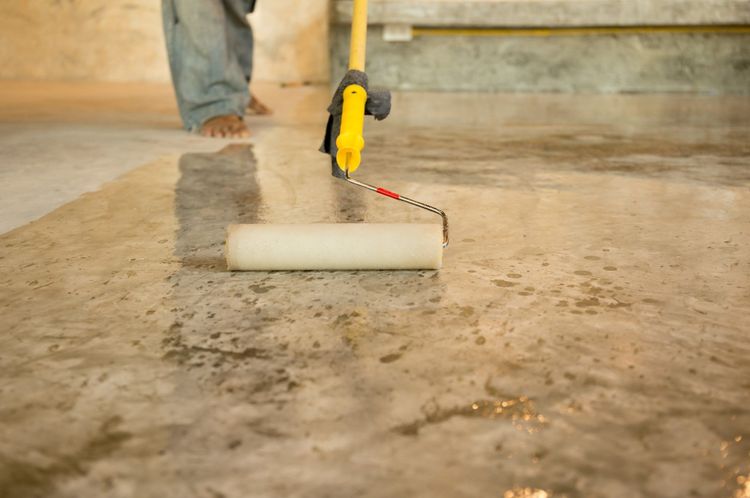
To protect the wooden floor from moisture penetrating through the concrete, it is necessary to lay a layer of waterproofing. Usually polyethylene film or specialized waterproofing materials are used. The film should be laid with an overlap on the walls, securing it with construction tape.
The next step is to install a substrate that will provide heat and sound insulation. Cork or polyethylene foam materials are often used as a carpet pad. The carpet pad is laid in an even layer over the entire surface, covering the waterproofing layer.
When laying a wooden floor on a reinforced concrete base, several methods can be used. One of them - laying on an adhesive base. To do this, a special parquet glue is applied to the prepared base with a toothed trowel, and then lay wooden boards, pressing them tightly to the surface. It is important to monitor the evenness of laying, using a level and special spacing wedges to maintain even gaps between the boards.
Another method is laying on lagging. In this case, antiseptic lags made of coniferous wood are laid and fixed on the reinforced concrete base. The lags should be leveled and the distance between them should not exceed 40-60 cm. The space between the lags can be filled with heat- and sound-insulating materials. A rough floor made of plywood or OSB is laid on the lags, which is then covered with a finishing layer of wooden boards.
Having finished laying the wooden floor on the reinforced concrete base, it is necessary to carry out finishing, including sanding, primer treatment and application of a protective layer of varnish or oil. This will ensure the longevity and aesthetic appeal of your floor.
Finishing installation of a wooden floor
The finishing installation of a wooden floor is the final stage, which requires special precision and attention to detail. The process begins with a thorough preparation of the rough flooring. The surface must be absolutely flat and clean. If plywood or OSB are used, they must be securely fixed and leveled. All irregularities must be eliminated by sanding.
The next step is to acclimatize the wood. The boards should lie in the room where they will be laid for at least 48 hours to adapt to the temperature and humidity of the environment. This will help to avoid deformation of the floor after laying. Proceeding directly to the installation, determine the direction of laying the boards. Planks are usually laid along the main light source or in the direction of traffic. The first board is installed with a small gap from the wall (about 10 mm) to compensate for possible expansion of wood. This gap is then closed with a skirting board.
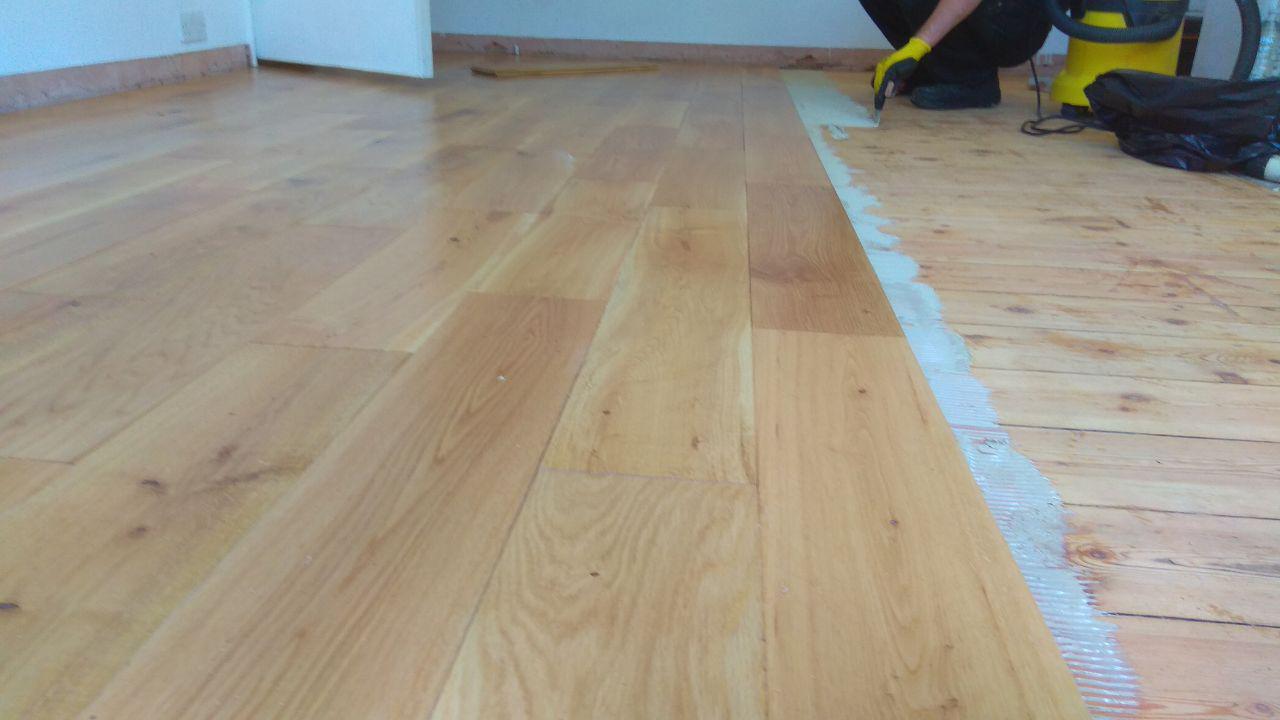
The boards are laid using the chosen fastening method. When laying on glue, apply glue to the subfloor and press each board tightly, ensuring a uniform fit. When installing on joists, the boards are fastened to them with nails or self-tapping screws hidden in the grooves to avoid visible fasteners. It is important to regularly check the levelness of the laying with a level and use spacing wedges to maintain the same gaps between the boards. Special attention should be paid to joints and corners to ensure a tight fit without gaps.
After all the boards have been laid, the surface is sanded. Sanding removes small irregularities and prepares the floor for finishing. Then a primer is applied to improve the adhesion of the finish coating. The final stage is the application of a protective layer. Depending on the chosen finish, it can be lacquer, oil or wax. Lacquer provides a strong and durable coating, oil emphasizes the natural texture of wood and gives the floor a rich color, and wax adds shine and protects the surface from moisture.
The finishing installation of wood flooring completes the process of creating a beautiful and durable coating that gives the interior cozy and elegant.
Should I turn to professionals?
Laying a wooden floor - a complex and responsible process that requires not only precision and accuracy, but also specialized knowledge and skills. Despite the apparent simplicity, each stage of installation is full of nuances that can significantly affect the final result. That is why many people ask themselves: is it worth turning to professionals?
Yes, in our company you can order such a service. We guarantee high quality work, fast turnaround times and a professional approach to each client. Our team has all the necessary knowledge and experience to lay a wooden floor of any complexity. A detailed price list can be viewed here.

