
How to Maintain Edwardian Floorboards Without Losing Character
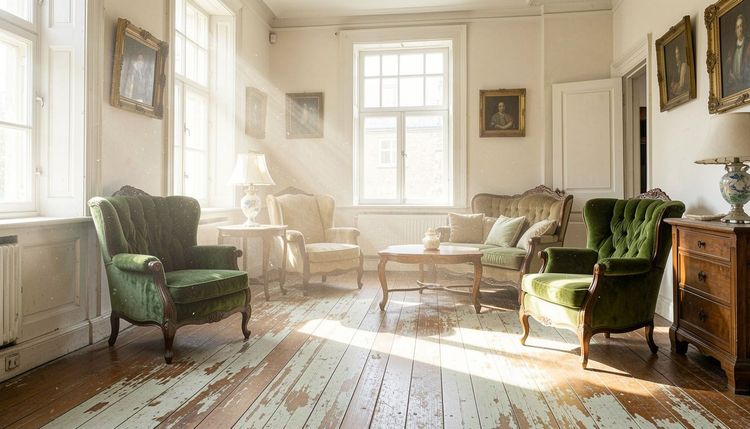
Edwardian floorboards are treasures. They have survived for over a century, carrying the warmth and patina that only time can create. But maintaining them presents a delicate balance. Modern cleaning products can strip away history. Aggressive sanding can erase character. Neglect can lead to irreversible damage. This article explains how to care for Edwardian floorboards in a way that preserves their authenticity while keeping them beautiful and functional for decades to come.
Understand What Makes Edwardian Floors Special
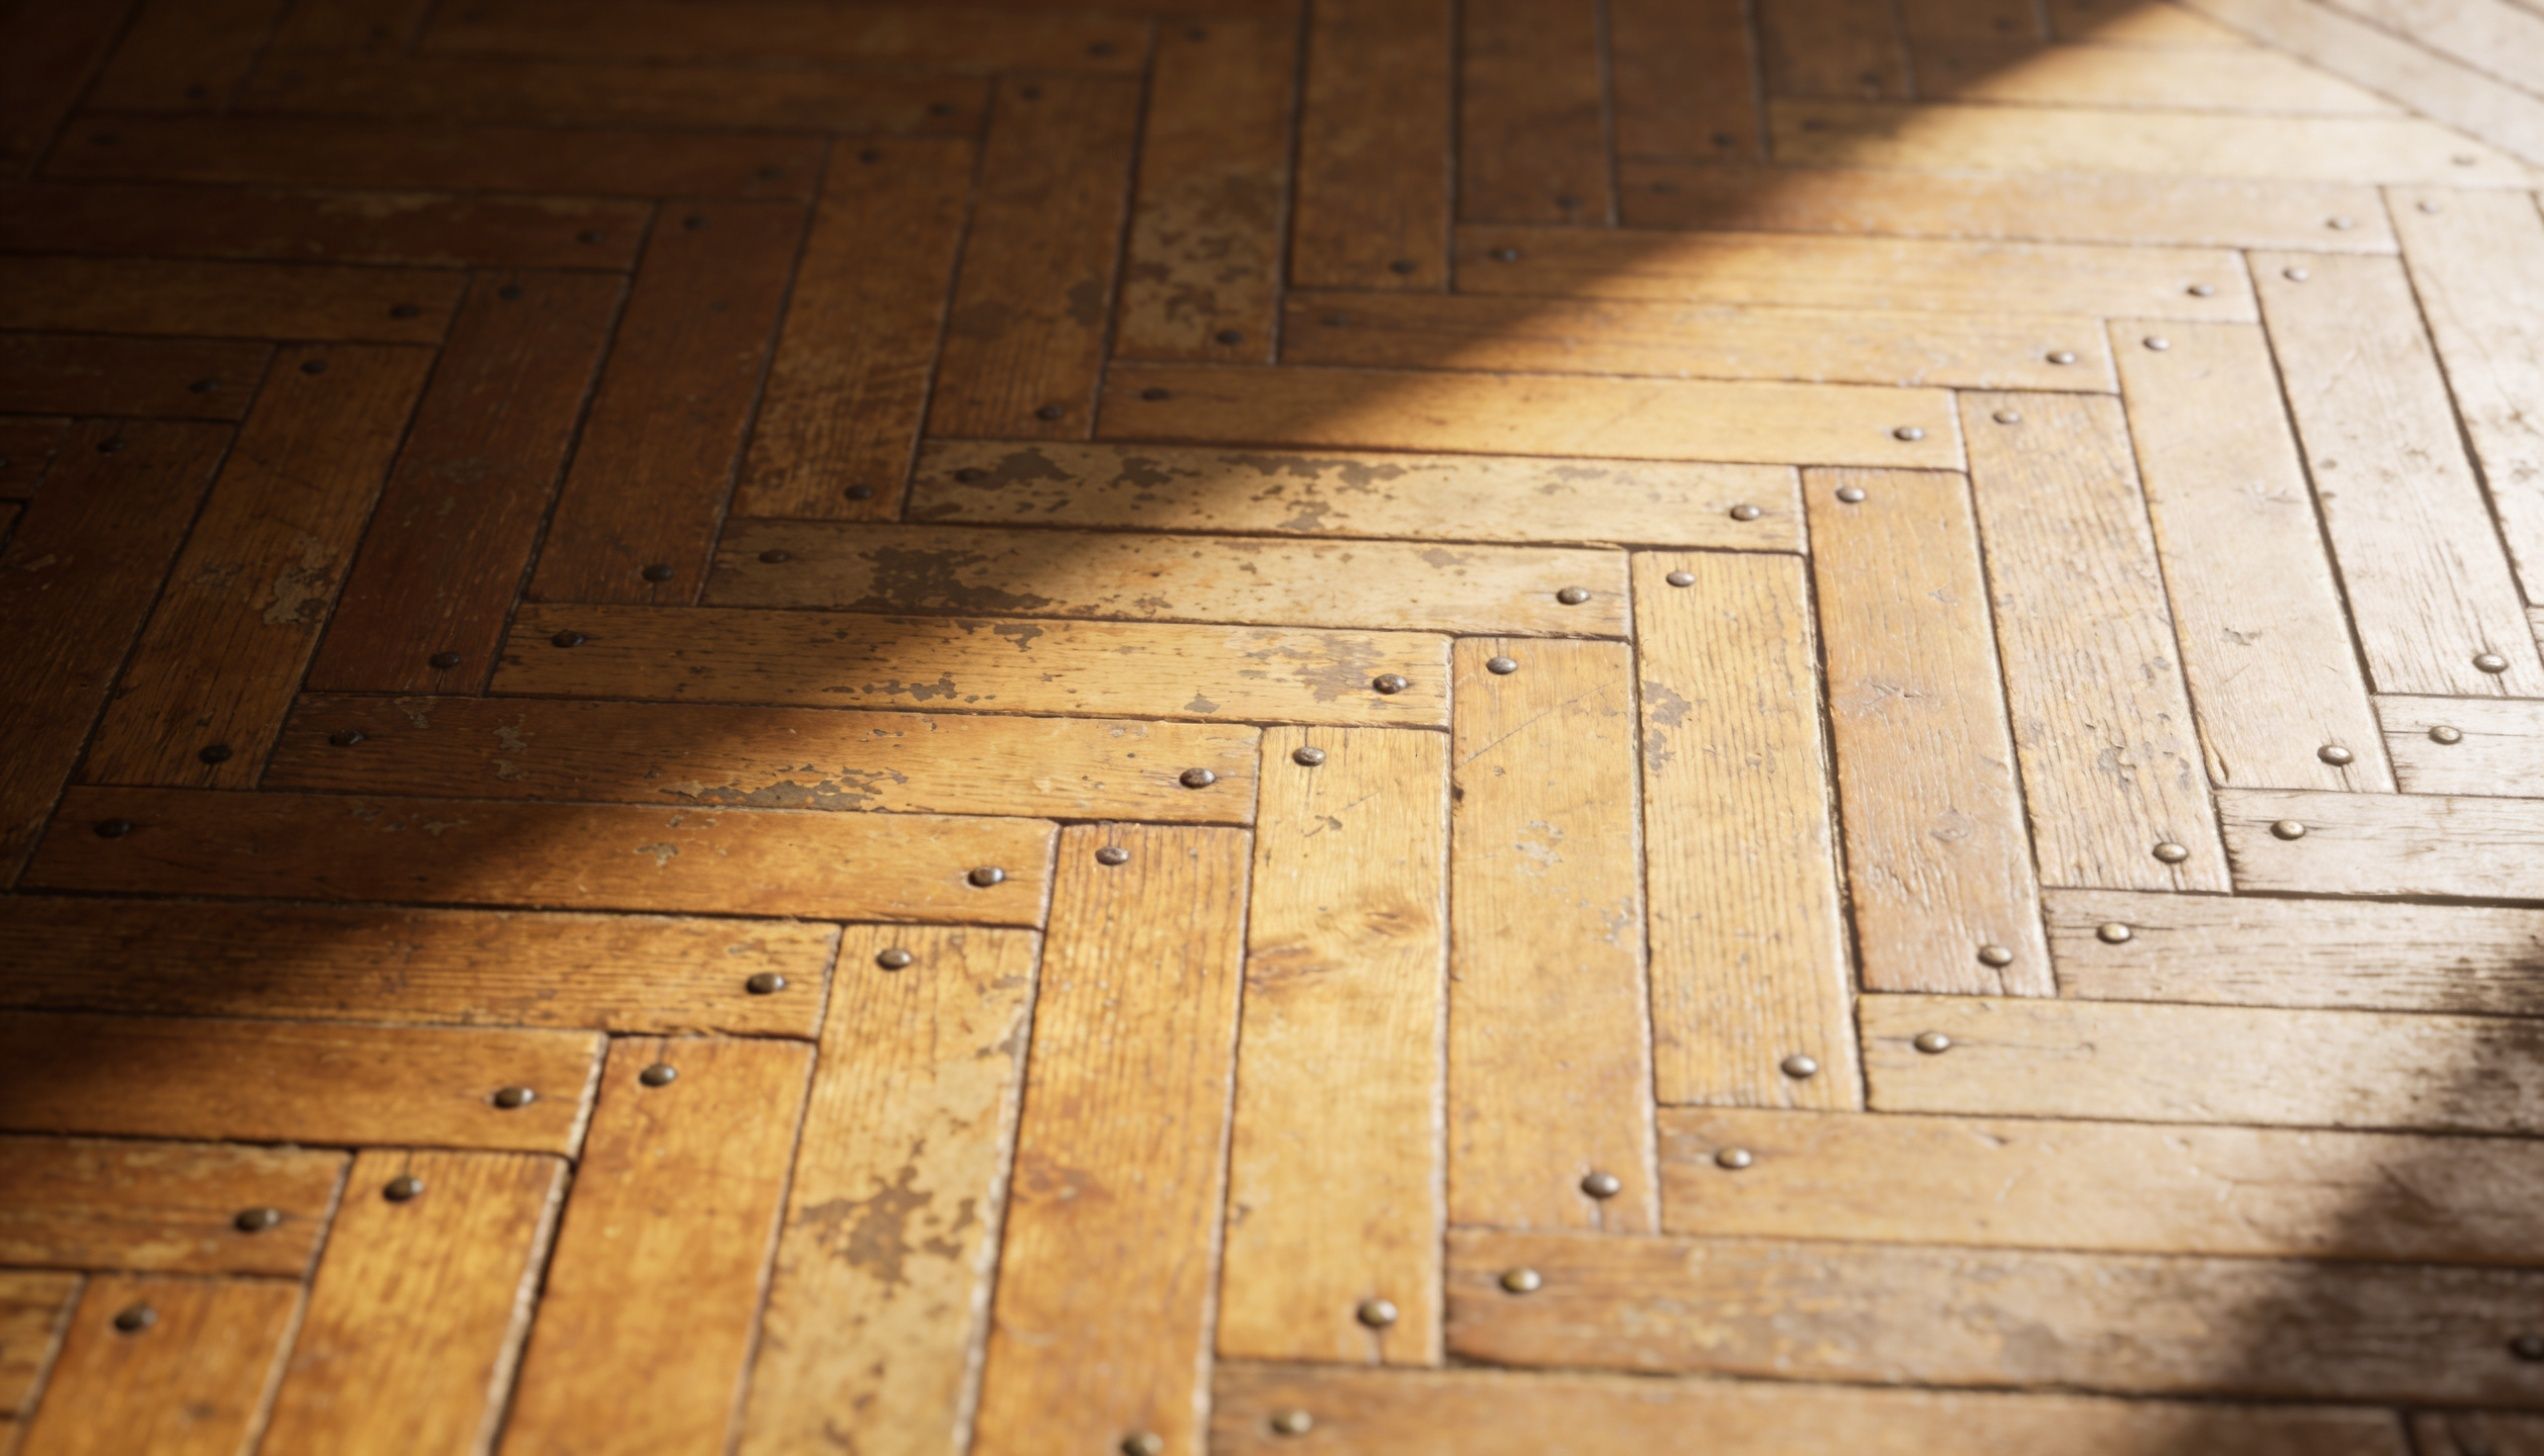
Before discussing maintenance, it helps to understand what you are protecting. Edwardian floors typically feature wider planks than Victorian ones, often 5 to 7 inches across. The wood is usually deal (softwood from Northern Europe), which is slightly denser and paler than Victorian pine. Original finishes were lighter too—oak stains or natural wax rather than the dark walnut and mahogany favoured by the Victorians.
Edwardian floors were also better constructed. Joists are closer together, boards are more consistently thicknessed, and fixings are more uniform. This means they often survive in flatter, more stable condition than older floors.
The goal of maintenance is not to make these floors look new. It is to help them age well, preserving the very qualities that make them special.
Daily and Weekly Cleaning Habits
 The most damaging thing to any wooden floor is not heavy furniture or high heels. It is abrasive grit. Tiny particles of dirt, sand, and dust act like sandpaper, grinding away the finish and eventually the wood itself.
Daily and Weekly Care
Sweep or vacuum frequently with a soft-bristled brush or hardwood attachment. Avoid vacuums with beater bars—they scratch softwood.
Damp mop sparingly using a well-wrung microfiber mop with water or a wood floor cleaner. The mop should be damp, not wet. Less moisture is always better.
Wipe spills immediately. Blot with a dry cloth. Do not wipe, as that pushes liquid between boards.
Use doormats at every entrance, inside and out. Shake them out weekly.
What to Avoid
- Steam mops: heat and moisture cause cupping and finish failure
- Vinegar or ammonia: strip wax and oil finishes unpredictably
- Abrasive scrubbers or steel wool: scratch softwood and remove patina
Protecting the Finish
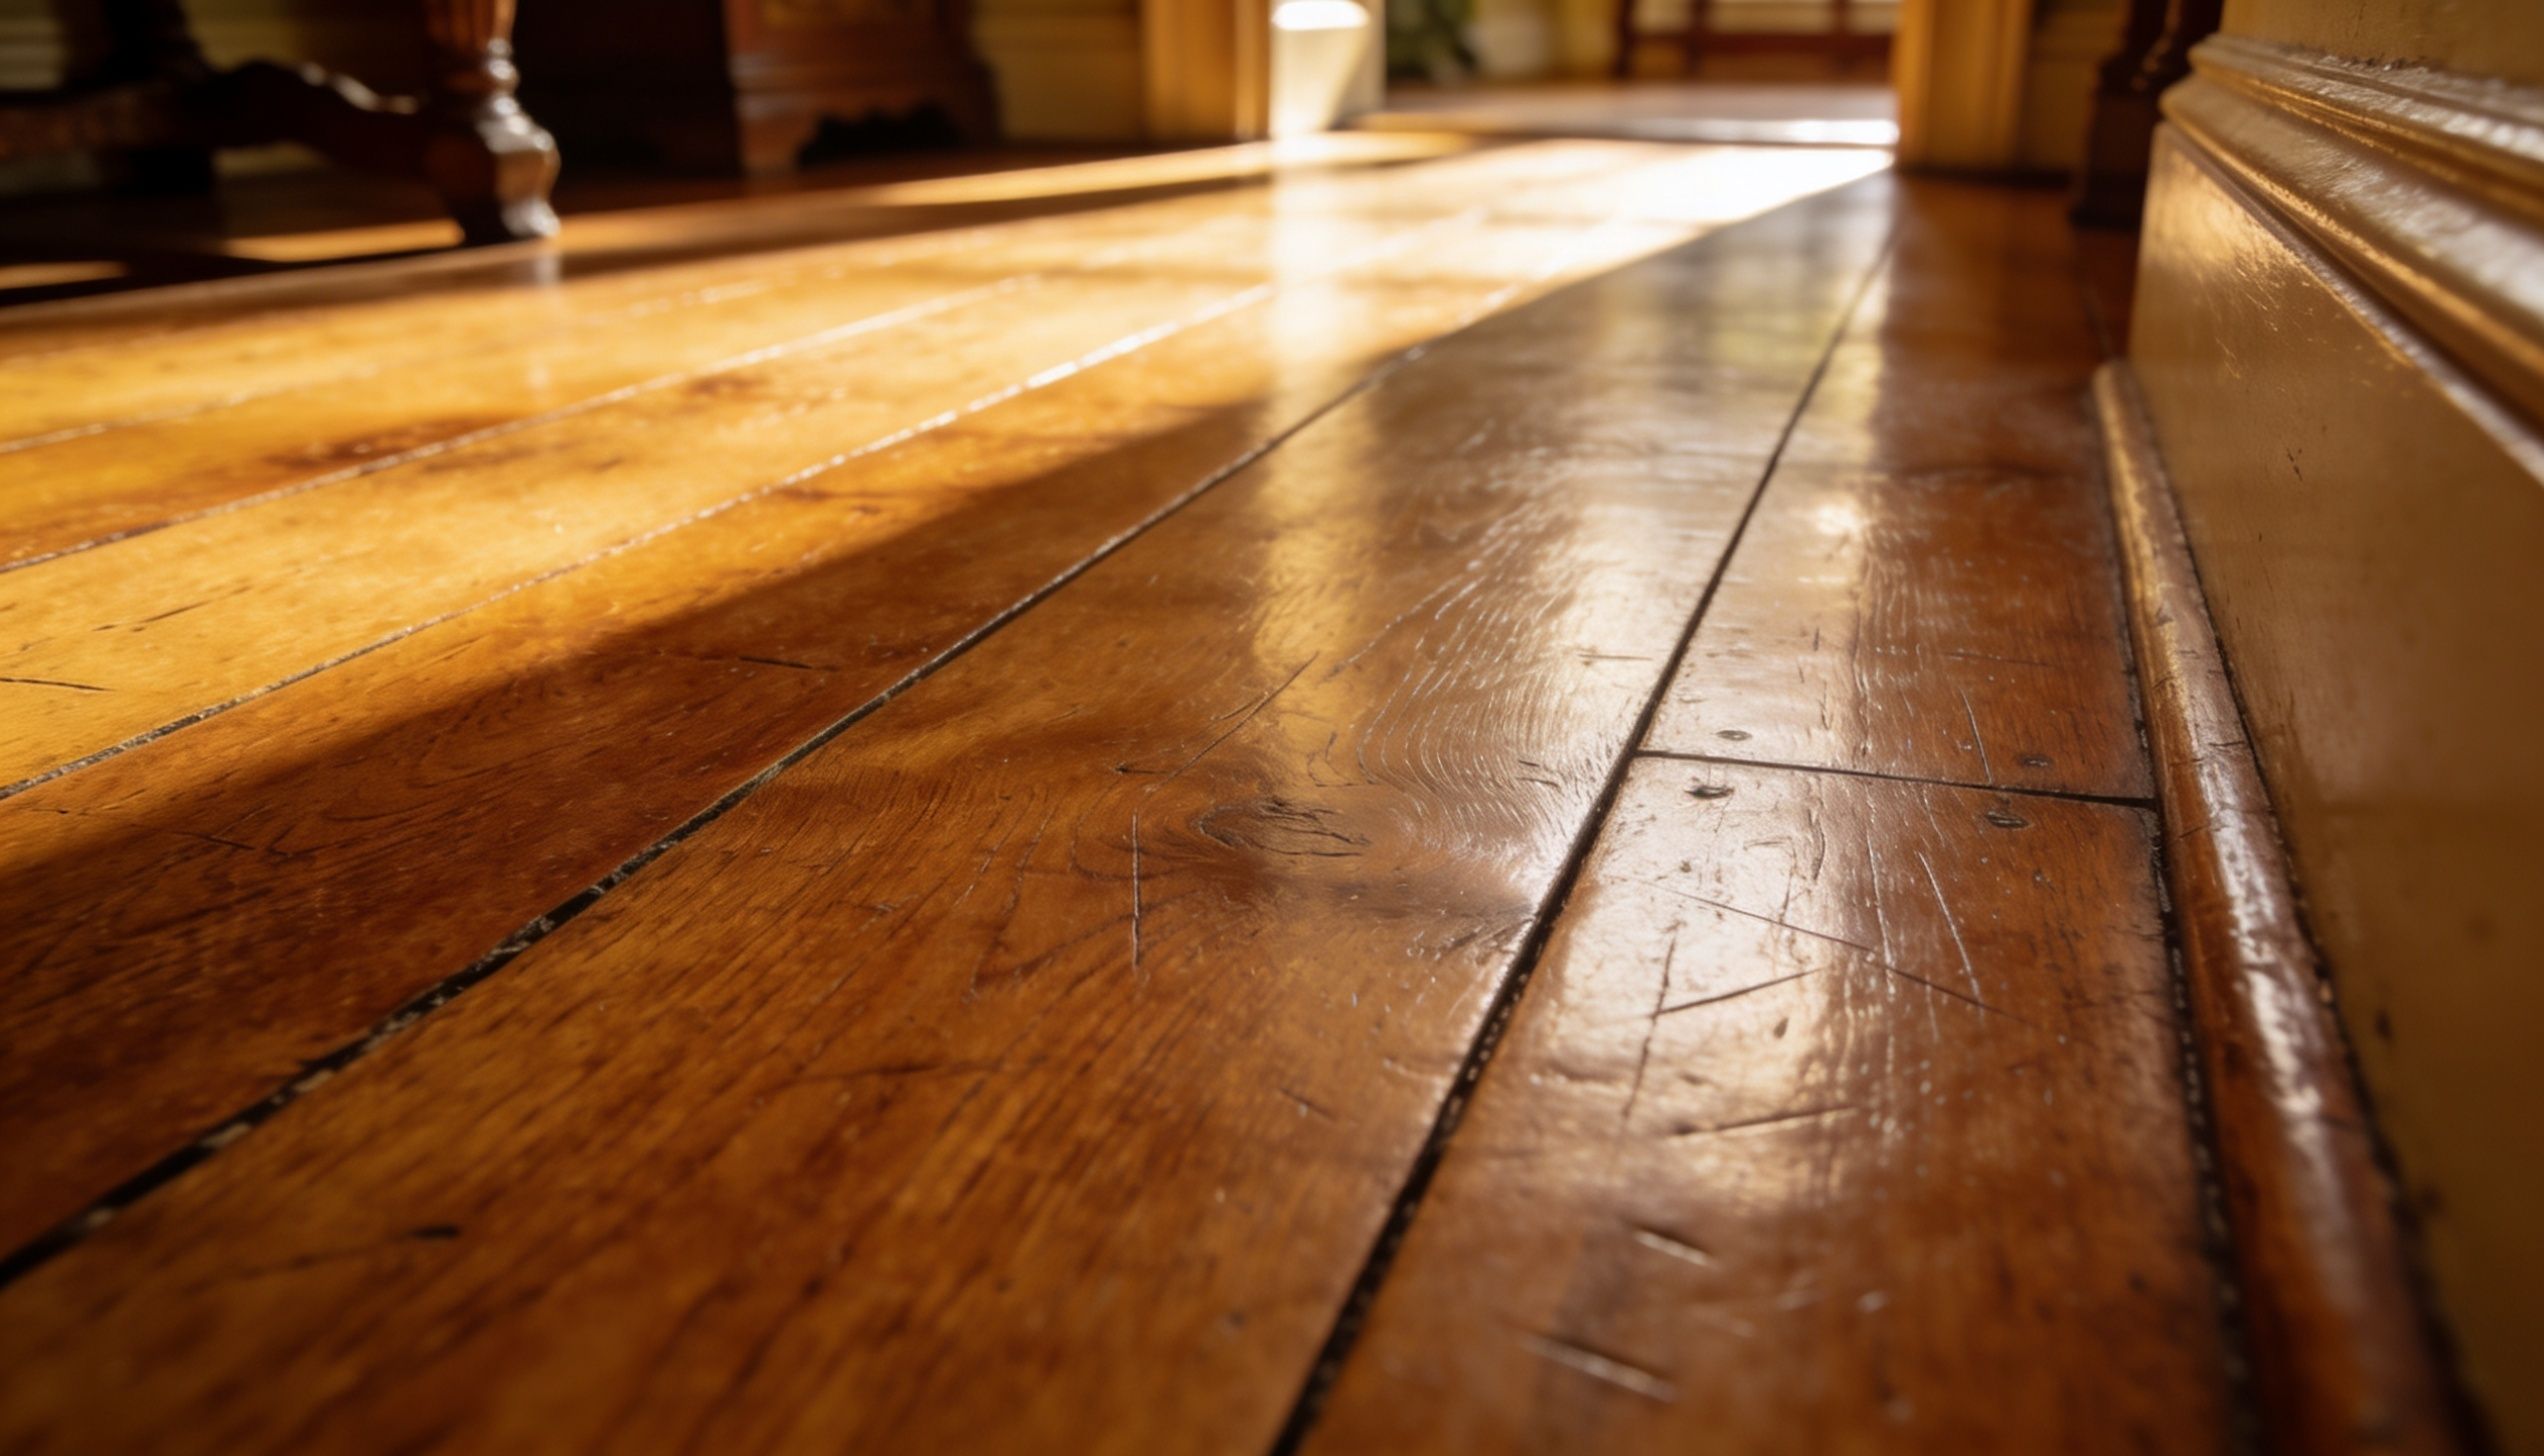
Edwardian floors were traditionally finished with wax or hard wax oil, not thick polyurethane lacquers. These traditional finishes look softer and require different maintenance.
Waxed floors: Buff periodically with a soft cloth. Reapply paste wax every 6 to 12 months in high-traffic areas. Dull appearance or water no longer beading means it is time for fresh wax.
Hard wax oil finishes: Clean with dedicated products. When water stops beading, apply a maintenance oil or spray-on refresher.
Lacquered floors: Clean with appropriate products. When lacquer wears thin, the entire floor must be sanded and re-coated—spot repair is impossible.
Managing Gaps and Seasonal Movement
 Edwardian floors naturally move with the seasons—boards shrink in winter and expand in summer. This is normal.
Do not seal gaps with rigid fillers, which crack when wood moves. Accept small gaps as character. For draughts, use underfloor insulation instead of filling gaps.
For bothersome gaps, flexible resin fillers remain elastic and move with the wood. A professional should do this work due to the skill required for colour matching.
Addressing Minor Damage
Light scratches: Buff out with fresh wax or maintenance oil on waxed or oiled floors. For lacquered floors, professional help may be needed.
Dents: Small dents add character. For deeper dents, place a damp cloth over the area and apply a hot iron briefly. The steam raises compressed fibres. This works best on bare wood, not finished surfaces.
Stains: Surface stains often sand out. Deep stains may need oxalic acid (wood bleach)—a professional task, as improper application leaves permanent whitish patches.
When to Sand and Refinish
Edwardian floors do not need sanding every few years. In fact, aggressive sanding is the fastest way to destroy them. Each sanding removes a thin layer of wood. Sand too many times, and the tongue and groove weakens.
Signs That Sanding Is Needed
- The finish has worn completely through in high-traffic areas
- Water no longer beads on the surface
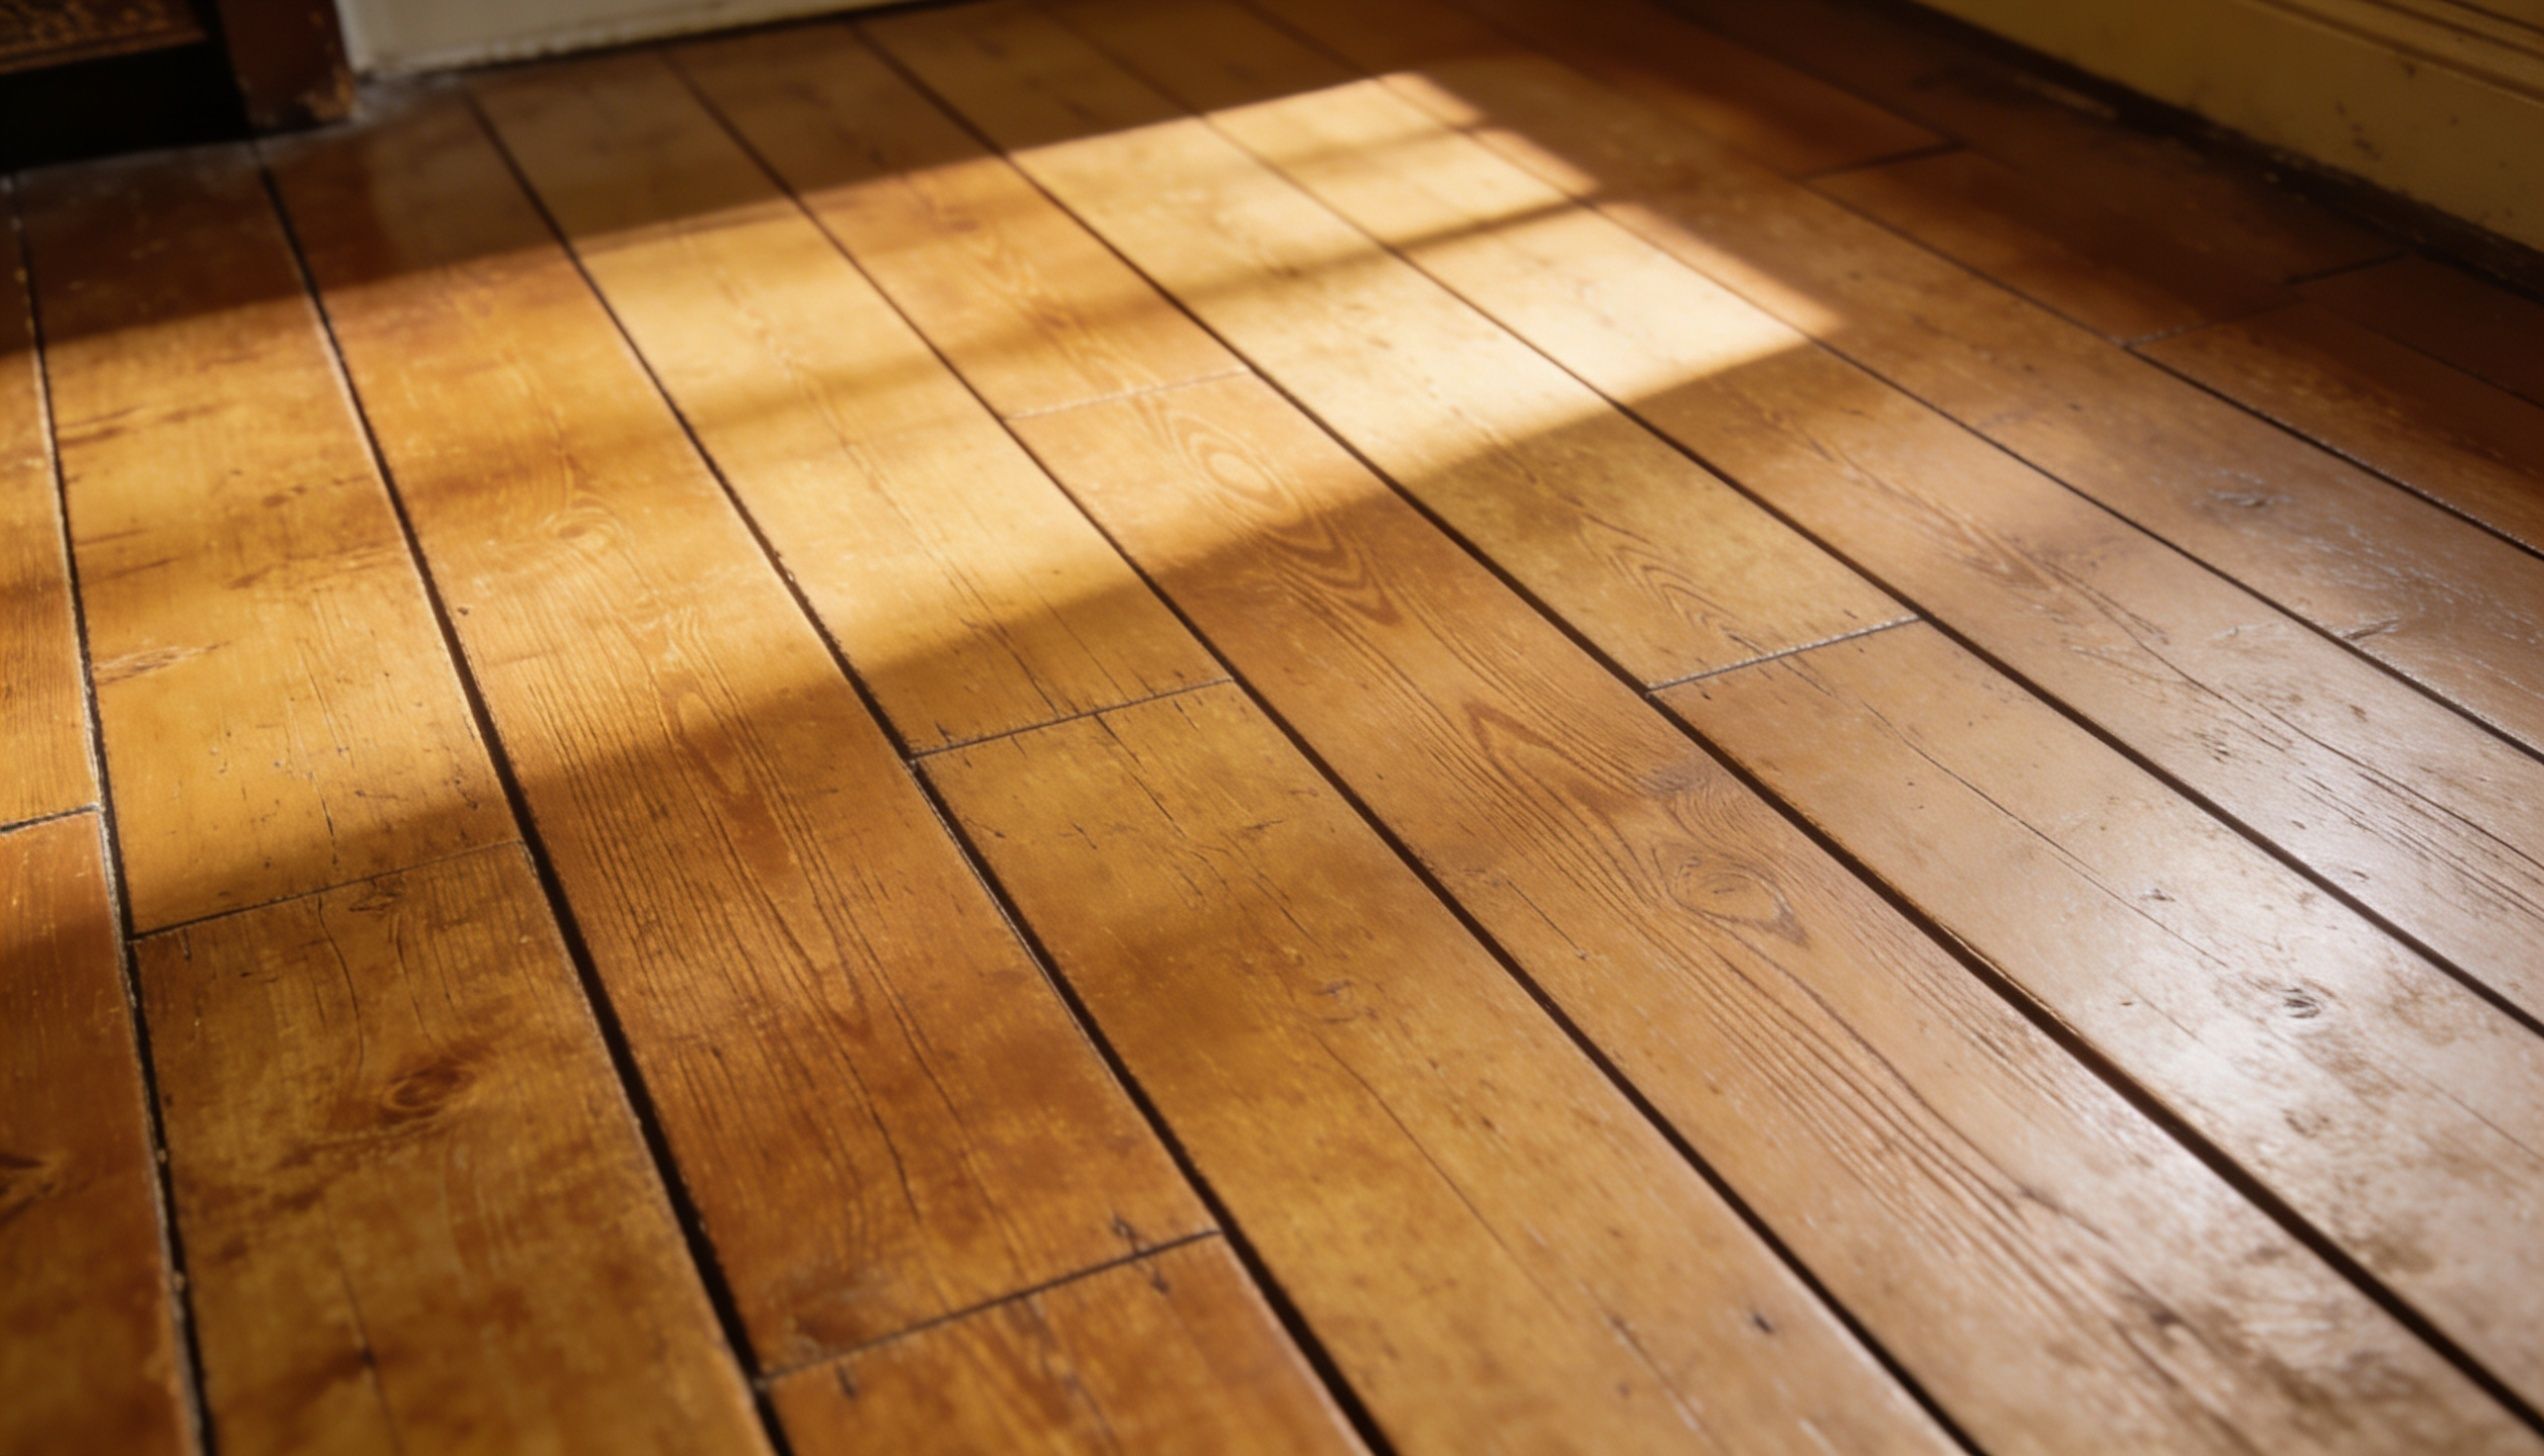
- The floor looks uniformly grey and tired
- Deep scratches or stains cannot be addressed otherwise
Signs That Sanding Is Not Needed
- The floor has minor scratches or dull patches
- Only the high-traffic areas show wear
- The floor has not been sanded in many years but looks acceptable
Between full sandings, consider a screen and recoat. This process uses a light abrasive to rough the existing finish, then applies new coats of finish. It removes minimal wood while refreshing the surface. A screen and recoat can extend the time between full sandings by five to ten years.
Protecting Against Woodworm
Edwardian softwood is vulnerable to woodworm, particularly Common Furniture Beetle. Prevention is easier than cure.
Maintain good underfloor ventilation. Blocked air bricks create damp conditions that beetles love. Check that crawl space vents are clear.
Inspect the floor periodically. Look for small round holes and fine dust (frass). Small numbers of historic holes are not concerning. But fresh dust indicates active infestation requiring professional treatment.
If you are having other floor work done, consider adding woodworm prevention treatment. It is relatively inexpensive compared to dealing with an established infestation.
The Role of Professional Maintenance
 Many homeowners try to maintain Edwardian floors themselves. This works for everyday cleaning and minor care. But periodic professional attention pays dividends.
A professional can:
- Assess the condition of the finish and advise on next steps
- Perform a screen and recoat with proper equipment
- Address gaps and minor damage correctly
- Identify woodworm issues early
- Deep clean without damaging the wood
Every three to five years, have a professional evaluate your floor. This small investment prevents larger problems and extends the time between full sandings.
What Not to Do
Some well-intentioned maintenance causes lasting harm.
- Do not use sticky tapes or adhesives on the floor. Residue is difficult to remove and often requires sanding.
- Do not drag furniture. Always lift. Felt pads help but are not a substitute for careful handling.
- Do not place rubber-backed mats directly on the floor. Rubber reacts with wood finishes, leaving permanent stains. Use natural fibre or felt-backed rugs instead.
- Do not ignore spills. Even water causes damage if left sitting.
- Do not cover the entire floor with rugs. Wood needs to breathe, and rugs trap moisture. Leave some wood exposed.
Accepting Imperfection
The most important aspect of maintaining Edwardian floorboards is accepting that they will never look perfect. They are old. They are softwood. They have stories to tell.
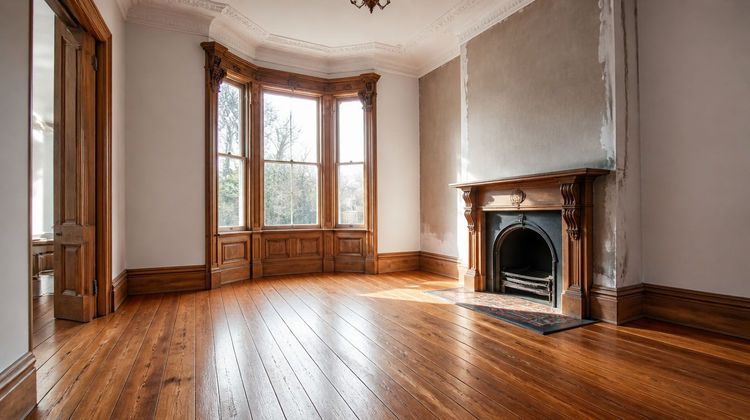
That worn patch near the fireplace? Generations of people stood there to warm themselves. That scratch near the door? Someone moved a heavy piece of furniture in 1952. That slight dip in the middle? The floor has settled over a century.
These imperfections are not failures of maintenance. They are the very qualities that make Edwardian floors irreplaceable. Good maintenance preserves these marks of time while preventing damage that compromises the wood's structure.
Conclusion
Maintaining Edwardian floorboards is not about making them look new. It is about helping them age with grace. Sweep regularly. Clean gently. Protect the finish. Accept seasonal movement. Address problems early. And every few years, invite a professional to assess and refresh.
With sensible care, Edwardian floors will outlive you. They will continue to warm homes, carry footsteps, and tell stories for another century. That is the reward of maintenance done right.