
Floor Sanding vs. Painting: What Should Come First in Your Renovation?
Renovating a room is a symphony of tasks, each needing to be performed in the correct sequence to achieve a flawless final result. One of the most common and critical dilemmas homeowners and contractors face is the scheduling of two major jobs: floor sanding and painting. Should you sand your beautiful hardwood floors before you paint the walls, ceilings, and trim, or after? The answer, while seemingly simple, has nuances that can significantly impact the quality, cleanliness, and efficiency of your project.
The Short Answer: A Clear Recommendation
For the absolute best result, we highly recommend sanding and finishing your floors before applying the final coat(s) of paint to your walls, trim, and doors. This is the professional sequence that prioritizes protection of your pristine paint job.
However, the ideal world often meets the reality of scheduling, logistics, and project scope. Therefore, the most practical and professional workflow is a hybrid approach: Complete all wall preparation (filling, sanding, priming) and apply your undercoats of paint first. Then, execute the floor sanding and finishing. Finally, apply your final, perfect top coats of paint.
Let’s delve into the "why" behind this recommendation, exploring the pros, cons, and the detailed reasoning that leads to this conclusion.
The Case for Painting First (The Common But Flawed Approach)
Many DIYers consider painting first, thinking it's easier to wipe dust off unfinished floors than to fix paint splatters on a newly finished floor.
Perceived Advantages:
- No Need for Floor Protection: You can avoid the cost and hassle of laying down extensive floor protection (ramboard, cloths) since the floor is about to be sanded anyway.
- Easier Cleanup of Paint Drips: Spills and drips on raw wood are inconsequential, as they will be sanded away.
Significant Disadvantages:
- Inevitable Dust Contamination: This is the critical flaw. Sanding wood floors, especially with older wood or coarse grits, generates an immense amount of ultra-fine dust. This dust is microscopic, airborne, and pervasive.
- "Dust Painting": That fine dust will settle on every wet coat of paint you've just applied, embedding itself into the finish. This creates a rough, gritty texture (often called "orange peel" or "sandpaper" finish) on your walls, trim, and ceilings, ruining a smooth professional look.
- Extended Curing Issues: Dust can interfere with the proper curing and adhesion of paint films, potentially leading to premature failure.
- Massive Post-Sanding Cleaning: You will face an enormous cleaning task to remove this fine dust from every surface, corner, and crevice before you can even think about the final touches.
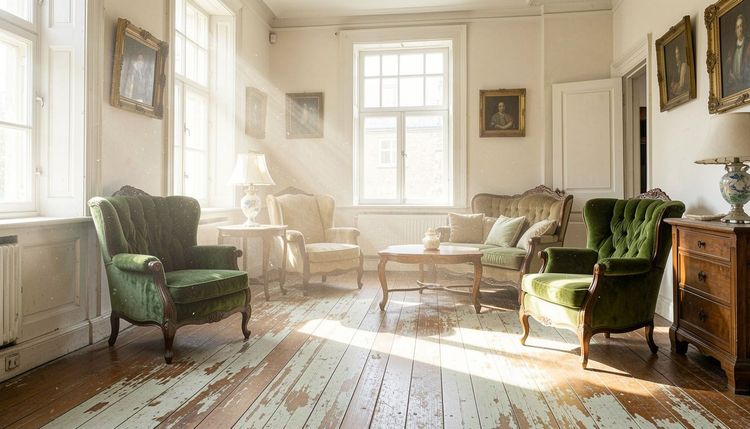
The Case for Sanding First (The Ideal but Careful Approach)
Sanding and finishing the floors first creates a beautiful, sealed surface.
Advantages:
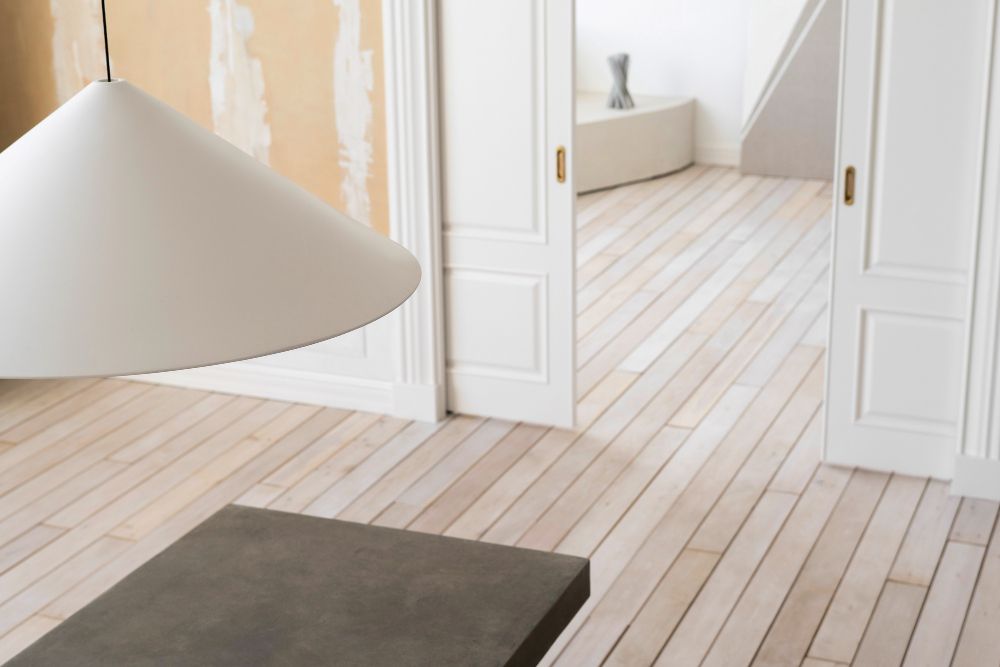
- Protected Final Paint Job: Once the final floor finish (oil or water-based polyurethane, hardwax oil) is fully cured, it forms a hard, protective shell. Paint splatters, spills, and drips can be wiped away easily with a damp cloth without damaging the floor.
- Containment of the Mess: The biggest, dirtiest job is done upfront. The rest of the renovation happens in a progressively cleaner environment.
Disadvantages:
- Absolute Protection is Non-Negotiable: The new floor finish is incredibly vulnerable during the remainder of the renovation. It must be protected with high-quality, taped-down floor protection (like 9mm RAM board or rosin paper) to guard against scratches, dents, and chemical spills from paint, spackle, or solvents.
- Risk of Damage: Despite protection, heavy tools, ladders, or dropped objects can still puncture the covering and damage the floor.
- Height Adjustments: The new floor finish may change the height of the floor slightly, which can affect the installation of baseboards (skirting boards). It’s often recommended to install baseboards after floor sanding.
Our Recommended Hybrid & Professional Sequence: The "Best of Both Worlds"
This method strategically places the messy floor work between paint layers, not after the final product.
-
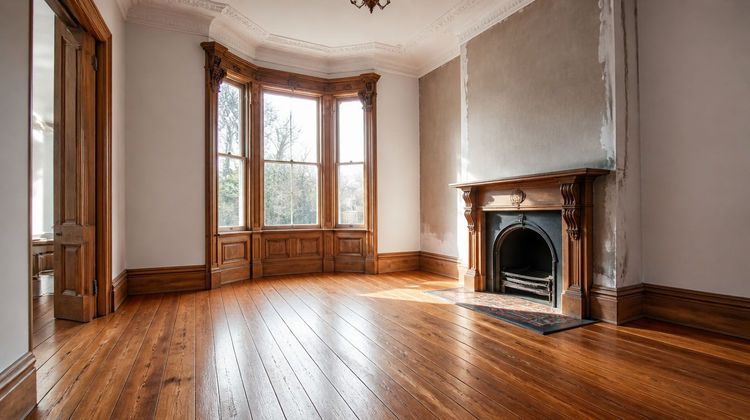
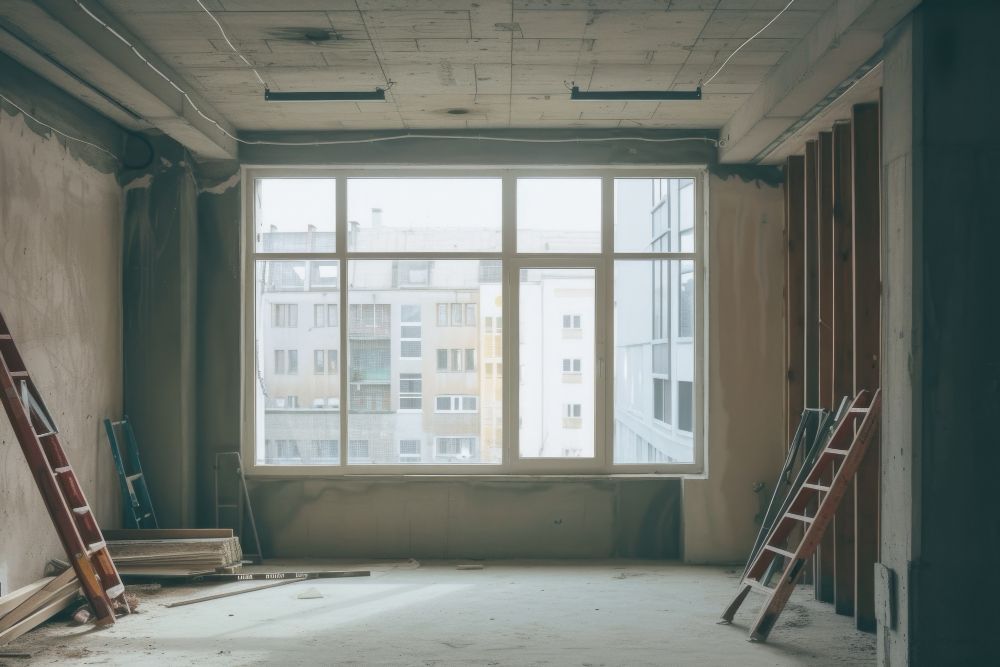
Step 1: Demolition & Rough Work. Complete all structural work, electrical, plumbing, etc. Remove old flooring or prepare subfloor.
-
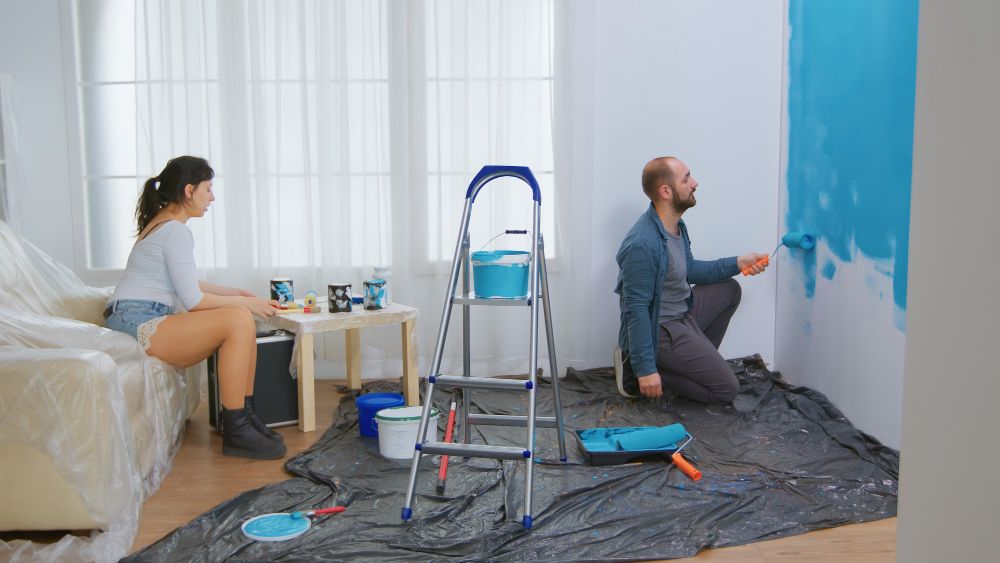
Step 2: Wall & Ceiling Preparation. Install new drywall or prepare existing surfaces. This includes all filling, taping, sanding of joints, and sanding of existing walls/ceilings. Apply a primer or first coat(s) of paint. This seals the surface and provides a uniform base color.
-
Step 3: First Fix of Trim & Doors. Install new doors, window casings, and baseboards (skirting boards). Leave a small, consistent gap (approx. 10mm) at the bottom of the baseboards to accommodate the floor height. Fill nail holes and sand the trim. Apply 1-2 primer/undercoats to all trim and doors.
Why now? Performing all this sanding and priming before the floor work means the pervasive dust from wall/trim sanding is irrelevant, as the floor is still to be refinished.
-
Step 4: FLOOR SANDING & FINISHING. Now, execute the floor work. Sand, stain (if desired), and apply the final protective coats of finish (e.g., 2-3 coats of polyurethane). Allow for full cure time as per the manufacturer's instructions (this is crucial—often 3-7 days).
-
Step 5: Final Protection & Ultimate Painting. Once the floor is fully cured, install final, high-quality floor protection. Now, apply your final, top-quality coat(s) of paint to walls, ceilings, trim, and doors.
The Critical "Why": Addressing Real-World Jobsite Realities
You might ask: "If we use industrial sanders with excellent dust extraction and meticulously clean afterward, why does the sequence still matter so much?"
The truth lies in the imperfections of any real-world environment:
- Inevitable Micro-Dust: Despite the best equipment with HEPA filters, sanding generates a cloud of ultrafine particles. Due to room geometry, air currents, and the sheer volume of material removed, a small amount of this dust will become airborne and settle on every surface.
- Physical Contact Risks: A floor sanding project is physically demanding. A dusty hose, a worker's clothing, or a piece of equipment can easily brush against a wall, door, or—most vulnerably—the lower edge of a baseboard, leaving a mark or embedding dust into a still-tacky surface.
- The Perfection for the Discerning Client: For our most demanding clients, and especially for those with allergies to wood dust, performing the floor work before the final paint layer is a non-negotiable quality assurance step. It provides a simple, clean opportunity to correct any minor imperfections in the paintwork that may have occurred during the floor process.
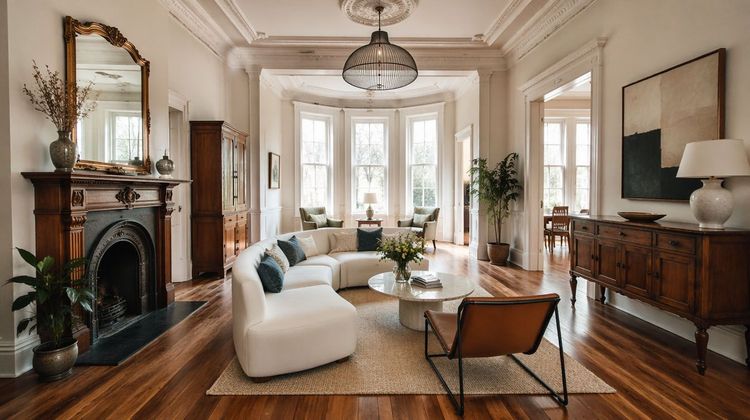
- Absolute Cleanliness: Following this sequence means the final act of the renovation is applying perfect, clean paint. When the protection is peeled up, you reveal a flawless floor and immaculate walls simultaneously. The space is truly "move-in ready," with no lingering dust to clean from painted surfaces.
Conclusion: A Sequence for Success
While you can technically perform the tasks in either order, the path to a professional, high-quality, and stress-free renovation is clear. Complete your major prep work and undercoats, then sand and finish your floors, and culminate with the final coats of paint.
This logical sequence respects the nature of the materials, contains the mess in phases, and most importantly, protects the most vulnerable element—the final, smooth, durable paint finish—from the inevitable dust and activity of floor restoration. By planning your renovation in this order, you invest not just in tasks, but in a result: an absolutely clean, perfectly executed space where both your floors and your paintwork shine in their full, unblemished glory.