
Can You Sand Painted Floorboards? Everything You Need to Know
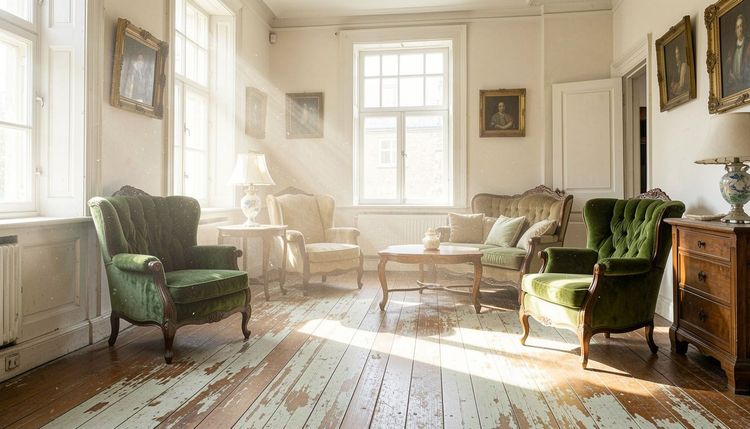
The allure of original floorboards is undeniable. Their character, warmth, and history can transform a space. But what happens when you lift a corner of that worn-out carpet or peel back the linoleum and find not pristine oak, but layers upon layers of old paint? This discovery leaves many homeowners with a pressing question: Can you sand painted floorboards? The short answer is yes, but with critical caveats and precautions. This comprehensive guide will walk you through the complexities, dangers, and detailed steps of tackling this challenging yet rewarding project.
The Critical First Step: Understanding the Paint and Its Risks
Before you even consider renting a sander, you must become a detective. The age and type of paint are not mere details; they are the factors that determine if you should proceed at all.
The Lead Paint Hazard: If your home was built before 1978, there is a high probability that the paint, especially in the lower layers, contains lead. Lead-based paint is a severe health hazard. Sanding it creates immense amounts of toxic dust that can cause permanent neurological damage, particularly in children and pregnant women. This is non-negotiable: You must test for lead. Purchase an EPA-recognized lead test kit from a hardware store. If the test is positive, do not proceed with dry sanding. Your options become professional abatement or encapsulating the paint with a new, approved floor covering.
The Nature of the Paint: Modern latex paints are simpler to sand but may gum up sandpaper. Older oil-based or alkyd paints are tougher and can be more difficult to remove. The number of layers also matters; ten thick layers will require a different approach than one or two.
The Professional Method: How to Safely Sand Painted Floorboards
Assuming your paint tests negative for lead or has been professionally abated, you can proceed with caution. This is a multi-stage, labor-intensive process.
Preparation is 90% of the Work:
- Clear and Clean: Remove all furniture and curtains. Seal the room from the rest of the house with plastic sheeting and duct tape over doors and vents.
- Safety Gear: You must wear a NIOSH-approved respirator (not a dust mask), safety goggles, and heavy-duty ear protection.
- Floor Inspection: Sink all protruding nails or staples below the surface of the wood. Fill large gaps with appropriate wood slivers or filler. The goal is a perfectly flat surface to prevent tearing your sanding sheets.
The Sanding Sequence – A Three-Act Play:
This is not a one-tool job. You will need a combination of machines, typically rented from a tool hire shop.
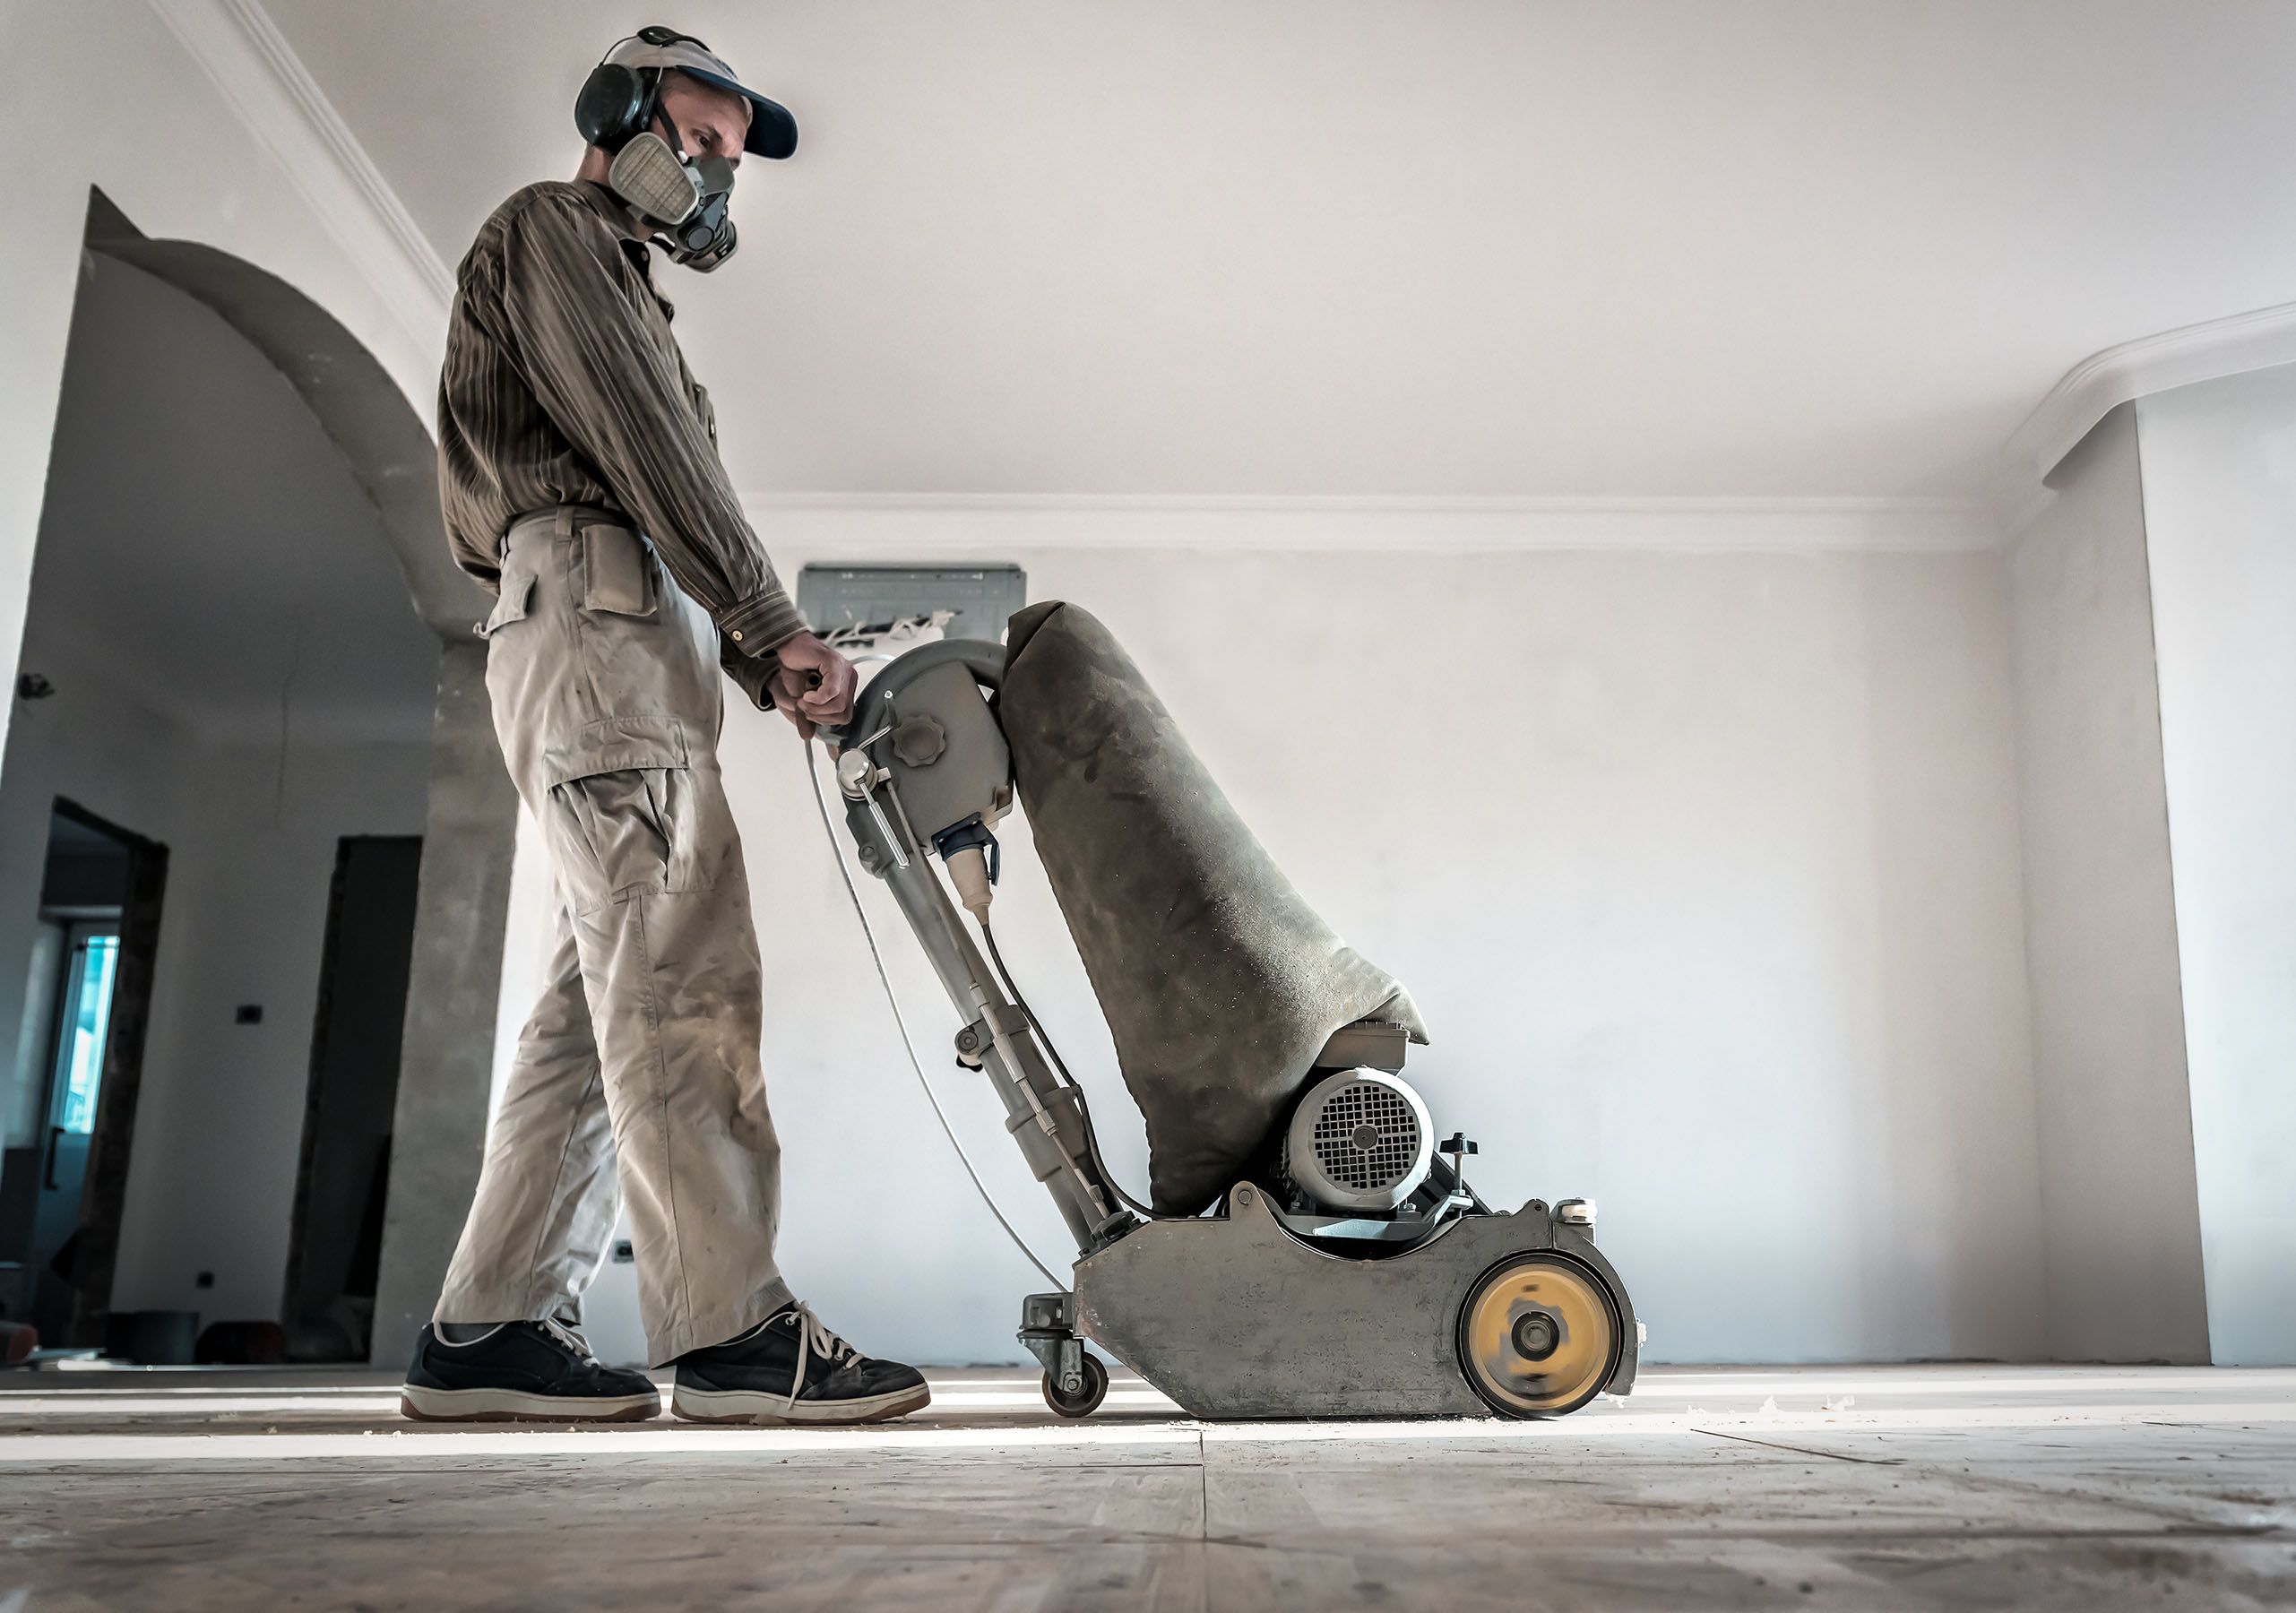
- Act 1: Coarse Removal with a Drum Sander. Start with the coarsest grit (e.g., 24 or 36-grit) to strip away the bulk of the paint. Move slowly and steadily with the grain, never letting the sander sit in one spot. This stage is dusty and aggressive.
- Act 2: Smoothing with an Edging Sander. The drum sander cannot reach within 6-10 inches of the walls. Use a heavy-duty orbital or edging sander with the same coarse grit to tackle the perimeter.
- Act 3: Progressive Refinement. Once all paint is removed, you must smooth the scratches. Progress through grits sequentially: from 60-grit (to remove deep scratches), to 80-grit, and finally to 100-120 grit for a smooth finish. Repeat this progression with both the drum sander and the edger.
The Final Steps: Clean, Stain, Seal:
- Vacuuming: After sanding with each grit, vacuum thoroughly. After the final sanding, vacuum multiple times, then wipe the entire floor with a damp cloth (not wet) to remove every speck of dust.
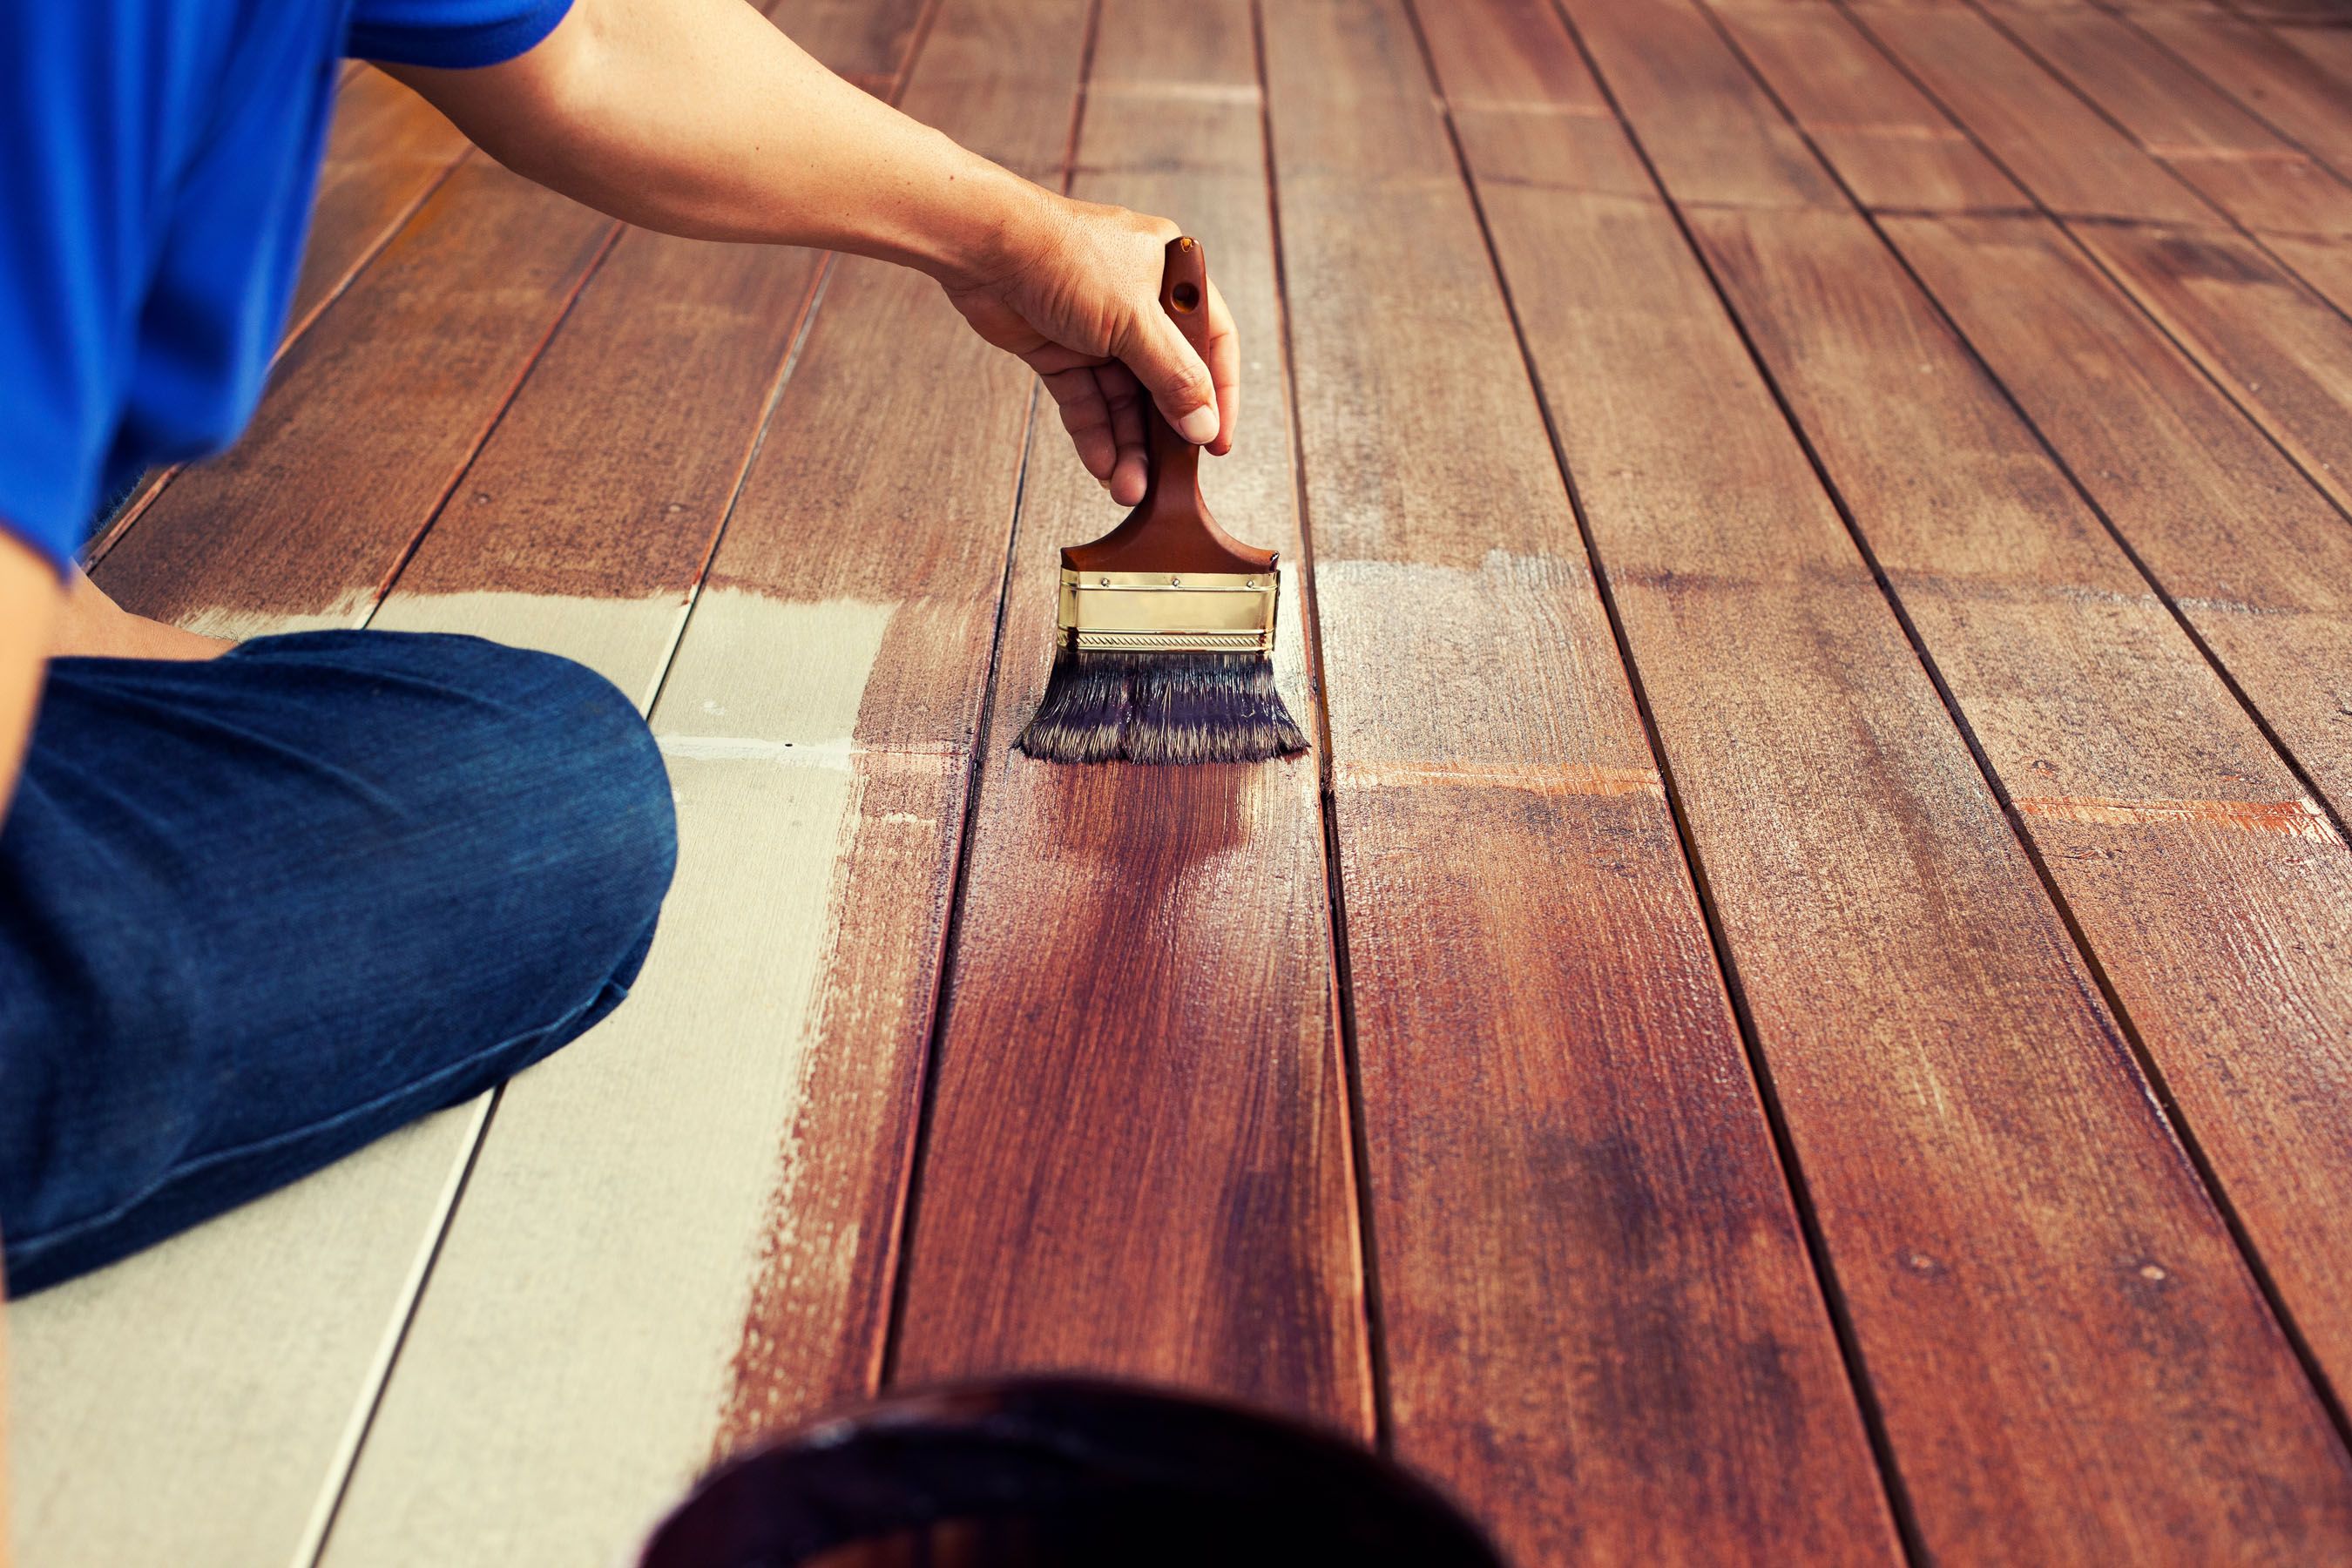
- Finishing: You can now apply a wood stain if desired, followed by a protective sealant. For previously painted floors, a durable polyurethane (oil-based for durability, water-based for clarity and low odor) is often the best choice. Apply at least two to three coats for a long-lasting finish.
The Hidden Challenge of Painted Floors: Our Expert Solution
Many flooring companies refuse to refinish painted floorboards, and for good reason. This is one of the most demanding jobs in wood floor restoration. Multiple layers of paint create a hard, gummy coating that clogs sandpaper rapidly, requiring specialized techniques and far more materials than a standard refinishing project. The process is slow, meticulous, and requires expert skill to avoid damaging the wood underneath.
Why We Succeed Where Others Won't
At Woodenflooringexperts, we specialize in tackling these complex challenges. Unlike standard refinishing, restoring a painted floor is a premium service that commands a higher price, and this reflects the substantial extra investment required on our part:
- Increased Labor & Time: The paint must be removed slowly and carefully, often with multiple passes using different grits. This process takes 2-3 times longer than sanding a varnished floor.
- High Material Consumption: Paint quickly clogs and ruins sanding discs and belts. We go through a significantly larger amount of abrasive paper to achieve a clean, bare wood surface.
- Specialized Expertise: Our technicians are trained to manage the unique issues of painted wood, such as preventing gum-up and ensuring an even surface without mill marks.
The Critical Detail: Gaps and Seams
A key decision point in this process is the paint trapped in the seams between the boards. Once the surface is sanded, you have two options:
- Embrace the Character: Leave the paint in the seams for a classic, rustic look that tells the story of your floor.
- Opt for a Clean Slate: Have us meticulously hand-scrape every seam to remove all residual paint. This is a painstaking, additional process that ensures a perfectly uniform finish.
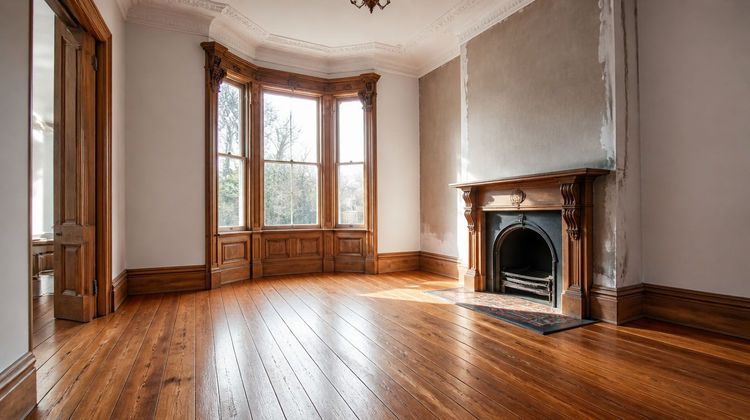
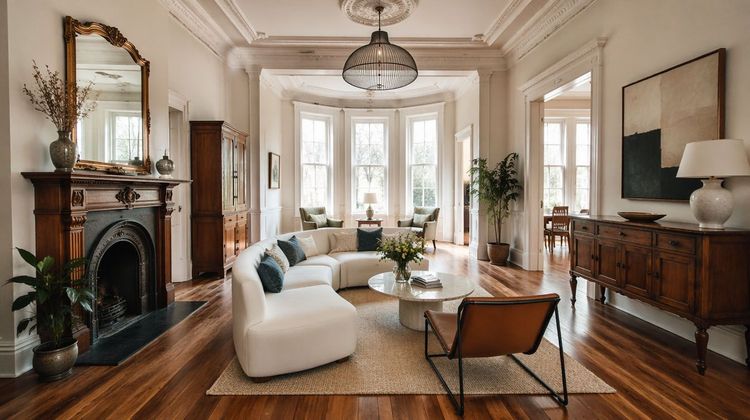
While many see a painted floor as a lost cause, we see potential. Our premium service is designed to unlock the beautiful, original wood hidden beneath, transforming a challenging problem into a stunning, timeless floor. The investment reflects the unparalleled effort, materials, and expertise we dedicate to achieving results others cannot.
Key Considerations and Final Verdict
Sanding painted floorboards is a gateway to revealing beautiful, historical wood, but it is a serious undertaking. It is physically demanding, time-consuming, and fraught with potential pitfalls, from ruined wood to health risks. For floors with lead paint, the cost and necessity of professional abatement must be factored in. For all other cases, success hinges on patience, the right equipment, and relentless attention to preparation and safety. If you are uncertain, consulting or hiring a flooring professional is a wise investment. The reward—a unique, gleaming wooden floor with a story to tell—can be magnificent, but it must be pursued with knowledge, respect, and care.