
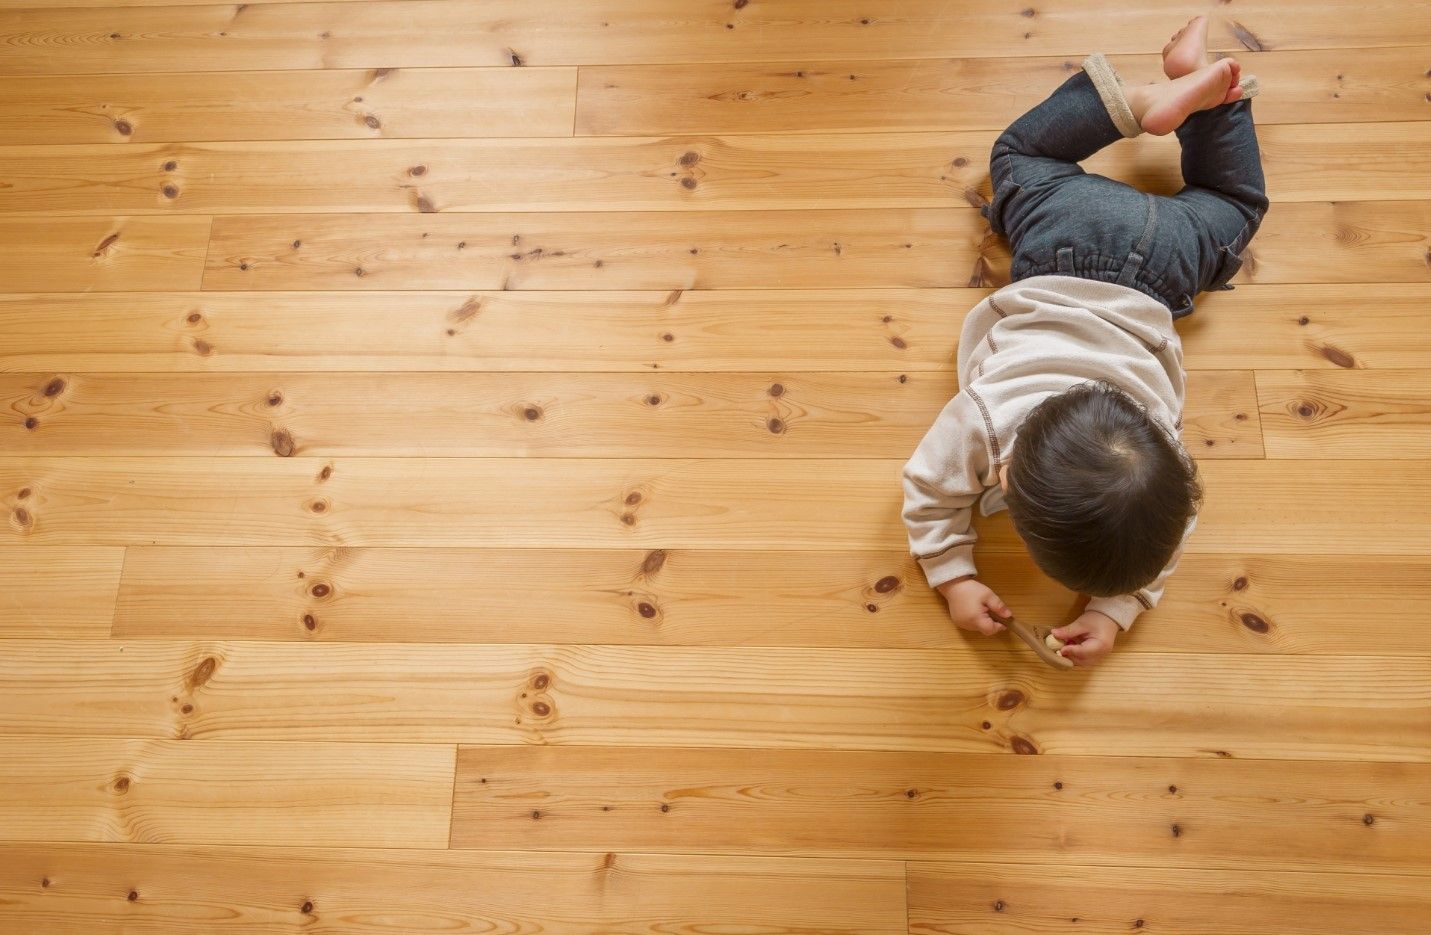
What should I do if my wood floor squeaks?
The familiar creak of a wooden floor can add a touch of character to an old house, but excessive squeaking can quickly become a nuisance. This common issue in both old and new homes is typically caused by the natural movement and settling of wood over time. As wooden planks rub against nails, subflooring, or even each other, they can produce that unmistakable squeaking sound that disrupts the quiet of your living space. Addressing this problem effectively requires an understanding of its underlying causes and the appropriate solutions to apply. This article will guide you through diagnosing the reasons behind your squeaky floor and offer practical steps to silence the noise, helping restore peace and comfort to your home.
Causes of Creaking Floors
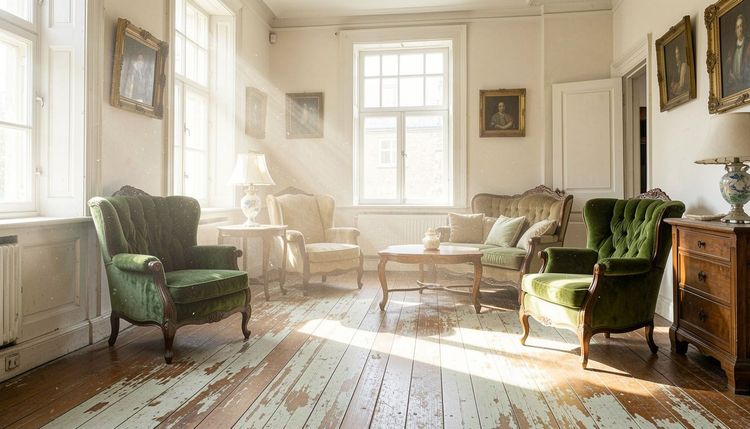
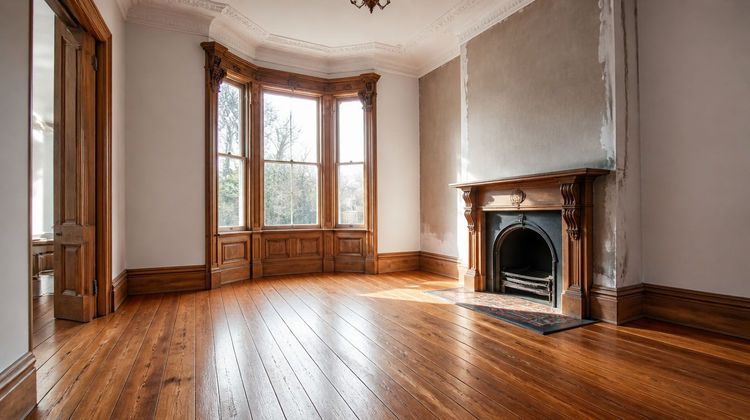
Creaking floors often result from floorboards that have begun to rub against each other or the fasteners holding them in place. This issue is particularly prevalent in older homes where the wood has been subjected to years of moisture and temperature fluctuations. Such environmental conditions can cause the wood to warp, twist, or shrink, pulling it away from its original installation position. In some cases, the initial installation may not have been executed properly, leading to gaps and movement over time that result in annoying squeaks.
Solutions
By addressing the causes and applying the right solutions, you can significantly reduce or eliminate the creaking in your wooden floors, enhancing the quiet and comfort of your home.
Complete Floor Replacement
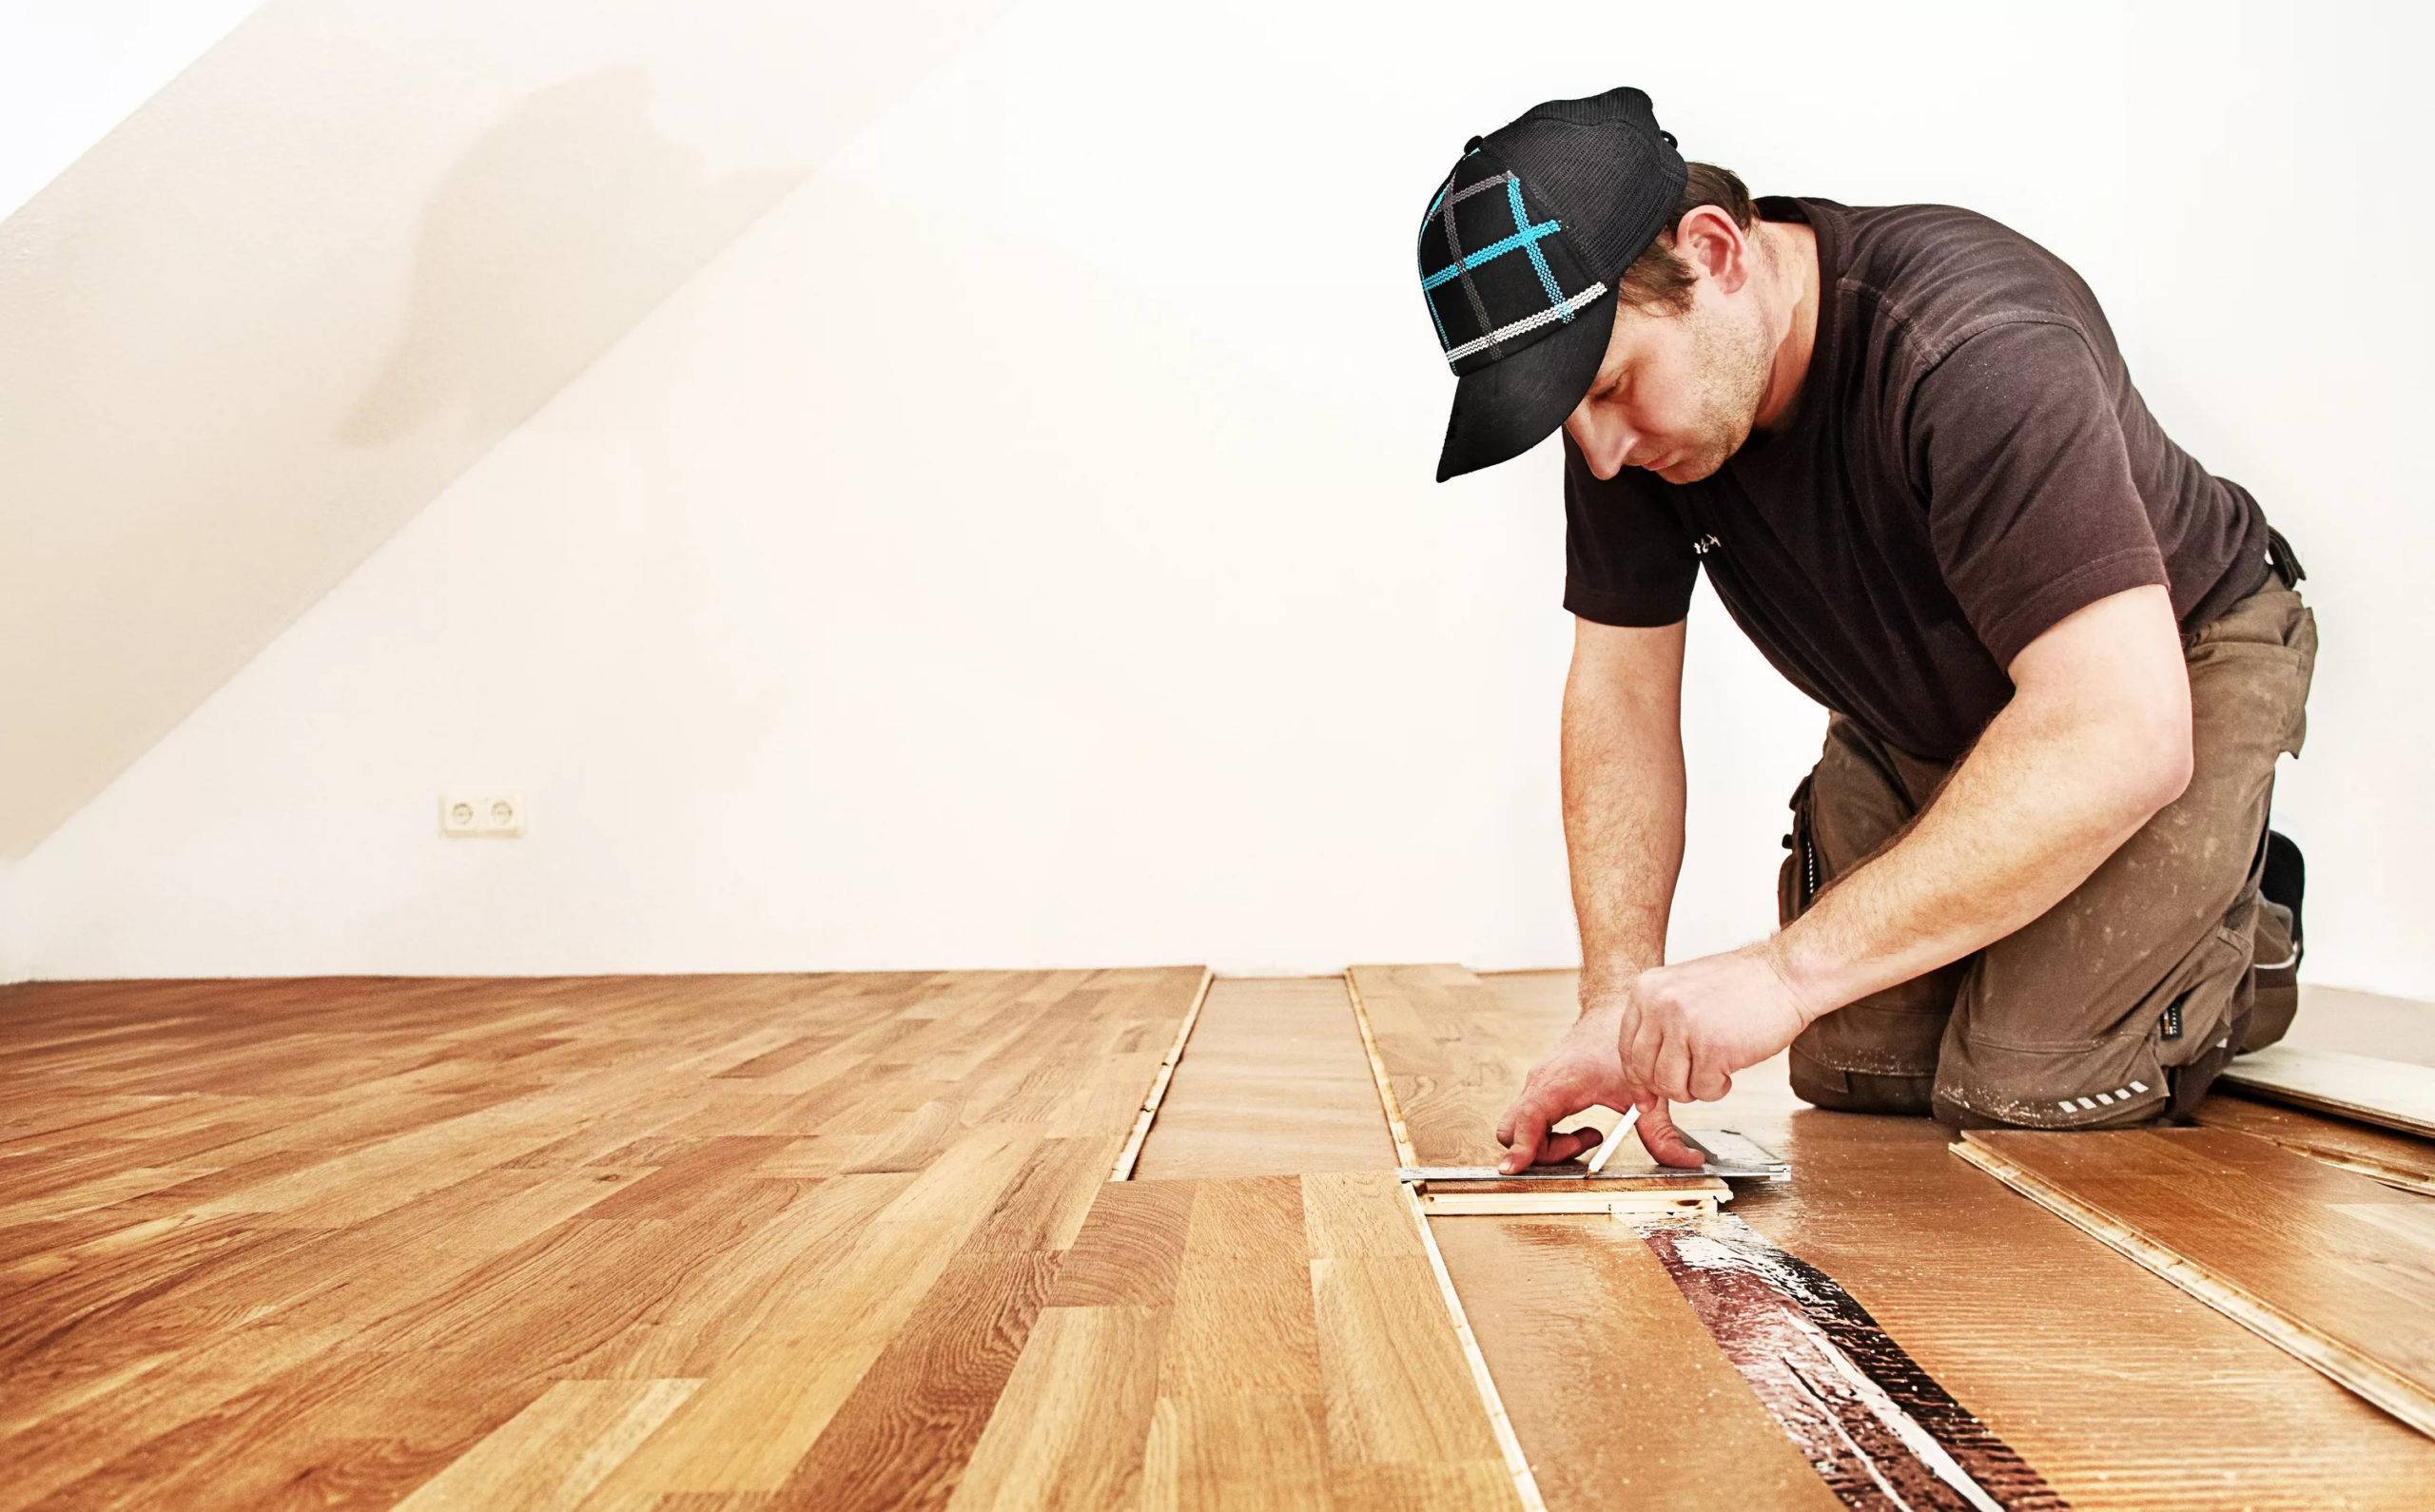
In cases where a wooden floor has undergone heavy wear and tear, a complete floor replacement might be necessary. This level of damage can include deep gouges, extensive water damage, or severe structural issues with the boards or subfloor that cannot be effectively repaired. Replacing the entire flooring can also provide an opportunity to update the home's aesthetic and increase its market value. This process involves removing the old floorboards, ensuring the subfloor is level and stable, and installing new flooring that matches your home's style and functional needs.
Installation of Plywood or a Thick Layer of OSB Boards
Before laying new floorboards, it's essential to prepare a solid and even base. Installing a layer of plywood or OSB (Oriented Strand Board) provides a sturdy, flat surface that supports the new flooring. This underlayment helps to prevent issues such as creaking and sagging, and it can also enhance the floor's durability. The choice between plywood and OSB may depend on factors such as moisture resistance and cost. Once the plywood or OSB is securely in place, the new flooring material—whether hardwood, laminate or another selection—can be installed on top.
Tightening with Self-Tapping Screws with a Short Pitch
When securing the plywood or OSB boards to the subfloor, using self-tapping screws with a short pitch is crucial for maintaining tightness and stability. The short pitch of the screws ensures more threads are engaged in the material, providing a stronger hold that reduces the likelihood of movement and squeaking over time. It’s important to ensure that the screws are spaced evenly and driven flush with the surface of the board to prevent any irregularities that could affect the final flooring installation. This step is key to ensuring that the underlayment remains solid and supportive, serving as a reliable foundation for the new floor.
Removing the Problem Area and Reinforcing with Supports
If specific sections of the floor are causing persistent squeaks or showing signs of instability, it may be necessary to remove these problematic areas and reinforce them with additional support. This process involves carefully taking up the affected floorboards, inspecting the joists underneath, and fixing any issues such as weakened supports or gaps. Additional joists or blocking can be added between existing joists to enhance stability. Once the supports are in place and secured, the original or new floorboards can be reinstalled, ensuring a firmer, squeak-free surface.
Mounting Adhesive
A practical solution for addressing squeaks without extensive disassembly involves the use of a mounting adhesive. By drilling a small hole into the squeaky area and injecting a special adhesive, the gap between the subfloor and the floorboard can be effectively filled. This adhesive binds the two surfaces, eliminating movement and thus the squeaking. After the adhesive sets, it's often advisable to seal the drilled holes to maintain the floor's appearance and prevent any moisture ingress.
Check the Room for Dryness
Environmental factors like humidity can significantly affect wooden floors. If a floor starts to squeak during drier months, introducing a humidifier into the room can add moisture to the air and help the wood expand slightly, which might reduce the squeaks temporarily. However, this is only a short-term solution and can vary with seasonal changes. It's important to monitor the humidity levels to ensure they are within a range that is beneficial for wood floors, typically between 35% and 55% relative humidity.
Replacing the Subfloor - Vapor Barrier
In some cases, the subfloor itself may need replacement if it's damaged or insufficient to support the flooring adequately. This process involves removing the floor covering, taking up the old subfloor, and installing a new one, ideally with a vapor barrier included. A vapor barrier is crucial in preventing moisture from seeping up from below, which can cause warping, swelling, or mold issues. Properly installing a vapor barrier during the subfloor replacement can protect and prolong the life of your new floor.
Should I Do the Floor Repair Myself or Should I Trust Professionals?
Floor repair, especially when it involves structural changes or specialized treatments, can be complex and risky if not handled correctly. While DIY solutions might seem cost-effective, improper handling can lead to further damage, which might necessitate even more extensive and expensive repairs. Professional flooring specialists have the tools, expertise, and experience to diagnose problems accurately and resolve them effectively. They can ensure that repairs are done safely and to a high standard, which not only solves immediate issues but also helps in maintaining the floor's durability and appearance in the long run. Therefore, for most homeowners, contacting a professional immediately is the advisable course of action to prevent exacerbating the problem.