

How to Prepare Your Home for Wood Floor Installation
The allure of new wood floors is undeniable: warmth, beauty, increased value. But the stunning final result hinges entirely on meticulous preparation. Skipping this vital phase risks subfloor issues, installation errors, warranty voids, and unnecessary chaos. Proper prep creates the ideal canvas, ensuring a smooth process, flawless results, and decades of enjoyment. Think of it as the essential foundation for your investment. This guide details the critical steps.
Is Preparation Truly Necessary?
Unequivocally, yes. Preparation is not optional; it's fundamental to success and longevity. Neglecting it invites significant risks:
- Subfloor Problems: Undetected moisture causes warping/cupping. Unevenness leads to squeaks, hollow spots, and premature wear. Debris telegraphs through planks.
- Installation Difficulties: Obstacles force compromises in layout and quality, waste material, and risk damage to your belongings.
- Environmental Issues: Installing wood outside recommended temperature/humidity ranges (typically 60-80°F / 15-27°C and 35-55% RH) causes post-installation expansion/contraction, leading to gaps or buckling.
- Dust Invasion: Without containment, fine sanding and cutting dust infiltrates your entire home, settling everywhere.
- Voided Warranties: Manufacturers and installers require specific subfloor conditions (moisture, flatness) and environmental parameters to be met beforehand. Failure voids warranties.
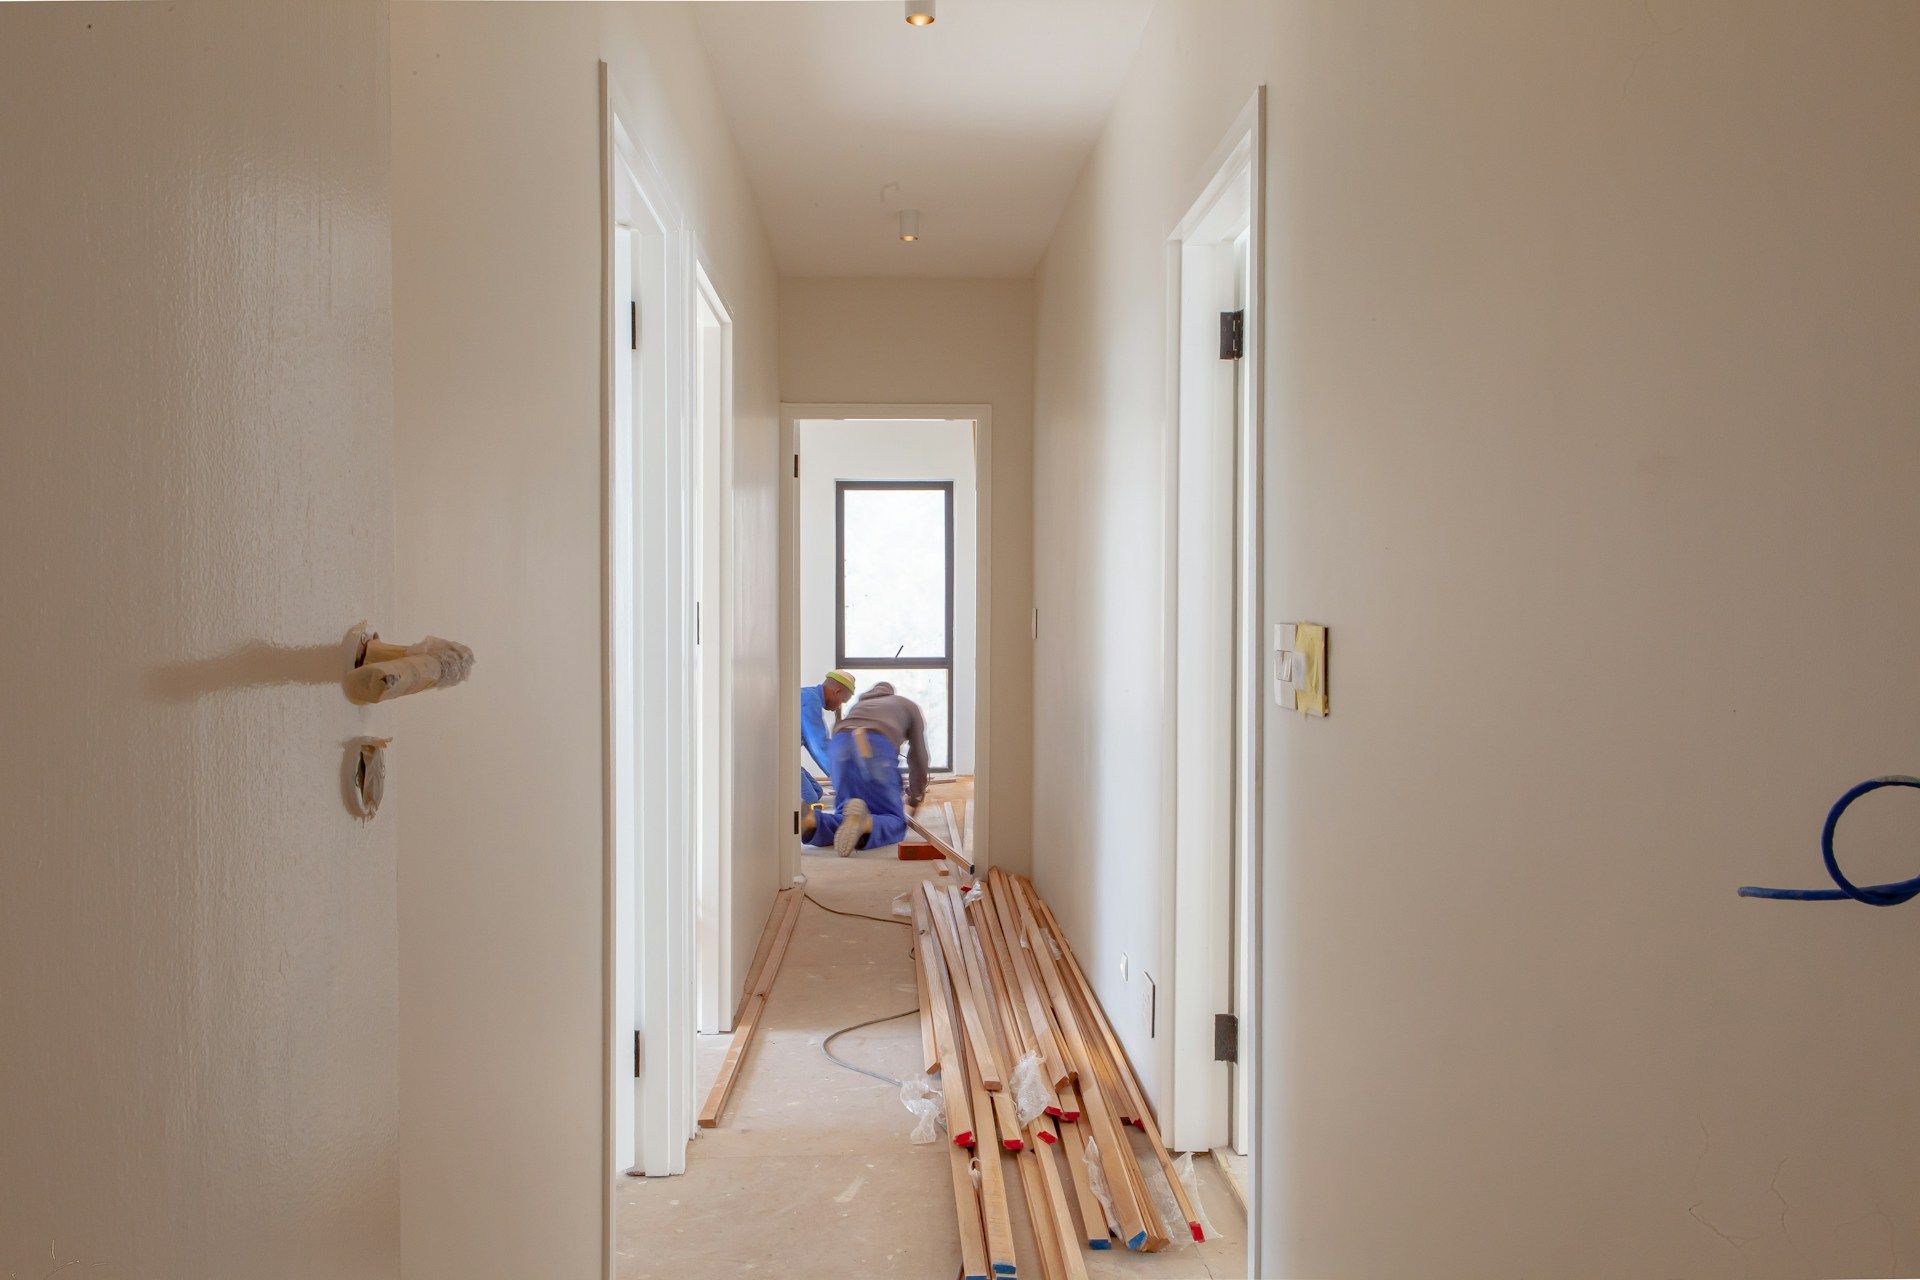
What Needs to Be Done Before Starting Installation
Complete these tasks systematically before the installers arrive:
Clear the Space Completely:
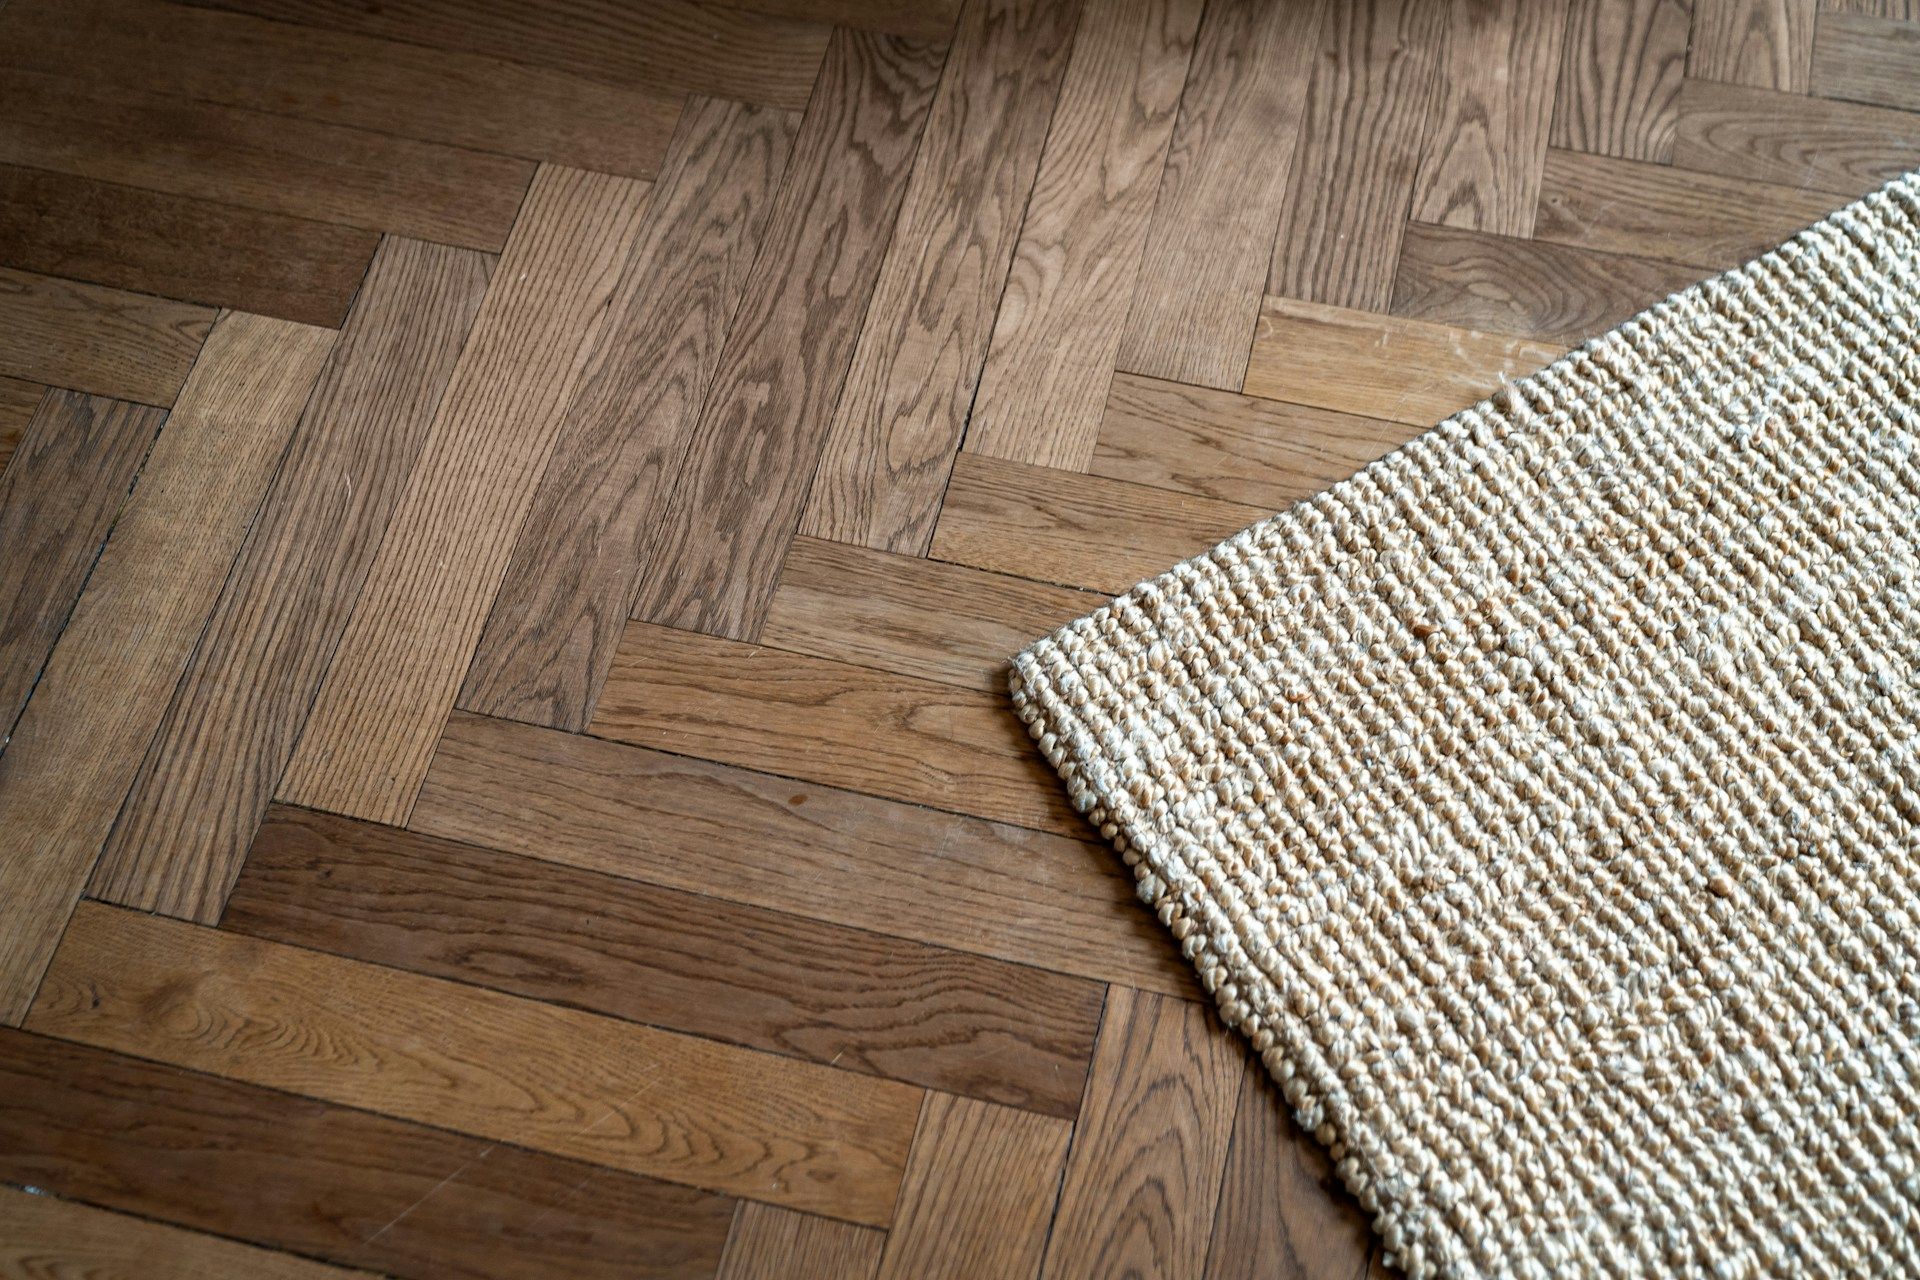
- Remove ALL furniture, rugs, decor, electronics, and belongings from the installation area(s) and closets.
- Detach fixtures like toilets (bathrooms) or dishwashers (kitchens - professional help needed) if necessary.
Prepare Doors and Trim:
- Remove interior doors swinging into the area. Label them.
- Decide on baseboards: Remove for a cleaner look (recommended, label if reusing) or leave in place for installers to add shoe molding.
Expose and Prepare the Subfloor:
- Remove all old flooring (carpet, pad, vinyl, laminate, tile) unless installer handles it. Remove ALL staples, nails, and adhesive residue.
- Ensure the subfloor (plywood, concrete, etc.) is structurally sound, rigid, and securely fastened (no squeaks/movement).
Critical Checks:
- Moisture Test: Mandatory. Concrete requires professional testing (CaCl or RH probe). Wood subfloors need moisture meter readings. Must meet flooring manufacturer specs.
- Flatness Check: Subfloor must be very flat (e.g., 3/16" over 10 ft). Use a straightedge. Sand high spots; fill low spots with leveling compound.
Acclimate the Wood & Condition the Space:
- Acclimate: Deliver planks to the installation rooms several days early (per manufacturer, often 3-7 days). Open cartons (slit tops/remove ends), stack with spacers for air circulation. Maintain normal room conditions.
- Condition: At least 48 hours pre-installation, and continuously thereafter, maintain room temp (60-80°F / 15-27°C) and humidity (35-55% RH) via normal HVAC operation.
How to Deal with Dust and Debris
Proactive containment is vital:
Seal the Work Area:
- Use heavy-duty plastic sheeting (4-6 mil) and tape to seal doorways leading out.
- Seal HVAC vents within the work area (turn HVAC OFF first!).
- Protect pathways with floor film if installers need access elsewhere.
Create a Clean Zone & Protect Valuables:
- Designate a "clean room" far from work for essential items. Seal its doorway.
- Cover immovable items outside the work area but in potential dust paths with plastic.
Leverage Installer Methods (Discuss!):
- Ask about their dust control: Dust-contained sanders, on-tool HEPA vacuums, negative air machines.
Post-Installation Cleanup:
- Installers remove bulk debris (cut-offs, packaging).
- Homeowner responsible for fine dust cleanup throughout the house and HVAC duct cleaning (recommended post-project).
Conclusion
Thorough preparation is the non-negotiable first step to a successful wood floor installation. It safeguards your investment by ensuring the subfloor is sound, the environment is stable, the space is accessible, and dust is contained. This meticulous groundwork directly prevents costly failures like moisture damage or warping and guarantees the installation proceeds efficiently and correctly. By dedicating the necessary time to clear the space, prepare the subfloor, manage the climate, acclimate the wood, and control dust, you transform potential disruption into a streamlined process. View this preparation not as an extra chore, but as the essential investment before the investment – the crucial foundation upon which your beautiful, long-lasting wood floors will proudly stand for decades. Partner with your installer, follow these steps, and welcome your stunning new floors with confidence.