

How to Transition Between Wood Floors and Other Surfaces
A beautiful wood floor deserves an equally beautiful connection to adjacent spaces. Transitions aren't just functional necessities – they bridge different materials, manage height differences, allow for expansion, and enhance your home's overall flow. Choosing and installing the right transition is crucial for both aesthetics and long-term performance. Here's your guide to getting it right:
Why Transitions Are Essential (Beyond Looks)
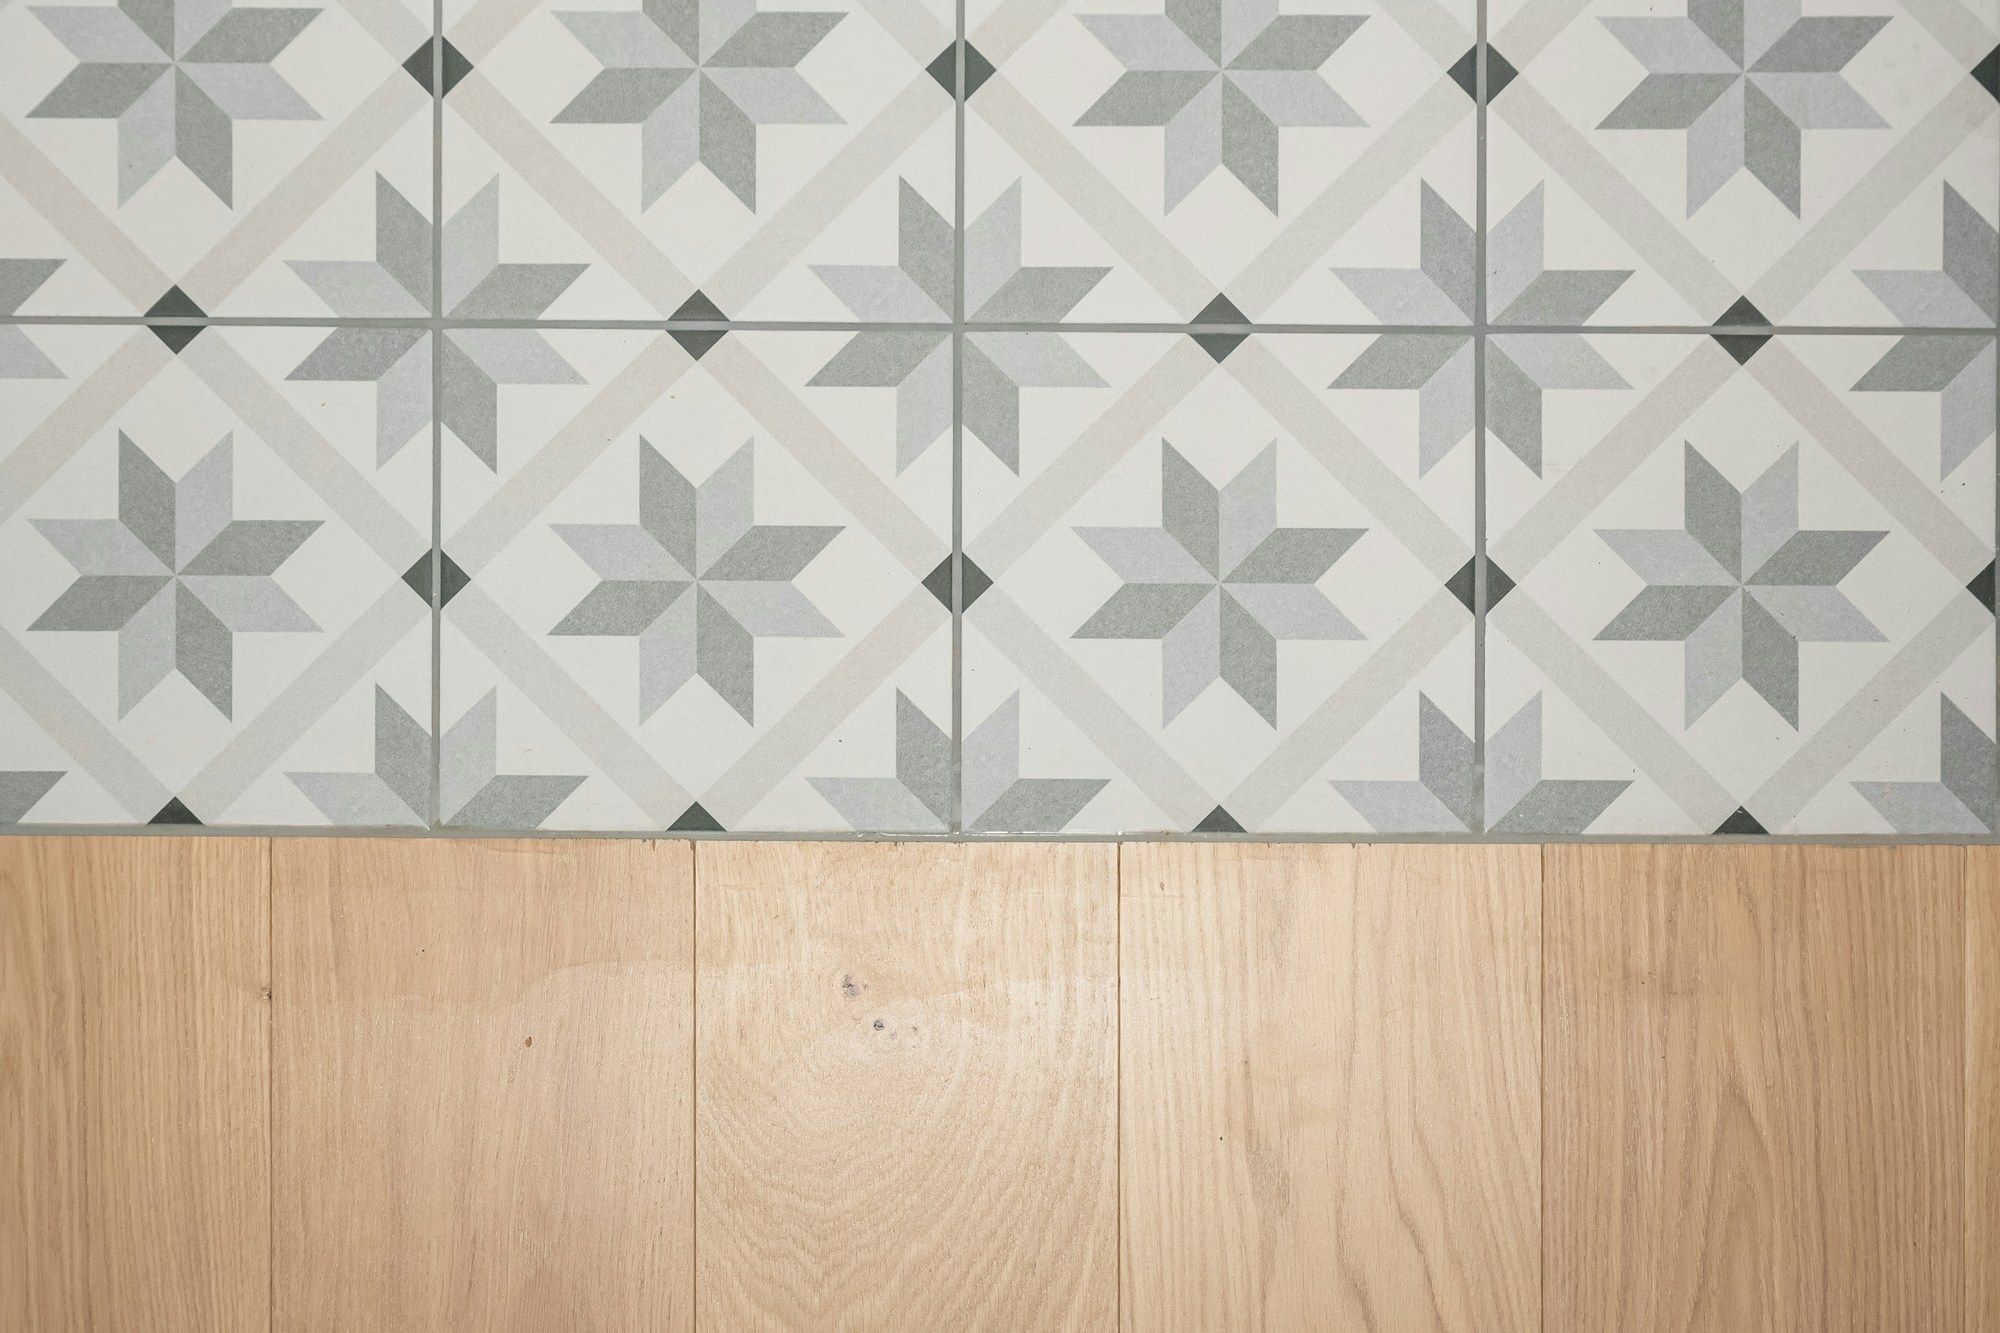
Transitions serve multiple critical functions that go far beyond simply covering gaps between flooring materials. One of their most important roles is accommodating wood's natural expansion and contraction caused by humidity changes. These transitional pieces cover the essential 1/2" to 3/4" gap required at doorways or where wood meets fixed objects like tile or stone. They also solve the common problem of uneven floor levels, providing safe ramps between different heights to prevent tripping hazards while protecting vulnerable edges. Additionally, transitions give your installation a professional finish by concealing raw cut ends of flooring planks or tile, while simultaneously protecting both materials from chipping, moisture damage, and general wear.
Common Transition Types & Their Best Uses
Selecting the right transition profile depends primarily on the height difference between surfaces and the materials involved:
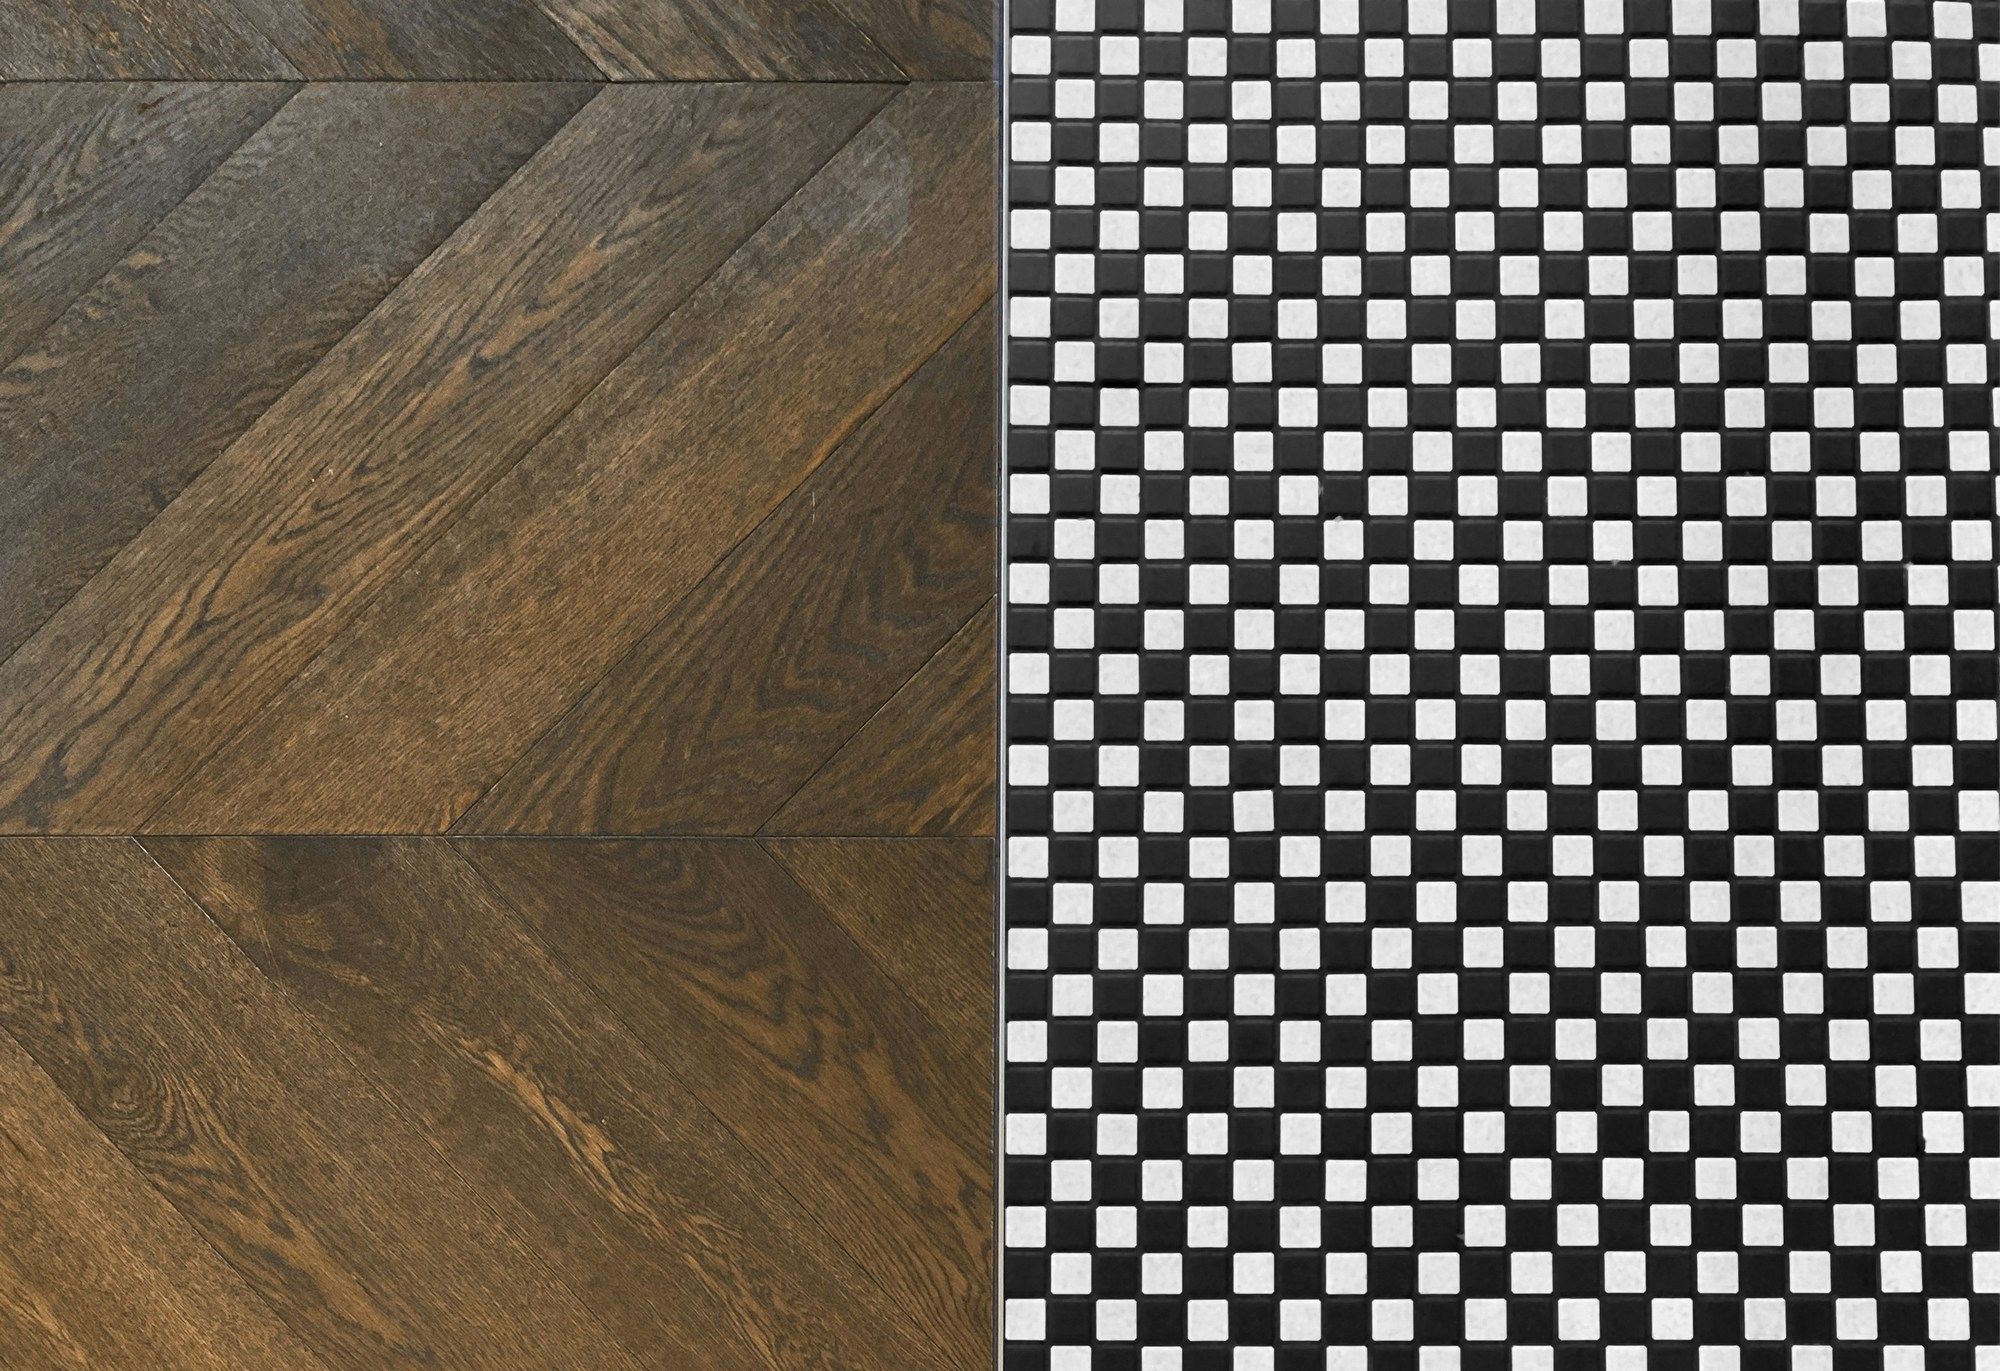
- T-Molding (T-Bar): The ideal solution when joining two floors of approximately equal height (within 1/4"). This T-shaped profile bridges the gap while anchoring securely to the subfloor below, making it perfect for doorways between rooms with similar wood flooring or transitions to laminate/LVP of equal height.
- Reducer Strip (Ramp): When you need to transition from a higher floor (like wood) to a slightly lower one (such as vinyl, thin carpet, or lower wood), the reducer strip's gradual slope creates a smooth, safe descent. This type works particularly well in hallways, bedrooms, and at sliding door areas.
- For more dramatic height differences or specific applications, threshold (end cap) transitions provide a squared-off finished edge ideal for bathroom entries, fireplaces, or exterior doors. Meanwhile, overlap reducers and specialized stair nosing offer maximum edge protection where floors meet vertical surfaces or significantly lower levels.
Material Matters: Choosing Your Transition Profile
The material you choose for your transitions should complement both the function and style of your flooring. Wood transitions, whether solid or engineered, offer the most seamless aesthetic when stained to match your specific floor color, while providing good durability. For high-traffic areas or a modern look, metal options like aluminum, brass, or stainless steel resist dents and scratches exceptionally well. Vinyl or PVC transitions present an affordable, water-resistant solution that works particularly well with resilient flooring types, available in a wide color range to coordinate with your wood floors.
When selecting materials, consider factors like durability requirements, moisture exposure (especially important for bathroom entries), and whether you want the transition to blend in or make a design statement. The right choice balances practical needs with your desired visual impact.
Tackling Significant Height Differences
Large height variations between flooring surfaces demand specialized solutions. For differences exceeding 3/4", custom wood ramps built by a carpenter can create a longer, gentler slope that's both safe and attractive. Some manufacturers offer multi-level reducers designed with several "steps" to accommodate substantial drops. In some cases, the most seamless solution involves adjusting the subfloor height during installation—while this requires advance planning, it often provides the most aesthetically pleasing and functional long-term result.
Design Integration: Making Transitions Disappear (or Shine)
Thoughtful design integration can make your transitions either nearly invisible or intentional design elements. For a subtle look, match the transition color to the darker floor or dominant wood tone in the space. Conversely, using contrasting materials like metal or differently stained wood can create deliberate visual boundaries that work particularly well in open-concept areas. Installation direction matters too—placing transitions perpendicular to the flooring direction creates a clean break, and precise alignment under closed doors enhances the professional appearance. For ultra-minimalist designs, flush cork expansion joints offer an alternative to traditional transition strips, though they require precise installation.
Pro Tips for Flawless Installation
Proper installation techniques ensure your transitions look great and perform well for years. Always begin by carefully measuring the gap width and height difference after all flooring is completely installed. When securing transitions, remember to always anchor them to the subfloor rather than floating floor sections, using appropriate adhesives, nails (for wood subfloors), or screws with plugs (for concrete). Crucially, your installation must allow for the wood floor's natural expansion and contraction—never pin down a transition so tightly that it restricts this movement. For exterior thresholds, applying appropriate sealants beneath the transition provides essential protection against moisture and drafts.
The Final Connection
A well-chosen and properly installed transition does more than connect spaces—it elevates your entire flooring installation from merely functional to truly refined. These critical components ensure safety, protect your flooring investment, and create a polished look that harmoniously ties your home's spaces together. By understanding the various types, materials, and installation techniques, you can confidently create seamless transitions between your beautiful wood floors and any other surface, resulting in connections that are as durable as they are attractive. Whether you prefer transitions that disappear into the design or those that make a stylish statement, the right approach will deliver results that stand the test of time.