

Floor Sanding for Oak Floors: What You Need to Know

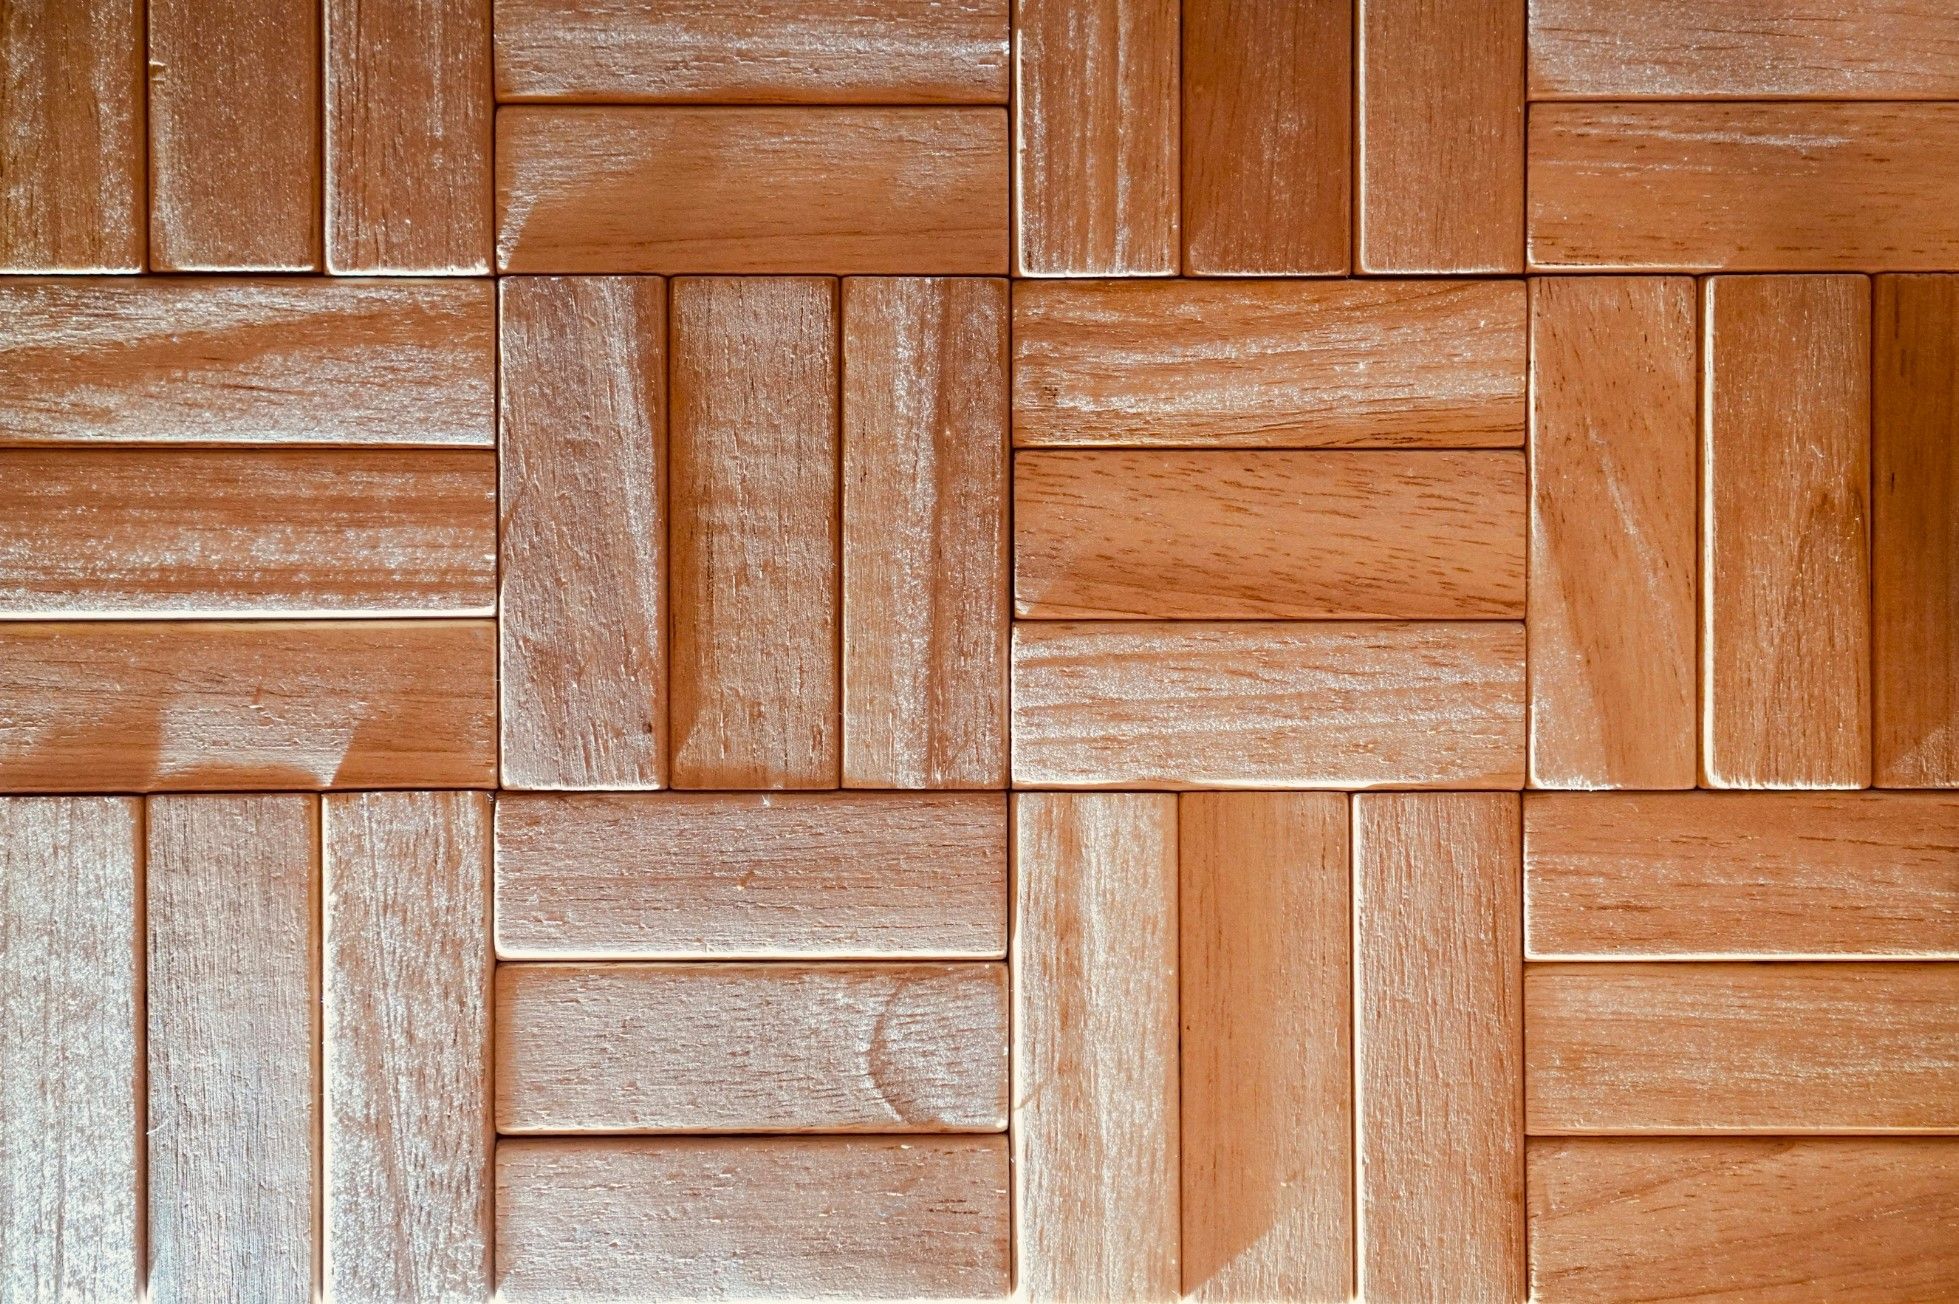
Oak flooring remains one of the most popular choices for homeowners thanks to its durability and timeless appeal. However, years of foot traffic, furniture movement, and general wear can leave even the toughest oak floors looking tired and scratched. Proper sanding and refinishing can restore them to their original glory, but the process requires careful consideration and technique to achieve professional results.
Recognizing When Your Oak Floors Need Sanding
Oak floors typically show several telltale signs when they're due for sanding. The most obvious indicator is visible wear in high-traffic areas where the finish has become thin or completely worn away, exposing bare wood. Deep scratches that catch your fingernail when you run it across the surface also signal the need for refinishing. You might notice discoloration or stains that regular cleaning can't remove, particularly in areas exposed to sunlight or moisture.
Another sign is when the floorboards develop slight unevenness, either from minor warping or cupping. This creates an irregular surface that catches light differently across the room. Some homeowners choose to sand their oak floors simply to change the color, as the sanding process removes old stain completely, allowing for a new finish.
It's worth noting that not all damaged floors require full sanding. If your oak floors only have light surface scratches and the majority of the finish remains intact, a simpler buffing and recoating procedure might be sufficient. This less invasive approach removes just the top layer of finish before applying fresh coats, preserving more of your floor's thickness over time.
Essential Equipment for Sanding Oak
Sanding oak floors properly requires specialized equipment to achieve smooth, professional results. The cornerstone of any floor sanding project is the large drum or belt sander, which removes old finish and levels the wood surface across wide areas. These powerful machines require careful handling to avoid creating uneven spots or drum marks in the wood.
For areas the big sander can't reach - typically within about six inches of walls and in corners - an edge sander becomes indispensable. This specialized tool mimics the action of the main sander but in a compact form. Between major sanding stages and before applying finish, many professionals use orbital sanders to create an ultra-smooth surface. Random orbital sanders are particularly effective as they minimize visible sanding patterns.
The sandpaper grit sequence plays a crucial role in the quality of your finished floor. The process begins with coarse 36 to 60 grit paper to strip away old finish and level any uneven boards. Medium 80 to 100 grit paper follows to remove the scratches left by the coarse paper while further smoothing the surface. The final sanding with 120 to 150 grit paper creates the perfectly smooth base needed for staining and finishing.
The Complete Sanding Process Explained
Preparation Stage
Thorough preparation prevents problems during sanding and ensures better results. Begin by completely emptying the room of all furniture, rugs, and removable fixtures. Any items too heavy to move should be elevated on blocks. Examine the floor carefully for protruding nails or staples from previous flooring installations, setting any raised fasteners flush with the wood surface.
Dust containment measures protect the rest of your home during sanding. Seal doorways with plastic sheeting and close HVAC vents to prevent dust circulation. Cover any remaining furniture in adjacent rooms, as fine wood dust has a tendency to spread throughout the house. Many professionals recommend installing temporary plastic barriers with zippered doorways to create contained work areas.
Initial Sanding Phase
The first sanding pass with coarse-grit paper does the heavy lifting of removing old finish and addressing surface imperfections. Always sand parallel to the wood grain to avoid cross-grain scratches that become glaringly obvious after staining. Move the sander steadily at an even pace - moving too slowly can create dips in the wood, while moving too quickly may leave behind unsanded patches.
Edging work requires particular attention. The edge sander should follow the same grit progression as the main floor area, blending the transition between center and perimeter sections. Frequent vacuuming between sanding stages prevents accumulated dust from acting as an abrasive that could scratch the freshly sanded surface.
Progressive Refinement
Each subsequent sanding with finer grit paper serves two purposes: removing the scratches left by the previous, coarser grit and creating an increasingly smooth surface. After the medium-grit sanding, inspect the floor carefully under angled lighting, which reveals any remaining unevenness or missed spots. The final fine-grit sanding prepares the surface for finishing by creating microscopic grooves that help stain and finish adhere properly.
Final Cleaning
No matter how careful you've been, sanding generates an astonishing amount of fine dust. After completing all sanding stages, vacuum the entire floor thoroughly using a shop vacuum with a fine dust filter. Follow this by wiping the floor with a tack cloth to remove the last traces of dust that could otherwise create bumps in the finish. Some professionals recommend a final pass with a slightly damp cloth, but the floor must be completely dry before applying any finishes.
Staining and Finishing Considerations
Oak's open grain structure makes it particularly receptive to stains, but this same characteristic can lead to blotchiness if not properly prepared. Always test your chosen stain on an inconspicuous area or spare piece of oak to verify the color. For best results, apply stain with a brush or rag, working it into the wood grain, then wipe away excess with clean cloths before it dries.
The choice of finish significantly affects both appearance and durability. Oil-based polyurethane remains popular for its warm amber tones and tough protective qualities, though it emits strong fumes during application. Water-based polyurethane offers faster drying times and lower odor while maintaining clarity, though it may require more coats for equivalent protection. Hardwax oils have gained popularity for their natural look and easy spot-repair capabilities, though they typically require more frequent maintenance than polyurethanes.
Common Pitfalls and How to Avoid Them
Many first-time sanders make the mistake of removing too much wood in an attempt to eliminate deep scratches, potentially weakening the floor's structure. It's better to accept that some character marks may remain rather than risk sanding through the wear layer. Similarly, skipping grit steps in an effort to save time inevitably leaves visible sanding marks that become obvious after finishing.
Dust management presents another frequent challenge. Inadequate containment leads to dust settling on freshly applied finish, creating a rough texture. Rushing the drying times between coats causes similar problems, as each layer needs sufficient time to cure before the next application. Patience throughout the process yields far better results than trying to expedite steps.
Professional vs. DIY Approach
While ambitious homeowners can certainly tackle oak floor sanding themselves, professionals bring several advantages. Their industrial-grade equipment removes material more evenly than rental sanders, and their experience helps avoid common mistakes. Professionals also maintain better dust control systems and typically achieve more consistent staining results.
That said, DIY sanding can be rewarding for those willing to invest the time to learn proper techniques. The key is starting with a small, less visible room to gain experience before tackling major living areas. Many flooring supply stores offer helpful workshops for homeowners considering the DIY route.
Caring for Newly Refinished Floors
The first weeks after refinishing require special care to allow finishes to fully cure. Wait at least 24-48 hours before walking on the floors in socks, and 72 hours or more before replacing furniture. Use felt pads under all furniture legs to prevent indentations, and avoid area rugs for at least two weeks to prevent finish discoloration.
Long-term maintenance involves regular sweeping with soft bristle brooms and occasional damp mopping with wood floor cleaners. Avoid steam mops, which can force moisture into the wood grain. Immediately wipe up spills, and consider reapplying protective coatings in high-traffic areas every few years to maintain the floor's beauty and protection.
Sanding oak floors represents a significant investment of time and effort, but the transformation can be remarkable. Well-executed refinishing can make decades-old floors look brand new while preserving their character. Whether you choose professional services or the DIY approach, proper preparation and patience throughout the process will yield beautiful, long-lasting results that enhance your home's value and appeal.
For those uncertain about their floors' condition or the best refinishing approach, consulting with a qualified flooring professional can provide valuable guidance tailored to your specific situation. Many offer free estimates and can advise whether your floors need full sanding or could benefit from less intensive restoration methods.