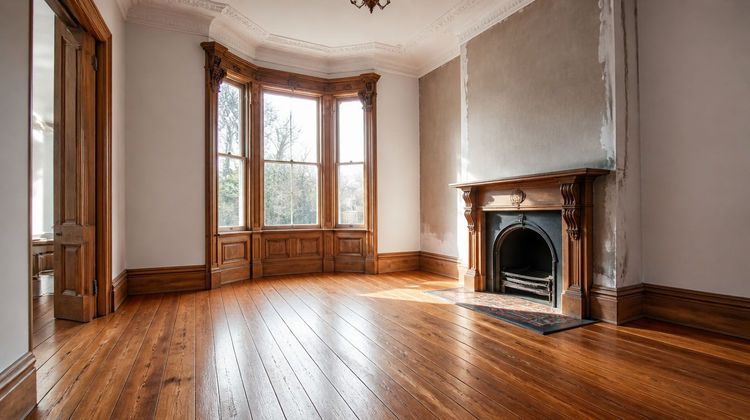

Can You Install Wood Flooring Over Tiles? Pros & Cons
The decision to install wood flooring over existing tile surfaces presents a unique renovation opportunity that blends efficiency with aesthetic transformation. As homeowners increasingly seek ways to modernize spaces without incurring excessive demolition costs, this approach has gained significant traction. However, the viability of such projects depends on numerous technical considerations that extend beyond simple surface compatibility. This comprehensive guide examines every critical aspect of installing wood flooring over tiles, providing detailed insights to help you make an informed decision.
Technical Feasibility: When Does This Approach Work?
Installing wood flooring over tiles is structurally possible only when specific conditions are met. The existing tile installation must exhibit exceptional integrity, meaning tiles should show zero signs of cracking, loosening, or moisture damage. Any movement in the tile substrate will inevitably transfer to the new wood flooring, causing premature wear and structural failure. Professionals recommend conducting a thorough "tap test" across the entire surface, listening for hollow sounds that indicate poor adhesion.
Equally critical is the flatness requirement. Industry standards mandate that subfloors must not deviate more than 3/16-inch over a 10-foot radius. Existing tiles that fail this test may require extensive leveling compounds or partial removal. Additionally, the combined height of tile and new flooring must be calculated precisely. Every millimeter added could necessitate door trimming, cabinet adjustments, or custom transition solutions between rooms.

Advanced Installation Methodologies
Two primary techniques dominate tile-over-wood installations, each with distinct requirements.
Floating Floor Systems
- Utilizes interlocking engineered wood, laminate, or LVP planks
- Requires specialized acoustic underlayment (minimum 3mm) to absorb irregularities
- Demands perimeter expansion gaps (10-15mm) to accommodate seasonal movement
- Ideal for DIY installations due to simplified click-lock mechanisms
Direct-Adhesion Techniques
- Involves moisture-curing urethane adhesives specifically formulated for non-porous surfaces
- Requires thorough tile deglossing through mechanical abrasion (diamond grinding recommended)
- Mandatory moisture barrier application in potential damp areas
- Preferred for solid hardwood in low-moisture environments
In-Depth Analysis of Advantages
Economic Efficiency
The financial benefits extend far beyond avoiding tile removal costs. Professional demolition typically ranges from $2-$5 per square foot, plus hazardous material disposal fees for older tiles containing asbestos or lead. By preserving the existing substrate, homeowners also eliminate subfloor repair expenses that often surface during demolition. The reduced labor timeline further compounds savings, with installations completing 30-50% faster than full-removal projects.
Structural Benefits
Properly installed tiles create an exceptionally stable foundation that surpasses traditional wood subfloors in impact resistance and load distribution. This solid base minimizes the "sponginess" common in older homes and virtually eliminates floor squeaks. The thermal mass of tiles also enhances energy efficiency when paired with insulating underlayments, creating a natural temperature buffer that reduces HVAC loads.
Environmental Considerations
Avoiding tile demolition prevents hundreds of pounds of construction waste from entering landfills. Modern wood flooring options now feature sustainable credentials, including FSC-certified engineered wood with low-VOC adhesives. When combined with existing tiles, the resulting assembly creates a highly durable composite floor with extended service life.
Comprehensive Risk Assessment
Height-Related Complications
The cumulative height increase—typically 15-22mm—triggers multiple architectural adjustments. Interior doors usually require 5-10mm trimming, while exterior doors may need threshold replacements. Built-in appliances like dishwashers and refrigerators often require pedestal adjustments. Transition zones between rooms demand careful planning; reducer strips work for height differences under 15mm, while custom ramping becomes necessary for greater disparities.
Moisture Management Imperatives
Tile installations inherently trap moisture vapor, creating potential disaster for moisture-sensitive wood. Rigorous testing protocols should include:
- Calcium chloride testing (ASTM F1869) to quantify vapor emission rates
- Relative humidity probe testing (ASTM F2170) within concrete substrates below tiles
- Perimeter drainage assessment to detect capillary moisture intrusion
In high-risk areas like basements or historic buildings, supplementary protection systems become essential. Two-stage barriers combining epoxy sealants with dimpled polyethylene membranes provide maximum security against vapor transmission.
Long-Term Performance Concerns
Industry studies reveal that improperly installed tile-over-wood floors exhibit failure rates 3x higher than conventional installations. The most common issues include:
- Adhesive delamination due to thermal expansion differentials
- Edge-lifting from insufficient expansion gaps
- Micro-gapping in solid hardwood from moisture fluctuations
- Hollow spots developing under engineered planks
Advanced Preparation Protocol
Substrate Optimization Process
- Mechanical Profiling: Diamond grinders create necessary surface texture for adhesion
- Crack Mitigation: Epoxy injection of all tile grout lines
- Leveling: Self-correcting polymer compounds applied to low areas
- Moisture Control: Dual-layer systems combining rubberized sealants with breathable membranes

Material Selection Guidelines
- Engineered Wood: Opt for 7-9 ply cross-ply construction with wear layers exceeding 4mm
- Laminate: Choose AC4/AC5 rated products with waterproof cores
- LVP: Prioritize WPC/SPC rigid core constructions with attached cork underlayment
- Adhesives: Moisture-cure urethanes with minimum 500 psi bond strength
Professional Installation vs. DIY: Critical Distinctions
While floating floors present viable DIY opportunities, direct-adhesion installations demand professional expertise. Certified installers bring specialized equipment including moisture meters costing over $500, commercial-grade grinding systems, and precision application tools for adhesives. More importantly, they carry liability insurance covering potential failures—a critical consideration given that improper installations can necessitate complete system replacement costing upwards of $10,000.
Long-Term Maintenance Considerations
Wood flooring over tiles requires modified maintenance protocols. Traditional sanding refinishing becomes problematic due to height constraints near cabinetry. Homeowners should implement:
- Humidity control maintaining 35-55% RH year-round
- Felt-padded furniture protectors to prevent concentrated point loads
- pH-neutral cleaning systems avoiding moisture penetration at seams
- Biannual inspections for early detection of adhesive compromise
Conclusive Recommendations
This installation approach merits serious consideration when:
- Tiles pass rigorous structural and moisture testing
- Height adjustments are architecturally feasible
- Engineered wood or premium LVP products are used
- Professional installation is budgeted
Conversely, traditional removal remains preferable when:
- Historic buildings contain multiple substrate layers
- Moisture readings exceed 3 lbs/1000sqft/24hr
- Height restrictions prohibit any elevation increase
- Original tiles show significant damage or movement